Can I Tile Over Sheetrock?
- Sinotiles
- 2026-05-29
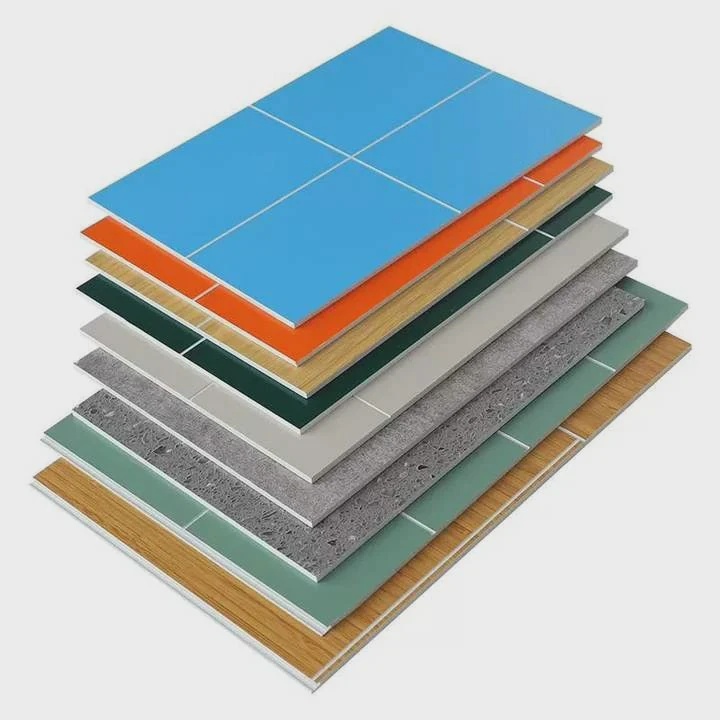
Many people want to save time and installation costs by tiling directly over sheetrock. Still, poor preparation or wrong wall conditions can lead to loose tiles and moisture damage later.
Tile can be installed over sheetrock in dry indoor areas when the wall is stable, clean, and properly prepared. Wet areas require more moisture-resistant backing materials because standard sheetrock absorbs water easily and weakens over time.
Tiling over sheetrock is common in residential kitchens, feature walls, and decorative interior spaces. However, not every wall condition supports long-term tile performance. Understanding where sheetrock works and where it fails helps prevent expensive repair problems later.
What Conditions Allow Tiling Over Sheetrock?
Some tile installations perform well on sheetrock for many years, while others fail quickly because the wall surface was unsuitable from the beginning.
Tiling over sheetrock works best in dry indoor spaces where the wall is structurally stable, free from moisture exposure, smooth, clean, and capable of supporting the tile weight safely.
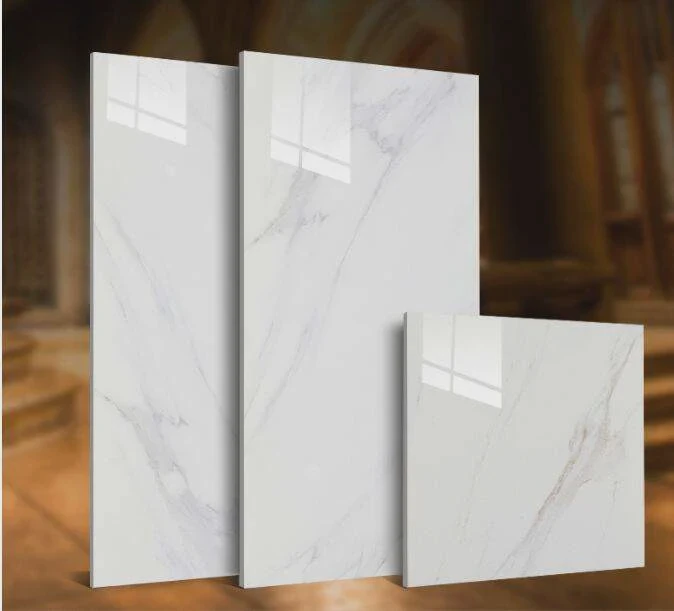
Sheetrock, also called drywall, is widely used because it is affordable and easy to install. Still, tile installation creates extra weight and moisture concerns that normal painted walls do not face.
Dry Areas Are Usually Acceptable
Dry indoor areas are the safest locations for tile over sheetrock.
Common examples include:
- Kitchen backsplashes
- Decorative walls
- Fireplace surrounds
- Laundry room accent walls
- Commercial reception areas
These spaces experience limited direct water exposure, which helps preserve wall stability.
Wall Stability Is Critical
Before tiling begins, the sheetrock should feel firm and secure.
The wall must not have:
- Movement
- Water damage
- Mold
- Cracks
- Loose fasteners
Even small wall movement may later crack grout joints or loosen tiles.
Tile Weight Matters
Heavy tile materials place greater stress on sheetrock.
Large-format porcelain slabs, natural stone, and thick decorative panels require stronger support systems.
Lightweight ceramic or mosaic tiles usually work better on standard drywall surfaces.
Surface Flatness Improves Installation
Uneven walls create poor tile adhesion and alignment problems.
Professional installers often inspect walls using:
- Straight edges
- Levels
- Laser alignment tools
Minor imperfections may require patching before installation.
Existing Paint Conditions Matter
Glossy painted walls reduce adhesive bonding strength.
Paint should be:
- Clean
- Dry
- Stable
- Free from peeling
Sanding glossy surfaces often improves mortar adhesion.
Building Codes May Restrict Certain Areas
Some commercial and residential codes limit drywall use behind tile in wet environments.
Professional installers often follow stricter standards for:
- Hotels
- Healthcare buildings
- Swimming facilities
- Commercial kitchens
These projects usually require cement board or waterproof systems instead of standard sheetrock.
Tile Size Affects Performance
Smaller tiles create less concentrated weight stress than very large tiles.
| Tile Type | Suitability for Sheetrock |
|---|---|
| Small ceramic tile | Very suitable |
| Glass mosaic | Suitable |
| Standard porcelain tile | Moderate |
| Large stone slabs | Limited suitability |
One restaurant renovation project once attempted installing oversized stone panels directly over aging drywall. Several panels later loosened because the wall lacked sufficient reinforcement. The final repair required complete wall replacement with stronger backing materials.
Proper Environment Extends Lifespan
Stable indoor temperature and low humidity help tile installations last longer over sheetrock.
Moisture fluctuations may weaken drywall gradually over time.
How Can Preparation Improve Adhesion on Sheetrock?
Even strong tile adhesive may fail if the sheetrock surface is dirty, glossy, or unstable. Preparation often determines whether the installation succeeds long term.
Proper sheetrock preparation improves tile adhesion by cleaning contaminants, sanding glossy paint, repairing damage, strengthening weak areas, and applying suitable primers before tile installation begins.
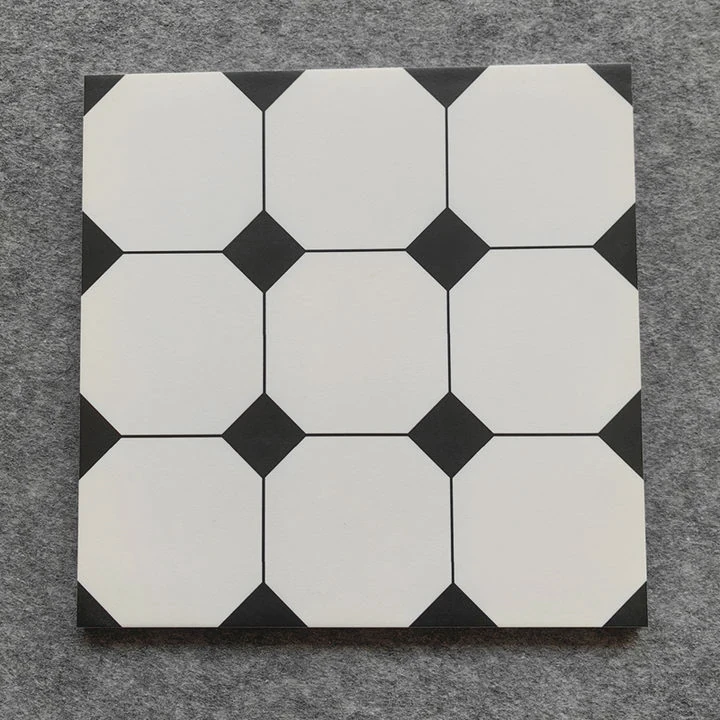
Good preparation creates a stable bonding surface between the tile adhesive and the wall.
Clean Surfaces Bond Better
Dust, grease, and soap residue weaken mortar adhesion.
Before tiling, the wall should be cleaned thoroughly using:
- Mild detergent
- Degreasing cleaner
- Dry microfiber cloths
Kitchen walls often require extra cleaning because cooking oils build up slowly over time.
Sanding Improves Grip
Glossy paint creates a slick surface that mortar struggles to grip properly.
Light sanding creates texture that improves bonding strength.
Professional installers commonly use:
- Medium-grit sandpaper
- Pole sanders
- Dust extraction systems
The goal is not removing all paint but reducing surface smoothness.
Repair Weak Areas First
Damaged sheetrock should never remain under tile.
Common repairs include:
- Filling dents
- Tightening loose screws
- Replacing soft drywall sections
- Repairing cracks
Weak areas may later collapse under tile weight.
Primers Can Improve Bonding
Some surfaces benefit from primer application before mortar installation.
Bonding primers help:
- Improve adhesive grip
- Reduce dust
- Control moisture absorption
- Increase surface stability
Still, primer selection should match the adhesive system being used.
Choose the Right Adhesive
Different tile materials require different mortar types.
| Tile Material | Recommended Adhesive |
|---|---|
| Ceramic tile | Standard thin-set mortar |
| Porcelain tile | Polymer-modified mortar |
| Glass tile | White thin-set mortar |
| Large-format tile | Medium-bed mortar |
Using the wrong adhesive may reduce long-term bonding strength.
Avoid Excess Moisture During Preparation
Overwet cleaning methods may soften drywall paper surfaces.
Walls should dry fully before adhesive application begins.
Surface Flatness Reduces Stress
Uneven walls create hollow spots behind tiles.
These hollow areas increase the risk of:
- Tile cracking
- Loose bonding
- Uneven grout lines
Installers often skim coat low spots before tiling.
Temperature Also Affects Adhesion
Extreme temperatures reduce adhesive performance.
Most tile manufacturers recommend moderate installation conditions for proper curing.
Proper Preparation Saves Repair Costs
One apartment project experienced widespread backsplash failures because installers tiled directly over greasy painted drywall without sanding or cleaning. The replacement work later cost far more than proper preparation would have required originally.
Professional Inspection Helps Large Projects
Commercial tile contractors often inspect substrate conditions carefully before approving installation.
This reduces future warranty problems and project delays.
Why Avoid Wet Areas When Using Sheetrock?
Many tile failures happen because people assume tile itself is waterproof. In reality, moisture often enters through grout lines and affects the wall behind the tile.
Wet areas should avoid standard sheetrock because moisture penetrates grout and weakens drywall over time. Water exposure can cause mold, swelling, tile failure, and structural damage behind tiled surfaces.
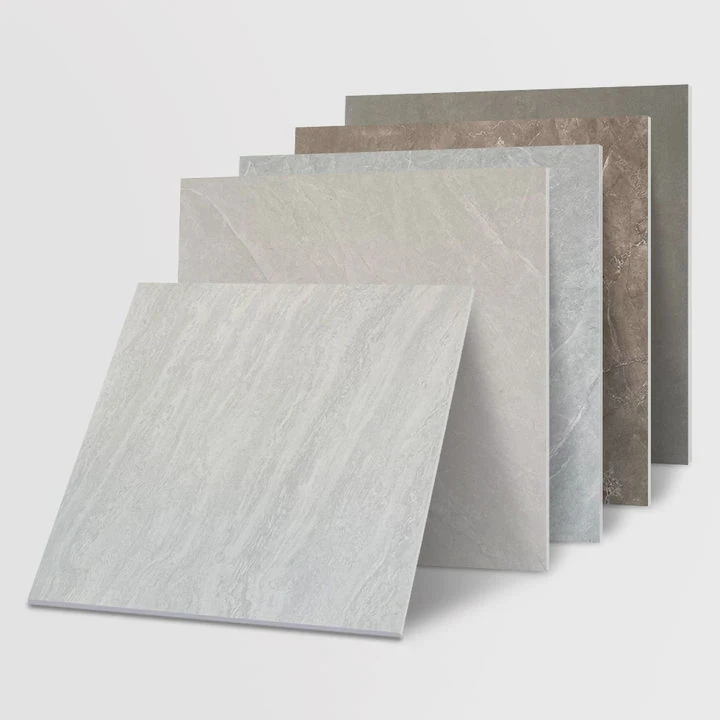
Tile surfaces resist water relatively well, but grout joints and small cracks still allow moisture penetration gradually.
Standard Sheetrock Absorbs Moisture Easily
Drywall contains gypsum material covered by paper facing. Once exposed to water repeatedly, the material softens and loses strength.
This may lead to:
- Wall swelling
- Mold growth
- Tile detachment
- Structural weakening
Bathrooms and showers create especially difficult conditions because humidity remains high for long periods.
Tile and Grout Are Not Fully Waterproof
Many homeowners believe tile blocks all moisture completely. In reality, grout lines absorb water slowly over time.
Small installation gaps also allow moisture migration behind the tile surface.
Wet Areas Need Stronger Backing Materials
Professional wet-area installations usually use:
- Cement board
- Waterproof membranes
- Foam backer boards
- Waterproof coatings
These materials resist moisture better than standard drywall.
Common Wet Areas to Avoid
| Area | Risk Level for Sheetrock |
|---|---|
| Shower walls | Very high |
| Steam rooms | Extreme |
| Pool areas | Extreme |
| Bathtub surrounds | High |
| Bathroom floors | Moderate to high |
Even moisture-resistant drywall may not fully replace waterproof backer systems in severe wet environments.
Hidden Damage Develops Slowly
Moisture damage behind tile often remains invisible at first.
Common warning signs include:
- Loose tiles
- Musty odors
- Cracked grout
- Soft walls
- Mold stains
By the time these symptoms appear, significant hidden damage may already exist.
Mold Growth Creates Health Concerns
Damp drywall creates an environment where mold spreads easily.
This becomes especially problematic in:
- Hotels
- Apartments
- Healthcare facilities
- Schools
Large commercial projects often follow strict waterproofing standards because mold remediation becomes very expensive later.
Waterproof Membranes Add Protection
Modern waterproof systems create protective barriers behind the tile layer.
These systems reduce moisture penetration and improve long-term durability.
Moisture Damage Increases Repair Costs
One homeowner installed decorative tiles directly over standard drywall inside a shower enclosure. Within two years, water damage softened the wall completely behind the tile system. The final repair required demolition of both tile and framing components.
Proper Material Selection Prevents Failure
Choosing moisture-resistant systems from the beginning usually saves significant maintenance costs later.
Wet-area installations require stronger substrate protection than decorative dry-wall applications.
Which Risks Come With Tiling Over Sheetrock?
Tiling directly over sheetrock may work well in some spaces, but certain risks remain if conditions are poor or installation quality is weak.
The main risks of tiling over sheetrock include moisture damage, weak adhesion, wall movement, excessive weight stress, mold growth, tile cracking, and reduced long-term durability in challenging environments.
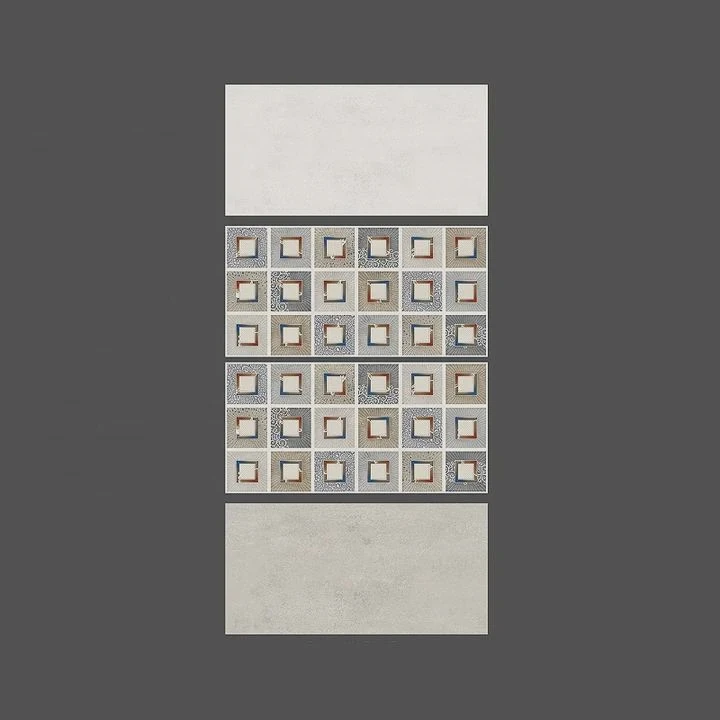
Understanding these risks helps property owners make better installation decisions.
Moisture Is the Biggest Threat
Even small water leaks may weaken drywall behind the tile surface gradually.
Moisture-related problems include:
- Adhesive failure
- Mold
- Drywall swelling
- Tile detachment
This is why dry-area limitation is so important.
Heavy Tile Loads Increase Stress
Large-format tiles and natural stone create significant wall pressure.
Standard drywall may flex slightly under excess weight, especially if stud spacing is wide.
Structural Movement Causes Cracking
Buildings naturally expand and contract slightly with temperature and humidity changes.
Weak drywall installations may develop:
- Cracked grout
- Loose tiles
- Corner separation
Flexible adhesives help reduce some movement stress but cannot fully solve poor wall stability.
Hollow Spots Reduce Durability
Poor adhesive coverage creates air gaps behind tiles.
These hollow spots increase the chance of:
- Tile breakage
- Impact damage
- Bond failure
Professional installers usually aim for high mortar coverage percentages to improve support.
Mold Remediation Can Become Expensive
Moisture trapped behind tile may remain hidden for long periods.
Large mold problems often require:
- Tile removal
- Drywall replacement
- Structural drying
- Air quality treatment
Commercial buildings especially try to avoid these risks through stronger waterproofing standards.
Poor Preparation Increases Failure Risk
Skipping preparation steps often creates early problems.
Common installation mistakes include:
- Tiling over glossy paint
- Ignoring wall movement
- Using weak adhesive
- Installing over damaged drywall
Repair Matching Can Be Difficult
When repairs become necessary, matching older tile colors and grout shades may prove difficult.
This increases repair complexity and cost.
Long-Term Maintenance Matters
Regular inspection helps identify early warning signs before severe failure occurs.
Recommended inspections include checking for:
- Cracked grout
- Loose tiles
- Water stains
- Soft wall areas
Professional Evaluation Helps Complex Projects
Commercial projects and high-end residential installations often involve professional substrate evaluation before tile installation begins.
One hotel renovation avoided major future problems after inspectors discovered hidden moisture damage inside old drywall walls before new tile installation started. Replacing the damaged substrate early prevented later failure across multiple guest bathrooms.
Conclusion
Tiling over sheetrock can work successfully in dry indoor spaces when the wall is stable, clean, and properly prepared. Still, wet areas require stronger moisture-resistant backing systems. Careful preparation, correct adhesive selection, and proper environmental conditions help improve long-term tile durability and reduce installation risks.