
How to drill into tile without cracking it?
- Sinotiles
- 2026-08-14
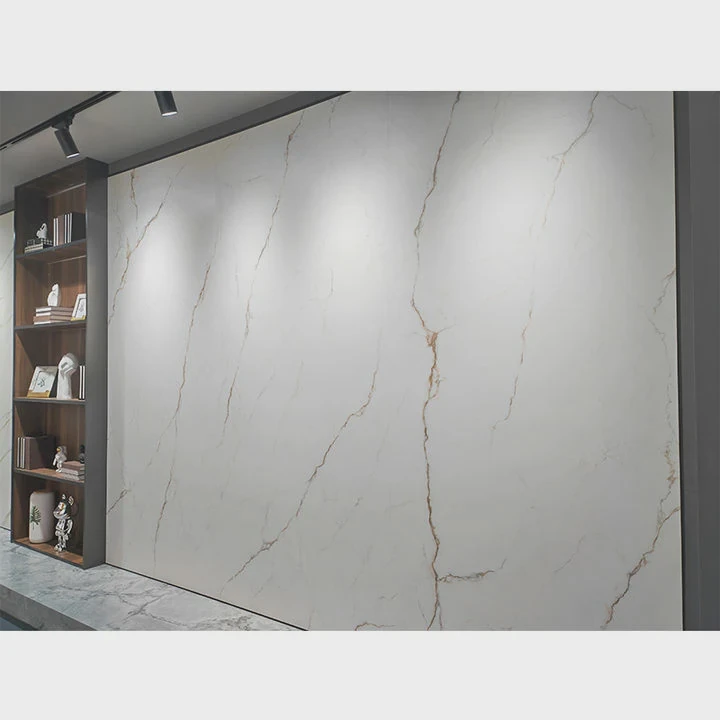
Drilling into tile can feel risky because one small mistake may create cracks that damage the whole surface. Many people worry about breaking expensive tiles during installation or renovation.
To drill into tile without cracking it, use the correct drill bit, control the drilling speed, apply steady pressure, and prepare the tile surface carefully before drilling.
Tile is strong, but it can also be fragile when force is applied in the wrong way. Ceramic tiles, porcelain tiles, and glazed tiles have hard surfaces that need special drilling methods.
Many installation projects require drilling holes for bathroom accessories, shelves, pipes, or electrical parts. A careful drilling process can protect the tile surface and help create a clean result.
What drill bits are best for tile drilling?
Choosing the correct drill bit is the first step for safe tile drilling. Regular drill bits made for wood or metal usually cannot handle the hard surface of tiles.
The best drill bits for tile drilling are carbide-tipped bits, diamond-coated bits, and diamond hole saws because they can cut hard tile surfaces without creating excessive pressure.
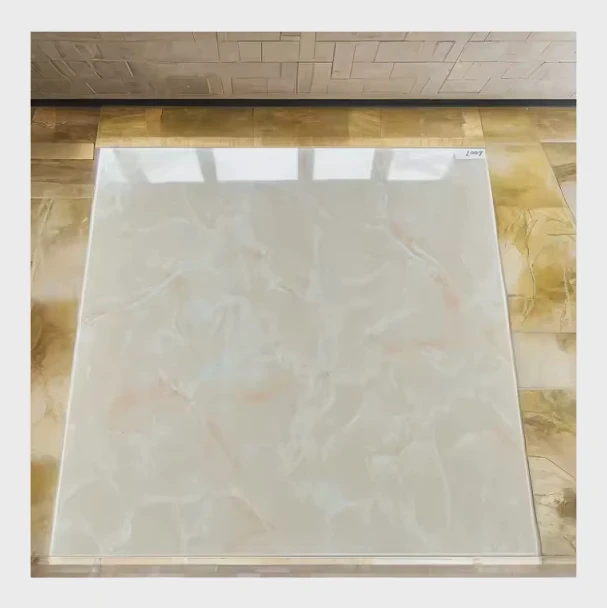
Different tile materials have different hardness levels. A drill bit that works well on ceramic tiles may not perform well on harder porcelain tiles.
Before drilling, it is important to understand the tile type. This helps select the right tool and reduces the chance of cracks.
Common drill bits for tile
| Drill bit type | Best application |
|---|---|
| Carbide-tipped drill bit | Ceramic tiles and softer materials |
| Diamond-coated drill bit | Porcelain tiles and hard surfaces |
| Diamond hole saw | Large holes for pipes and fittings |
| Glass and tile drill bit | Small holes in glazed surfaces |
Ceramic tiles are usually easier to drill because they are softer than porcelain tiles. A high-quality carbide-tipped bit can often handle small holes in ceramic surfaces.
Porcelain tiles are much denser. They have lower water absorption and higher hardness, which makes them more durable but also harder to cut. Diamond-coated tools are usually a better choice for porcelain drilling.
Why normal drill bits do not work well
Standard metal drill bits are designed for softer materials. When used on tile, they may create too much heat and friction.
This can cause several problems:
- The drill bit becomes damaged quickly
- The tile surface becomes overheated
- Cracks may appear around the hole
- Drilling becomes slower and less controlled
A suitable drill bit creates a smoother cutting process. It removes material gradually instead of forcing through the tile surface.
Factors to consider before choosing a drill bit
Several factors affect drill bit selection:
- Tile material
- Tile thickness
- Hole size
- Drilling location
- Project requirements
For example, installing a small bathroom accessory may only require a small diamond drill bit. However, creating a larger opening for plumbing usually requires a diamond hole saw.
Professional installers often prepare different tools for different tile products. This approach reduces mistakes and improves drilling efficiency.
Good tools do not replace careful technique, but they create a safer foundation for the entire process.
How do you prevent cracks while drilling tiles?
Preventing cracks during tile drilling requires proper preparation and controlled drilling. Most tile damage happens because of too much force, poor positioning, or incorrect tools.
You can prevent tile cracks by marking the drilling area, supporting the tile surface, using the correct drill bit, and applying slow and steady pressure.
A successful drilling project starts before the drill touches the tile. Preparation helps reduce movement and keeps the drill in the correct position.
Steps to drill tile safely
| Step | Action |
|---|---|
| 1 | Mark the exact drilling location |
| 2 | Use tape to improve drill control |
| 3 | Select the correct drill bit |
| 4 | Start drilling slowly |
| 5 | Keep pressure steady |
| 6 | Clean the hole after drilling |
The first step is measuring carefully. A wrong hole location can damage the appearance of the entire tile installation.
Many installers place masking tape over the drilling point. The tape can help prevent the drill bit from sliding on smooth tile surfaces, especially glazed tiles.
The drilling angle is also important. The drill should stay straight and stable. Tilting the tool can create uneven pressure and increase the risk of cracking.
Avoid using too much force
One common mistake is pushing the drill too hard. Tile surfaces are hard, but they are not designed to handle sudden impact.
Too much pressure can create stress inside the tile. The surface may look fine at first, but cracks can appear during or after drilling.
A better method is allowing the drill bit to do the cutting work. The installer should guide the tool instead of forcing it.
Cooling is also important
Heat is another major cause of tile damage. Drilling creates friction, and friction creates heat.
For longer drilling jobs, cooling methods can help protect both the drill bit and tile surface. Water cooling is often used with diamond tools because it reduces heat during cutting.
However, water use should always consider the surrounding area, especially when electrical equipment is nearby.
Professional tile installers often combine:
- Correct tools
- Slow drilling
- Proper cooling
- Careful pressure control
These simple methods greatly reduce the chance of cracking.
Why is low speed important when drilling tile?
Low drilling speed helps control heat, reduce pressure, and create a cleaner hole. Fast drilling may seem efficient, but it often creates more risks.
Low speed is important when drilling tile because it reduces heat buildup, improves drill control, and helps prevent cracks around the drilling area.
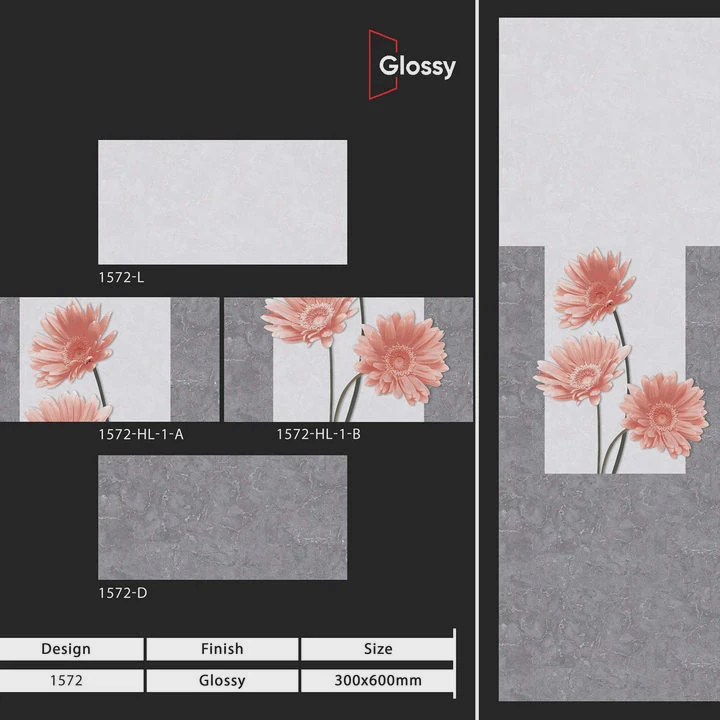
Tile materials are different from wood or metal. They need a slower cutting process because their surfaces are hard and can break under sudden stress.
Problems caused by high drilling speed
High speed can create:
| Problem | Effect |
|---|---|
| Excess heat | Weakens the drilling area |
| Strong vibration | Increases crack risk |
| Fast tool wear | Reduces drill bit performance |
| Poor control | Creates uneven holes |
When a drill moves too quickly, the drill bit creates more friction. The temperature around the hole can rise quickly.
Heat can damage the tile surface and reduce the life of the drill bit.
Low speed allows the cutting edge to work gradually. The process may take more time, but the final result is usually cleaner and safer.
Finding the right drilling speed
The correct speed depends on several factors:
- Tile hardness
- Drill bit type
- Hole size
- Tile thickness
Hard porcelain tiles usually need more patience than ceramic tiles. A diamond tool working at a controlled speed can create a better result than a standard bit moving quickly.
Large holes require even more control. Diamond hole saws often need slower movement because they remove more material at one time.
Pressure and speed work together
Speed alone does not determine drilling quality. Pressure is also important.
A good drilling technique uses:
- Low speed
- Light pressure
- Stable hand control
- Regular cooling when needed
The goal is not to finish as quickly as possible. The goal is to create a clean hole without damaging the tile.
For professional projects, careful drilling protects expensive tile materials and reduces replacement costs.
Can you drill glazed tiles without damage?
Glazed tiles can be drilled without damage when the correct tools and methods are used. The glazed surface requires extra care because it is smooth and can be slippery.
You can drill glazed tiles safely by using a suitable tile drill bit, creating a stable starting point, and controlling speed and pressure during the process.
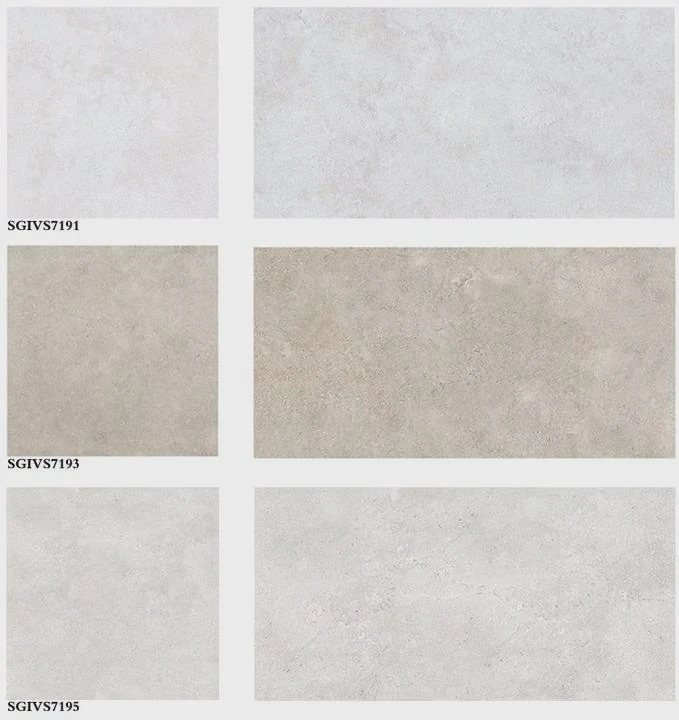
Glazed tiles are popular because they have attractive surfaces and strong protection. However, the smooth glaze layer creates challenges during drilling.
Why glazed tiles need special attention
The glaze layer is hard and smooth. When a drill starts moving, the bit may slide across the surface.
This movement can create:
- Wrong hole positions
- Surface scratches
- Uneven drilling pressure
- Higher crack risk
A simple preparation step can improve control.
Tips for drilling glazed tiles
| Method | Purpose |
|---|---|
| Mark the location clearly | Prevent mistakes |
| Apply masking tape | Improve drill stability |
| Use a sharp tile bit | Reduce surface stress |
| Drill slowly | Control heat and movement |
The first contact point is the most important moment. Once the drill creates a small starting area, the tool becomes easier to control.
Some installers create a small guide mark before drilling. This helps keep the drill bit from moving across the smooth glaze.
The quality of the glazed tile also matters. High-quality tiles usually have better surface strength and more consistent structure.
Avoid drilling near tile edges
Tile edges are more sensitive because they have less material support. Drilling too close to an edge increases stress concentration.
Whenever possible, holes should be planned away from corners and narrow areas.
If a project requires drilling near an edge, extra care is needed. A smaller starting hole and slower drilling can reduce risk.
Professional approach to glazed tile drilling
Experienced installers usually follow a simple rule: prepare first, drill slowly, and avoid unnecessary pressure.
Good results come from combining:
- Correct equipment
- Careful measurement
- Stable drilling technique
- Patient operation
With proper methods, glazed tiles can be drilled successfully without damaging their appearance or performance.
Conclusion
Drilling into tile without cracking it requires the right tools and careful techniques. Using suitable drill bits, maintaining low speed, controlling pressure, and preparing the surface can create clean and safe results.





