
Where to Start Tile Backsplash?
- Sinotiles
- 2026-08-31

A backsplash can use beautiful tiles and still look wrong when the first row starts in the wrong place. Small layout errors quickly become obvious around cabinets, corners, and outlets.
The best place to start a tile backsplash is usually from a visible focal point, centerline, or carefully planned edge. Start the first row from a level reference line above the countertop. Dry-layout the tiles first so cuts at both ends look balanced and narrow tile pieces are avoided.
The starting point should come from the complete wall layout, not simply the easiest corner to reach. Countertop level, cabinet position, tile size, grout joints, outlets, and focal features can all change where the first tile should go. A few minutes spent planning can prevent difficult cuts and an uneven-looking backsplash.
What Is the Best Starting Point for Backsplash Tiling?
Starting from a random corner may seem fast, but it can leave a tiny tile cut at the most visible end of the backsplash. That problem is difficult to hide later.
The best starting point for backsplash tiling is a planned reference point that creates balanced cuts and keeps the main pattern aligned. This may be the center of a focal wall, the center of a range or sink, or a finished outside edge. Use a level horizontal reference line instead of assuming the countertop is perfectly level.
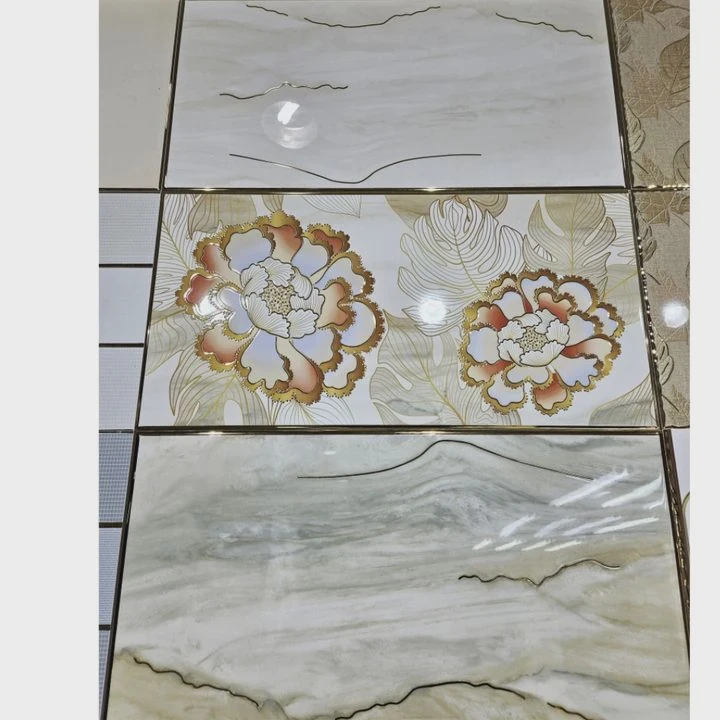
Identify the Main Visual Area First
Before setting the first tile, I prefer to look at the backsplash as one complete design.
Not every part of the wall has the same visual importance. The area behind a range, cooktop, or sink often becomes a focal point. An open wall end can also attract attention because the tile edge remains visible.
These areas should influence the starting position.
For example, a backsplash behind a range may look better when the tile pattern is centered on the range. If the tiles are installed from a distant corner instead, the pattern may arrive at the range in an awkward position.
A simple centerline solves this problem.
The installer can measure the range or focal area, mark its center, and compare that point with the tile dimensions. The layout can then be adjusted so either a tile or a grout joint sits on the centerline.
Both layouts can work. The better choice depends on which one produces larger and more balanced cuts at the sides.
Dry-Lay Before Using Adhesive
A dry layout is one of the simplest ways to find problems before installation.
Several tiles can be placed on a flat surface with spacers between them. This shows the real module size of the tile plus grout joint.
That measurement can then be transferred to the backsplash wall.
| Area to Check | What to Measure | Why It Matters |
|---|---|---|
| Countertop | Total backsplash length | Determines horizontal layout |
| Range or cooktop | Center position | Helps center a focal pattern |
| Sink | Center position | May affect visual alignment |
| Upper cabinets | Bottom and side edges | Defines visible tile area |
| Outlets | Position and dimensions | Helps reduce awkward cuts |
| Outside edge | Final tile position | Creates a clean termination |
| Corners | Remaining tile width | Prevents very narrow pieces |
| Tile and grout | Combined module size | Gives a realistic layout |
The goal is not to eliminate every cut. Tile installation almost always requires cuts.
The goal is to control where those cuts appear.
A 30mm strip beside a highly visible cabinet can look accidental. Two wider cuts of similar size on opposite sides can look planned.
Establish a Level First Row
The countertop may look level without actually being level.
If the first tile row simply follows a sloping countertop, every row above it can also appear to slope. This becomes very visible where horizontal grout joints meet cabinets or other straight architectural lines.
A laser level or spirit level can establish a true horizontal reference.
The installer can then find the highest point of the countertop and plan the first row from that information. Small tile cuts may be needed along the bottom to compensate for variation.
The joint between the countertop and backsplash should also allow for an appropriate flexible sealant rather than treating that change of plane like a normal rigid grout joint.
Consider the Tile Format
Tile size changes the best starting strategy.
Small subway tiles provide many joints and give the installer more flexibility. Large-format tiles create fewer joints, so their alignment becomes much more noticeable.
Mosaic sheets create another situation. The installer must consider both individual pieces and sheet boundaries. A poorly planned sheet joint can look wider than the internal mosaic joints.
The starting point should therefore match the tile format, focal points, and visible edges rather than follow one universal rule.
How Do You Align Tiles With Countertops?
A countertop provides the visual base for most backsplashes, but countertops are not always perfectly level or straight. Following every small variation can make the tile pattern look uneven.
Align backsplash tiles with countertops by establishing a true level reference line and checking the countertop for high and low points. Keep the main tile courses level, and make controlled cuts in the bottom row when needed. Plan grout joints around major countertop features instead of automatically following every seam or edge.

Measure the Countertop Before Setting Tile
The first step is inspection.
A laser level makes it easy to compare different points along a countertop. A spirit level can also work well for smaller areas.
If the countertop is level, the layout becomes simple. The bottom tile row can follow it while maintaining the required joint.
If the countertop rises or falls, the installer needs to decide how the first row will compensate.
This is where the highest point matters.
Starting without checking can create a situation where the planned tile row no longer fits as the countertop rises. The installer may then have to make an extremely small cut or change the grout line halfway across the wall.
Measuring first prevents that problem.
Keep Horizontal Grout Lines Visually Level
People notice horizontal lines very quickly.
A backsplash may include many individual tiles, but the eye often reads the grout lines as long continuous lines. If those lines slope, the whole installation can appear crooked.
The main courses should therefore remain level.
Small variations along the countertop can be absorbed through cuts in the first row. The changes should be controlled so the bottom edge looks intentional.
This approach becomes even more important with long rectangular tiles. A 75×300mm subway tile, for example, can create strong horizontal lines across a kitchen.
Think About Countertop Features
Alignment does not mean every tile joint must match every countertop feature.
A countertop may have seams, sink edges, appliance openings, and cabinet divisions. Trying to align the backsplash with all of them can create a confused layout.
The visual priority should guide the decision.
A centered sink may provide a useful reference on one wall. A range may be more important on another wall. An exposed tile edge may control a short backsplash section.
The layout should look balanced when someone enters the room.
Plan the Countertop Joint Correctly
The point where the backsplash meets the countertop is a change of plane.
Movement can happen between these surfaces. The countertop and wall may react differently to temperature, moisture, or small building movements.
For this reason, the joint should normally be detailed with a suitable flexible sealant according to the installation system rather than filled as if it were an ordinary field grout joint.
The width should also be consistent.
This small line runs across much of the backsplash, so uneven spacing can be noticeable even when the tile itself is perfectly installed.
Why Begin Tiling From the Center or Edge?
Choosing between a center start and an edge start can change the entire backsplash. The wrong choice may produce unnecessary cuts or move the pattern away from the room’s visual focus.
Begin from the center when symmetry around a focal point is important, such as behind a range or sink. Begin from an edge when a visible finished end must have a full or carefully sized tile. The best starting point is the one that produces balanced cuts, clean edges, and a visually organized pattern.
When a Center Start Works Best
A center start works well on a wall with a strong focal point.
The space behind a range is a common example. Upper cabinets or a range hood may frame this area, which naturally directs attention toward the center.
Starting the layout from this centerline can create symmetry.
There are usually two basic center layouts to test.
The first places the center of a tile on the centerline. The second places a grout joint on the centerline.
These two options can create very different cuts at the sides.
| Layout Situation | Possible Starting Point | Main Goal |
|---|---|---|
| Range focal wall | Range centerline | Balanced left and right sides |
| Sink focal wall | Sink centerline | Visual symmetry |
| Long open wall | Wall centerline | Balanced end cuts |
| Visible outside edge | Finished edge | Clean termination |
| Inside corner | Planned continuation | Natural wrap into next wall |
| Short backsplash | Edge or center after dry layout | Avoid tiny cuts |
| Patterned tile | Pattern center | Preserve design balance |
| Large-format tile | Planned joint or centerline | Control major cuts |
The installer should test both center options before making a final decision.
When an Edge Start Makes More Sense
Not every backsplash should begin in the center.
Imagine a backsplash that ends openly beside a cabinet. That exposed edge may be one of the first details a person sees.
A full tile or carefully planned cut at that point can look much cleaner than a narrow strip.
In this situation, the visible edge may deserve priority.
The layout can start conceptually from the edge and move toward a less visible corner. This does not mean the installer must physically place every tile in that direction. It means the dimensions are planned around the edge.
Inside Corners Need Planning Too
Inside corners often connect two tiled walls.
A common goal is to make the pattern appear to continue naturally around the corner. If a cut piece finishes one wall, the remaining visual proportion can influence the first piece on the next wall.
This is especially useful with running-bond and other repeating patterns.
The corner itself should still allow for the appropriate movement detail. The visual pattern and the technical joint are two separate issues.
Avoid Tiny Cuts
Very small pieces are usually a sign that the layout could be improved.
Suppose a wall accepts ten full tiles plus a 20mm piece. Shifting the complete pattern may allow wider cuts at both ends.
This creates a more balanced appearance and can make installation easier.
There is no fixed rule that says every end cut must have exactly the same width. Cabinets, corners, appliances, and focal points can change the visual balance.
The aim is to make the layout look intentional.
Which Layout Techniques Ensure Symmetry?
A symmetrical backsplash does not happen automatically, even when the wall itself is symmetrical. Tile dimensions, grout joints, outlets, and pattern repeats can move the finished design away from its intended center.
The best layout techniques for backsplash symmetry include marking centerlines, creating level and vertical reference lines, dry-laying tiles with spacers, testing tile-centered and joint-centered layouts, and checking end cuts before installation. A story pole or measured layout board can also help transfer tile and grout dimensions accurately to the wall.
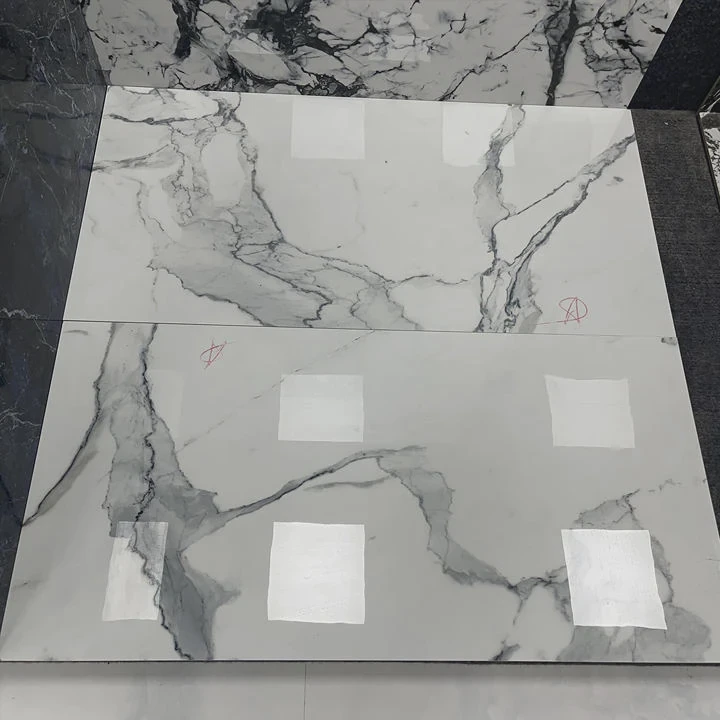
Mark Horizontal and Vertical Reference Lines
Reference lines create a stable layout system.
A horizontal line controls level. A vertical line controls alignment.
Together, these lines help prevent small errors from growing as installation continues.
A laser level is especially useful for backsplash work because it can project long horizontal and vertical lines. A standard level and pencil can also create reliable references.
The lines should be based on measured room features rather than assumed cabinet or countertop positions.
Use a Story Pole
A story pole is a simple but useful layout tool.
Several tiles can be placed on a flat surface with the planned grout spacing. Their positions can then be marked on a straight board or similar guide.
This creates a physical record of the tile module.
The guide can be held against the wall to predict where grout lines and tile edges will fall.
This method can reveal problems around outlets, cabinet bottoms, window openings, and wall ends before adhesive is mixed.
For example, a layout may place a grout joint only a few millimeters from an electrical outlet. A small shift could create a much easier cut without noticeably changing the overall design.
Test the Pattern Before Installation
Straight-stack patterns are relatively easy to predict. Running bond, herringbone, diagonal layouts, and decorative patterns require more planning.
A pattern should be tested across the main visual area before installation begins.
For a running bond, the offset needs to remain consistent. For herringbone, the center axis can determine whether the design looks balanced. Decorative tiles may have a repeat that needs to align with a range, hood, or sink.
Large-format tiles require similar planning even when the pattern is simple.
With fewer grout lines, every joint has more visual weight. A poorly positioned joint beside a window or cabinet can stand out.
Include Outlets Without Letting Them Control Everything
Electrical outlets and switches create unavoidable cuts.
Their locations should be included in the layout, but they should not always control the whole design.
A small layout adjustment may help avoid an awkward tile sliver beside an outlet. Yet shifting the entire backsplash far away from its focal center just to simplify one outlet cut may produce a worse visual result.
The installer needs to balance appearance and practical cutting.
Electrical safety also matters. Power should be handled safely during work, and electrical boxes may need approved adjustments when the finished wall thickness increases. Local electrical requirements should guide this part of the project.
Step Back and Check the Whole Wall
Close-up measurements are necessary, but the final backsplash is viewed from several feet away.
I like to check the planned layout from the normal viewing position before installation starts. Painter’s tape, pencil marks, or temporarily positioned tiles can help show where important joints will appear.
This wider view can reveal issues that measurements alone do not show.
A grout line may be mathematically centered but look wrong because the range hood is slightly offset. An equal cut at each wall end may be less important than having a full tile at a highly visible open edge.
Good symmetry is therefore visual as well as mathematical.
The most reliable backsplash layout combines both. Measurements create order, while a dry layout shows how that order will actually look. When the centerlines, countertop, focal areas, edges, corners, outlets, tile size, and grout joints are considered together, the first tile has a clear and logical place.
Conclusion
The best place to start a tile backsplash depends on the wall, focal points, and visible edges. Establish level reference lines, dry-layout the pattern, check both center and edge starts, and avoid narrow cuts. Good planning creates balanced grout lines, cleaner transitions, and a backsplash that looks intentional.




