How To Fix Scratched Tile?
- Sinotiles
- 2026-08-08
Scratched tiles can make a clean space look old and damaged. Many people think they must replace the whole floor, but small repair methods can often restore the surface.
Scratched tiles can be fixed by using tile repair kits, polishing methods, surface cleaners, and professional repair techniques. The right solution depends on scratch depth, tile type, and surface condition.
A damaged tile does not always mean a costly replacement project. Before removing tiles, it is better to understand the scratch level and choose a suitable repair method.
What Products Repair Scratched Tiles Effectively?
Scratched tile surfaces can reduce the beauty of a room and make maintenance harder. Many homeowners worry because they are not sure which products can bring back the original look. Choosing the wrong product can create more surface problems.
Tile repair products such as repair kits, polishing compounds, epoxy fillers, and ceramic surface cleaners can help reduce visible scratches and improve tile appearance.
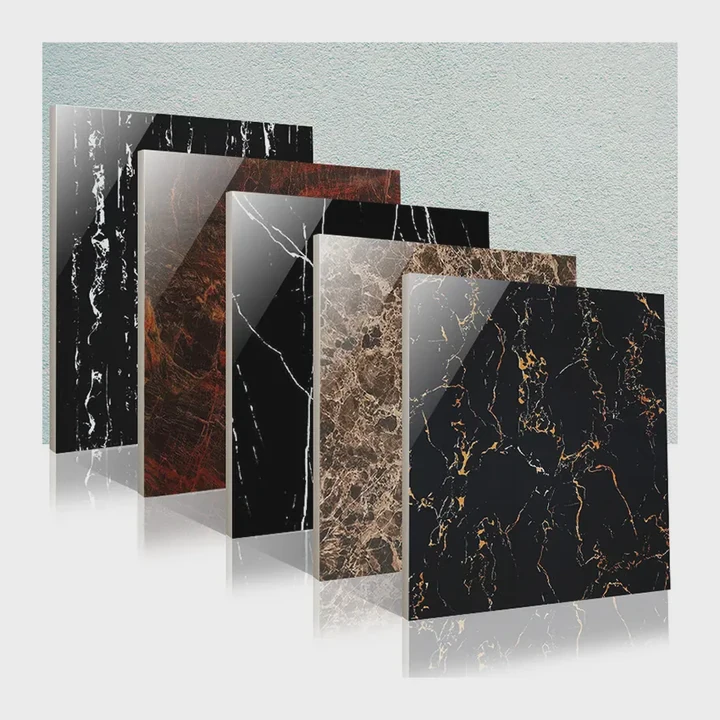
Different tile surfaces need different repair solutions. Porcelain tiles, glazed tiles, polished tiles, and ceramic tiles have different structures. A product that works well on one tile may not work well on another tile.
Common products for scratched tile repair
I usually check the tile material first before selecting a repair product. The surface layer decides which method will provide a better result.
| Repair Product | Best For | Main Benefit |
|---|---|---|
| Tile repair kit | Small scratches and surface marks | Easy application and quick improvement |
| Polishing compound | Light scratches on polished tiles | Restores surface shine |
| Epoxy filler | Deep scratches and chips | Fills damaged areas |
| Ceramic cleaner | Dirt and minor surface marks | Improves overall appearance |
A tile repair kit is one of the most common choices for small scratches. These kits usually include filler materials, color matching tools, and application equipment. They work well when the scratch only affects the top surface.
Polishing compounds are another useful option. They remove small surface marks by smoothing the damaged area. This method is often used on polished porcelain tiles because these tiles depend on their smooth surface to create a bright effect.
For deeper scratches, simple cleaning products cannot solve the problem. The damage may already reach the tile body. In this case, a filler product can help rebuild the damaged area and create a smoother surface.
Product selection depends on tile type
| Tile Type | Recommended Repair Method | Repair Difficulty |
|---|---|---|
| Glazed ceramic tile | Color filler and repair kit | Low |
| Polished porcelain tile | Polishing and surface treatment | Medium |
| Matte tile | Cleaning and light repair | Medium |
| Large format tile | Professional repair method | High |
I have seen that many repair failures happen because people focus only on the scratch instead of the tile structure. A tile is not just a flat surface. It has a protective layer, design layer, and base material. Each layer reacts differently to repair products.
A careful product choice can save time and money. It can also protect the original design of the tile. For commercial spaces, this approach is especially important because replacing large areas can affect business operations.
How Can Polishing Improve Tile Appearance?
Scratched tiles often lose their smooth texture and visual brightness. Even when the damage is not serious, small marks can change how light reflects from the surface. This makes the floor look older than it really is.
Polishing improves tile appearance by smoothing small scratches, removing surface marks, and restoring a cleaner and brighter finish.
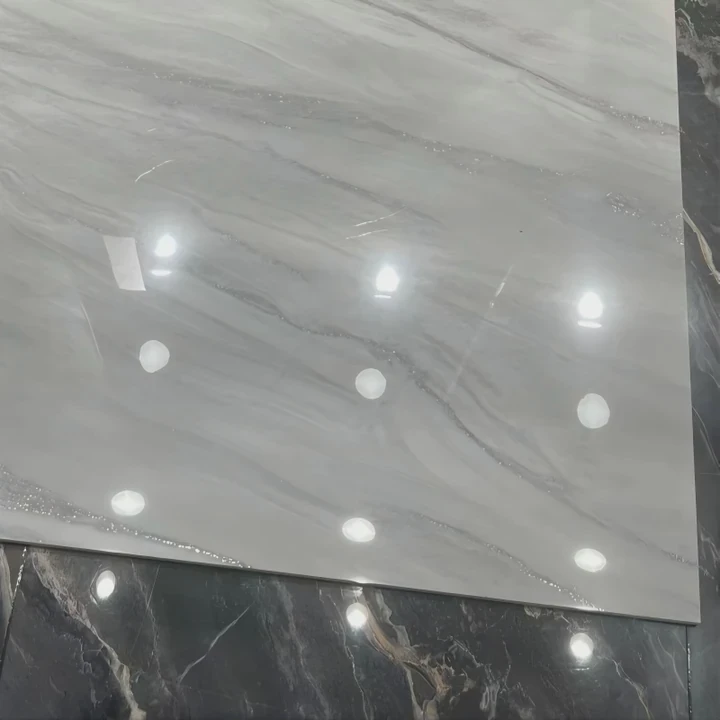
Polishing is a common repair method for tiles with light scratches. It works by removing very small surface irregularities. After polishing, the tile can reflect light more evenly, which helps the surface look newer.
How tile polishing works
The polishing process normally includes several steps:
- Cleaning the tile surface
- Checking scratch depth
- Applying polishing material
- Smoothing the damaged area
- Cleaning and inspecting the final result
The first step is always cleaning. Dust and dirt can hide the real condition of the tile. If someone polishes a dirty surface, small particles may create more scratches.
The second step is checking scratch depth. Polishing works best for surface-level damage. It cannot fully repair deep cracks or large chips. Understanding the damage level prevents wasted effort.
Benefits of tile polishing
| Benefit | Description |
|---|---|
| Better appearance | Makes the surface look cleaner and brighter |
| Longer tile life | Reduces the need for early replacement |
| Lower maintenance cost | Avoids large repair expenses |
| Improved surface feel | Creates a smoother touch |
Polishing can be a practical choice for many commercial projects. Hotels, shopping centers, and office buildings often use large areas of tile flooring. Small scratches can appear quickly because of daily traffic. Regular surface care can help maintain a professional appearance.
However, polishing is not always the best answer. Some tiles have special textures or finishes that should not be heavily polished. For example, matte tiles and anti-slip tiles may lose their original function if treated incorrectly.
The key point is to match the polishing method with the tile design. Good repair should improve the tile without changing its original performance.
Why Test Repair Methods Before Full Application?
Many people want to repair scratched tiles quickly, but applying a repair method directly to a large area can create unexpected problems. A product may change the color, texture, or shine of the tile.
Testing repair methods on a small hidden area helps confirm product safety, color matching, and final results before full application.
A small test area provides important information. It shows how the tile reacts to the repair product. This simple step can prevent bigger mistakes.
Reasons to test tile repair methods
Testing helps answer several important questions:
- Does the product match the tile color?
- Does the surface become too shiny?
- Does the repair area look different?
- Does the tile maintain its original texture?
A repair product may look good on one tile but create a different result on another tile. This happens because tiles have different materials, finishes, and production processes.
Simple testing process
| Step | Action | Purpose |
|---|---|---|
| 1 | Select hidden area | Avoid visible mistakes |
| 2 | Apply small amount | Check product reaction |
| 3 | Wait for result | Observe color and texture |
| 4 | Compare with original surface | Decide if method works |
Testing is especially important for imported tiles, custom tiles, and expensive decorative tiles. These products often have special surface treatments. A wrong repair method may reduce their value.
In my experience, many repair problems happen because people try to save time at the beginning. They skip testing and apply products everywhere. Later, they spend more time correcting the problem.
A short test can make the whole repair process safer. It gives confidence before investing more materials and labor. For large building projects, testing should become a normal quality control step.
Which Techniques Work For Deep Tile Scratches?
Deep scratches are more difficult because they usually damage more than the surface layer. Simple cleaning or polishing may not be enough. A deeper repair method is needed to improve the damaged area.
Deep tile scratches usually require filling, color matching, surface rebuilding, or professional restoration techniques instead of simple polishing.

Deep scratches can appear from heavy furniture movement, construction work, or strong impact. When the scratch reaches the inner tile body, the repair process becomes more complex.
Effective techniques for deep scratches
Using tile filler materials
Tile fillers can rebuild damaged areas. The filler is placed inside the scratch and then leveled with the tile surface. After drying, the repaired area can be adjusted with color materials.
This method works well for small but deep scratches. It is also useful for repairing chips on tile edges.
Color matching repair
Deep scratches often expose a different color underneath the surface. A repair must not only fill the damage but also match the original tile appearance.
Professional repair workers often mix colors carefully to create a closer match. This step is important for decorative tiles with unique patterns.
Replacing damaged tiles
Sometimes the damage is too large for repair. If a tile has deep cracks or major surface failure, replacement may provide a better result.
| Situation | Best Solution |
|---|---|
| Small deep scratch | Filler repair |
| Multiple deep marks | Professional restoration |
| Broken tile structure | Tile replacement |
| Large project damage | Expert inspection |
Deep scratch repair requires patience. Quick solutions may hide the problem for a short time but fail later. A proper repair should restore both appearance and surface strength.
For large format tiles, repair requires extra attention because these tiles often have larger visible areas. A small color difference can become noticeable. Professional support may be necessary when appearance standards are high.
The best approach is to understand the damage first, then select the repair method. Every scratch tells a different story, and every tile needs a suitable solution.
Conclusion
Scratched tiles can often be repaired without full replacement. The right products, polishing methods, testing steps, and deep repair techniques can restore tile appearance and extend tile life.