How to Install Peel and Stick Vinyl Tile?
- Sinotiles
- 2026-07-20
Installing peel and stick vinyl tile looks simple, but poor preparation often leads to loose corners, gaps, and early failure. Small mistakes at the beginning can ruin the final result.
The best way to install peel and stick vinyl tile is to prepare a clean, dry, and smooth surface, keep the room at the right temperature, align the first rows carefully, and press every tile firmly with a floor roller for strong, long-lasting adhesion.
Many people focus only on placing the tiles. The real success comes from everything that happens before and after sticking them down. Each step affects the final appearance and the life of the floor. This guide explains every important stage in simple language so you can avoid common mistakes and achieve professional-looking results.
What Surface Prep Is Needed Before Installation?
A beautiful vinyl tile floor always starts with the surface underneath. Many installation problems are not caused by the tile itself. They happen because the floor was dirty, uneven, wet, or damaged before installation.
The installation surface should be clean, dry, flat, solid, and free from dust, grease, wax, paint, and loose material. Proper preparation allows the adhesive to bond directly with the subfloor for long-lasting performance.
Good preparation saves both time and money. Many people want to skip this step because the tiles already have adhesive on the back. That idea often leads to lifting corners or shifting tiles after only a short time.
Start With a Complete Inspection
Before opening the first box of tiles, inspect the floor carefully.
Ask these simple questions:
- Is the floor level?
- Is there any moisture?
- Are there cracks?
- Are there loose sections?
- Is the surface clean?
If the answer to any question is no, fix the problem first.
Different Subfloors Need Different Preparation
| Subfloor Type | Preparation Needed |
|---|---|
| Concrete | Repair cracks, clean dust, allow full curing |
| Plywood | Tighten loose panels, sand joints smooth |
| Existing Vinyl | Ensure full adhesion and remove wax |
| Ceramic Tile | Fill grout lines if deep |
| OSB | Sand rough spots and clean thoroughly |
Each material behaves differently. Some absorb moisture while others have surface coatings that reduce adhesion.
Cleaning Matters More Than Many People Think
Dust may seem harmless, but adhesive sticks to dust instead of the floor. Later, the dust separates from the subfloor and the tile comes loose.
The floor should be vacuumed first.
After vacuuming:
- Remove grease
- Remove soap residue
- Remove paint drops
- Remove construction debris
Allow the floor to dry completely before installation.
Check Floor Flatness
Peel and stick vinyl follows the shape underneath.
If the floor has bumps, every bump becomes visible after installation.
If the floor has holes, those depressions remain visible as well.
Most manufacturers recommend a flat floor within acceptable flooring tolerances. Small imperfections can often be repaired using a floor patch or leveling compound.
Moisture Is the Hidden Problem
Concrete floors may look dry while still containing excessive moisture.
Too much moisture can weaken adhesive over time.
Before installing over concrete:
- Test moisture if required.
- Allow new concrete to cure completely.
- Never install over standing water.
- Repair water leaks first.
Acclimate the Tiles
Many installers overlook acclimation.
Store unopened cartons inside the room for at least 24 to 48 hours before installation.
This allows both the adhesive and vinyl material to adjust to room temperature.
A Simple Preparation Checklist
| Step | Complete? |
|---|---|
| Floor cleaned | ? |
| Dust removed | ? |
| Surface dry | ? |
| Cracks repaired | ? |
| Floor level | ? |
| Tiles acclimated | ? |
Many installation failures can be traced back to preparation. Spending extra time before laying the first tile usually produces a floor that looks better and lasts much longer.
Which Conditions Affect Adhesive Performance?
Temperature, humidity, and surface cleanliness all influence how well peel and stick vinyl tiles bond. Even high-quality products can fail when installed under poor environmental conditions.
Adhesive performs best on clean, dry surfaces within the recommended temperature range. Cold rooms, excessive moisture, dust, and direct exposure to water during installation can reduce bonding strength.

The adhesive on peel and stick tiles is pressure-sensitive. That means it becomes stronger when pressed firmly onto a suitable surface under the right conditions.
Temperature Is One of the Biggest Factors
Cold adhesive becomes stiff.
Warm adhesive becomes more flexible.
Most manufacturers recommend installing the tiles within a moderate indoor temperature range and maintaining that temperature before, during, and after installation.
Very cold conditions may cause:
- Poor initial bond
- Lifting corners
- Weak edge adhesion
Extremely hot conditions may also create problems during positioning because the adhesive becomes more aggressive.
Humidity Also Matters
High humidity does not always damage vinyl directly.
The larger concern is trapped moisture beneath the flooring.
Moisture can slowly weaken adhesive and encourage mold growth under the floor.
Rooms such as:
- Basements
- Laundry rooms
- Bathrooms
- Ground-floor concrete slabs
often require additional moisture evaluation before installation.
Surface Contamination Reduces Bond Strength
Several common materials interfere with adhesive.
Examples include:
- Floor polish
- Wax
- Oil
- Paint overspray
- Construction dust
- Drywall powder
Even fingerprints covered with fine dust can reduce local adhesion.
Room Conditions Should Stay Stable
Large temperature swings immediately after installation may affect adhesive curing.
Try to avoid:
- Opening windows during freezing weather
- Turning heating systems on and off repeatedly
- Washing the floor immediately after installation
Stable indoor conditions allow the adhesive to develop its full strength.
Pressure Activates the Adhesive
Unlike liquid glue, peel and stick adhesive responds to pressure.
Firm pressure increases contact between adhesive and subfloor.
That is why simply placing the tile is not enough.
Each tile should be pressed carefully from the center toward the edges.
Allow Time Before Heavy Use
Although the floor can usually be walked on soon after installation, heavy furniture should ideally wait according to the manufacturer’s recommendations.
This gives the adhesive additional time to stabilize.
Patience during the first day often improves long-term performance.
How to Align Peel and Stick Tiles Properly?
Crooked installation is difficult to fix later. Even a small mistake in the first row becomes more obvious across the entire room.
Accurate alignment starts with measuring the room, marking center lines, dry-fitting several rows, and checking spacing regularly before removing the backing paper.
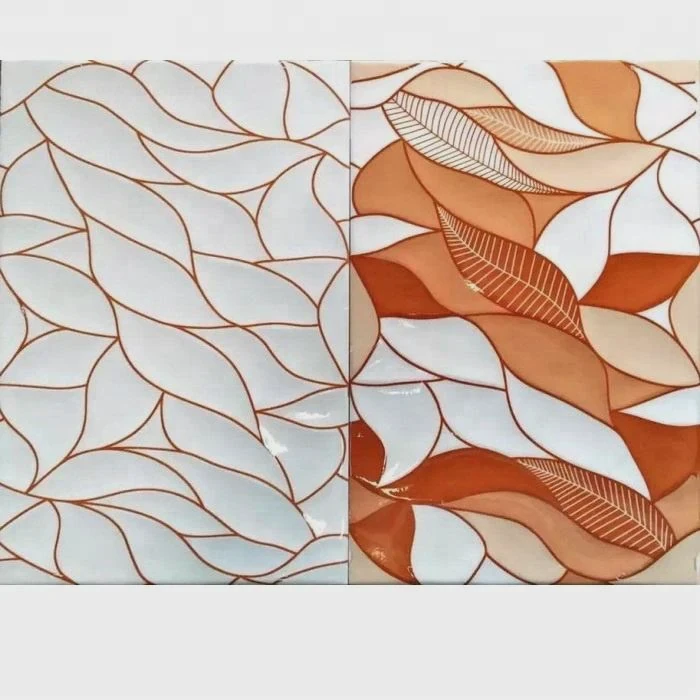
Good alignment creates a professional appearance even when using affordable flooring.
Measure Before Installing
Never assume the room is perfectly square.
Measure:
- Width
- Length
- Opposite walls
- Door openings
Many rooms contain small differences that affect layout.
Snap Reference Lines
Professional installers rarely begin directly against one wall.
Instead, they create reference lines across the floor.
These guide every row.
The first tiles should follow these lines instead of the wall itself.
Dry Lay Several Tiles
Before removing any backing paper:
Lay several tiles on the floor.
Check:
- Pattern direction
- Border sizes
- Wall cuts
- Visual balance
Small adjustments now prevent narrow strips at one side of the room.
Work One Row at a Time
Peel only one tile at a time.
Place it carefully.
Check alignment.
Then continue.
Trying to install many tiles quickly often creates cumulative errors.
Watch the Pattern
Many vinyl tiles imitate:
- Stone
- Marble
- Wood
- Concrete
Rotate patterns naturally if recommended.
Avoid placing identical printed designs beside each other whenever possible.
This creates a more realistic appearance.
Double-Check Every Few Rows
Use a straightedge or chalk line every few rows.
Small corrections early are much easier than fixing an entire section later.
Around Walls and Obstacles
Cut edge pieces only after measuring carefully.
Leave the recommended expansion allowance if required by the manufacturer.
A utility knife and straightedge usually produce clean cuts.
Patience during layout often makes the difference between an amateur-looking floor and one that appears professionally installed.
Are Rollers Necessary for Firm Adhesion?
Many first-time installers think hand pressure is enough. In reality, floor rollers greatly improve adhesive contact and reduce future lifting.
A floor roller is strongly recommended because it applies even pressure across the entire tile surface, improving adhesive contact and reducing air pockets, loose edges, and early bond failure.
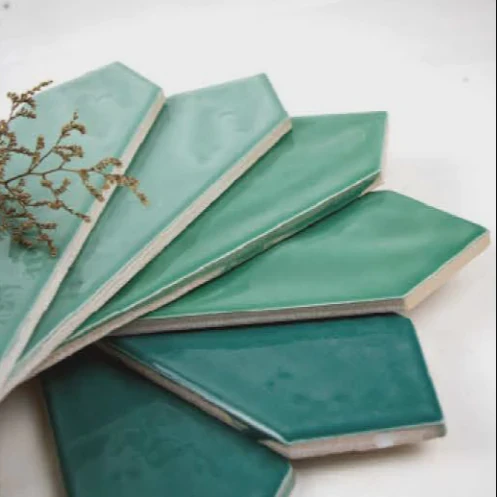
Pressure-sensitive adhesive works best when the entire tile makes full contact with the subfloor.
Why Hand Pressure Is Not Enough
Hands press unevenly.
Most people naturally focus on the center while missing the edges.
Those edges become the first places where lifting starts.
What a Floor Roller Does
A floor roller:
- Removes trapped air
- Activates pressure-sensitive adhesive
- Improves edge bonding
- Creates uniform contact
- Reduces future movement
Professional installers often roll the entire floor after completing installation.
Different Roller Options
Small hand rollers work well for residential projects.
Larger weighted floor rollers provide even better results on bigger installations.
For small rooms, renting a floor roller may be a practical option if purchasing one is unnecessary.
Roll in Multiple Directions
Do not roll only one direction.
Instead:
- Roll lengthwise.
- Roll crosswise.
- Pay extra attention to seams.
- Press corners carefully.
This improves overall bonding consistency.
Inspect After Rolling
Walk through the room slowly.
Look for:
- Raised corners
- Air bubbles
- Misaligned seams
Correct small issues immediately while the adhesive is still fresh.
Protect the New Floor
Avoid dragging furniture across the new floor.
Use furniture pads.
If heavy items must be moved, lift them instead of sliding them.
These small habits help preserve the adhesive bond for many years.
Many installers consider rolling the final insurance policy. It only takes a short time, yet it significantly improves the chance of achieving a durable, professional-quality floor.
Conclusion
Installing peel and stick vinyl tile successfully depends on careful preparation, stable room conditions, accurate alignment, and firm rolling after installation. Paying attention to these simple details creates a stronger bond, a cleaner appearance, and a floor that performs well for many years.