How to Install Tile in a Bathroom?
- Sinotiles
- 2026-07-10
Installing bathroom tile may look simple at first. A small mistake can cause uneven floors, water damage, or expensive repairs later.
The best way to install tile in a bathroom is to prepare the surface carefully, plan the tile layout, apply proper waterproofing, and avoid common installation mistakes. Following each step in the correct order helps create a durable and professional-looking result.
Many people focus only on choosing beautiful tiles. That is important, but good installation matters even more. A well-installed tile floor or wall lasts for many years. Good preparation also reduces future maintenance and repair costs. This guide explains every important step before, during, and after bathroom tile installation.
What Preparation Steps Are Required First?
Poor preparation is one of the biggest reasons why bathroom tile projects fail. Skipping this stage often leads to cracked tiles, loose grout, and moisture problems later.
Bathroom tile installation should always begin with cleaning the surface, checking the subfloor or wall, making repairs, gathering the right tools, and measuring the installation area accurately.
Preparation creates the foundation for the entire project. Every successful installation depends on a flat, clean, and stable surface.
Inspect the Surface Carefully
Before installing any tile, the surface must be checked.
For floors, look for:
- Loose plywood
- Uneven areas
- Water damage
- Cracks
- Soft spots
For walls, check:
- Drywall condition
- Cement board installation
- Surface flatness
- Existing mold
- Moisture damage
Any damaged area should be repaired before tile installation begins.
Clean Everything Thoroughly
Dust, grease, paint, and debris reduce adhesive strength.
The surface should be:
- Vacuumed
- Wiped clean
- Completely dry
- Free from oil
- Smooth and solid
Even a small amount of dirt can weaken the bond between tile and adhesive.
Gather the Necessary Tools
Using the proper tools makes installation much easier.
| Tool | Purpose |
|---|---|
| Tile cutter | Cut tiles accurately |
| Notched trowel | Spread adhesive evenly |
| Tile spacers | Keep grout joints consistent |
| Level | Check flatness |
| Tape measure | Measure the room |
| Rubber float | Apply grout |
| Sponge | Clean excess grout |
| Mixing bucket | Prepare thin-set mortar |
Having everything ready before starting saves time and reduces mistakes.
Measure the Bathroom
Accurate measurements help estimate tile quantity.
Measure:
- Room length
- Room width
- Door openings
- Shower area
- Toilet area
- Wall height if tiling walls
It is always wise to order about 10% more tile than required. Extra tiles cover cutting waste and future repairs.
Prepare the Substrate
Bathroom tiles should never be installed over unstable surfaces.
A good substrate should be:
- Flat
- Dry
- Strong
- Clean
- Properly secured
If needed, install cement backer board before applying tile.
Preparation may take several hours, but it prevents many problems later.
How Can Layout Improve Tile Placement?
Many installation problems begin before the first tile is placed. Poor layout creates narrow tile strips, uneven lines, and an unbalanced appearance.
Planning the tile layout before installation helps create symmetrical patterns, reduces tile waste, improves appearance, and makes cutting much easier.

A few extra minutes spent planning can dramatically improve the finished bathroom.
Start from the Center
Many professional installers begin by finding the center of the room.
This creates balanced tile placement on both sides.
Without planning, one side of the room may end up with tiny tile pieces while the opposite side has full tiles.
Dry Lay the Tiles
A dry layout means placing tiles without adhesive.
This allows adjustments before installation.
Dry laying helps identify:
- Awkward cuts
- Narrow tile pieces
- Pattern alignment
- Border appearance
- Focal points
It is much easier to change the layout before adhesive is applied.
Consider the Room’s Main View
The first thing people see when entering the bathroom should look balanced.
For example:
- Place full tiles near the doorway.
- Hide smaller cuts behind the vanity.
- Keep grout lines straight.
- Align wall and floor joints when possible.
Small design choices create a much cleaner appearance.
Check Tile Direction
Large-format tiles often look different depending on direction.
Rectangular tiles may be installed:
- Horizontal
- Vertical
- Brick pattern
- Offset pattern
- Herringbone
- Straight grid
Each pattern changes the visual size of the bathroom.
Layout Planning Comparison
| Good Planning | Poor Planning |
|---|---|
| Balanced cuts | Tiny edge pieces |
| Straight grout lines | Crooked appearance |
| Less waste | More broken tiles |
| Better symmetry | Uneven design |
| Faster installation | Frequent adjustments |
A careful layout also helps estimate where movement joints and expansion gaps should be placed.
Why Is Waterproofing Essential in Bathrooms?
Bathrooms experience constant moisture. Even small amounts of water can slowly damage walls and floors if waterproofing is ignored.
Waterproofing prevents moisture from reaching the structure underneath the tile. It protects against mold, wood rot, loose tiles, and expensive repairs.

Many people believe tile itself is waterproof.
That is only partly true.
Tile Is Not the Waterproof Layer
Ceramic and porcelain tiles resist water very well.
However:
- Grout absorbs moisture.
- Small cracks develop over time.
- Water passes through joints.
- Moisture reaches the substrate.
Without waterproof protection underneath, damage slowly builds.
Common Waterproofing Materials
Several waterproofing systems are widely used.
These include:
- Liquid waterproof membrane
- Waterproof sheet membrane
- Waterproof backer board
- Waterproof tape for joints
- Shower waterproof kits
The chosen system depends on the bathroom design.
High-Risk Areas
Some locations require extra attention.
These include:
- Shower walls
- Shower floor
- Bathtub surround
- Bathroom floor
- Corners
- Pipe penetrations
- Floor drains
These areas receive the highest moisture exposure.
Apply Waterproofing Correctly
Each waterproofing system has manufacturer instructions.
Generally, the process includes:
- Prepare the surface.
- Seal corners.
- Cover joints.
- Apply membrane evenly.
- Allow full curing.
- Check for complete coverage.
Skipping curing time reduces waterproof performance.
Long-Term Benefits
Proper waterproofing provides many advantages.
It helps:
- Prevent mold growth.
- Protect wooden framing.
- Reduce repair costs.
- Extend tile lifespan.
- Improve home value.
- Increase installation reliability.
Many repair projects begin because waterproofing was ignored during the original installation.
Taking time to waterproof correctly protects the investment for many years.
Which Mistakes Should Be Avoided During Installation?
Even experienced installers sometimes make mistakes. Most problems come from rushing or ignoring small details.
Common installation mistakes include poor surface preparation, uneven adhesive, incorrect spacing, skipping waterproofing, and grouting before the adhesive has cured completely.
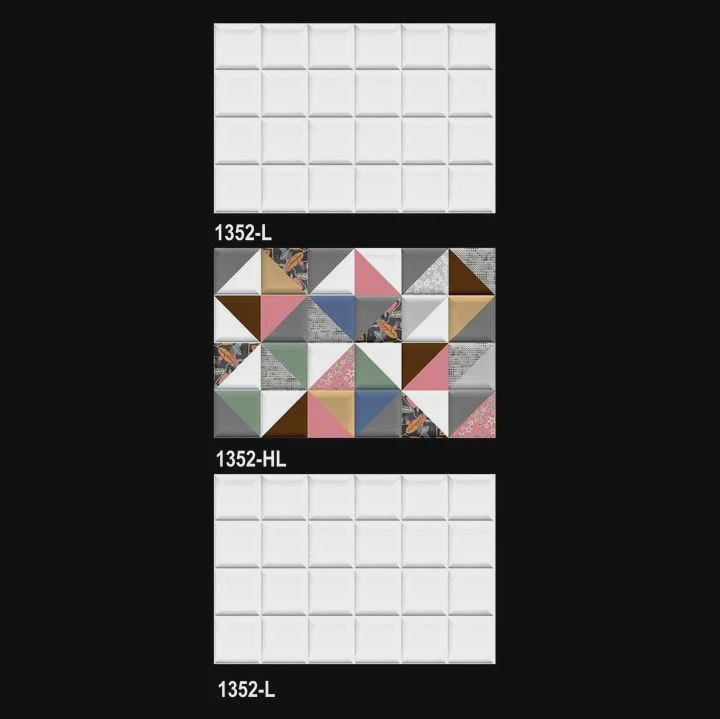
Avoiding these errors greatly improves the final result.
Rushing Surface Preparation
Many failures begin underneath the tile.
Never install tile over:
- Dust
- Loose flooring
- Wet surfaces
- Damaged backer board
- Uneven subfloors
The adhesive cannot compensate for structural problems.
Mixing Thin-Set Incorrectly
Mortar consistency matters.
Too much water weakens adhesion.
Too little water makes spreading difficult.
Always follow the manufacturer’s mixing ratio and allow the mortar to slake if required before remixing.
Using the Wrong Trowel
Different tile sizes require different notch sizes.
Small tiles and large-format tiles need different adhesive coverage.
Insufficient mortar creates hollow spots under the tile.
These weak spots often crack under pressure.
Ignoring Tile Level
Each tile should be checked during installation.
A leveling system helps reduce lippage, especially with large-format tiles.
Even small height differences become noticeable after grouting.
Walking on Fresh Tile Too Soon
Freshly installed tile needs time to cure.
Walking on it too early may:
- Shift tiles
- Break adhesive bonds
- Create uneven grout joints
Always wait according to the adhesive manufacturer’s curing recommendation.
Grouting Too Early
Grout should only be applied after the mortar has cured.
Early grouting traps moisture and weakens the installation.
Patience produces much stronger results.
Forgetting Expansion Gaps
Tile expands and contracts with temperature changes.
Leaving small expansion gaps around walls helps prevent:
- Tile cracking
- Buckling
- Tenting
- Grout failure
These gaps are usually hidden beneath baseboards or filled with flexible sealant.
Cleaning Improperly
Leaving grout haze on tile becomes difficult to remove later.
Clean gradually using:
- Damp sponge
- Clean water
- Soft cloth
Avoid using excessive water while grout is still curing.
Good installation is often about paying attention to small details. Each careful step adds strength, appearance, and durability to the finished bathroom.
Conclusion
Bathroom tile installation is successful when every stage receives proper attention. Careful preparation, thoughtful layout planning, reliable waterproofing, and avoiding common mistakes all work together to produce a bathroom that looks attractive, performs well, and lasts for many years.