
How to repair shower tile?
- Sinotiles
- 2026-08-13
Damaged shower tiles can create stress because small problems may become bigger over time. Cracks, loose tiles, and water stains can affect both the beauty and safety of a bathroom.
Shower tile can be repaired by removing damaged areas, preparing the surface, replacing or fixing tiles, and sealing the repaired area correctly. The repair method depends on the tile condition and the cause of the damage.
When I look at shower tile problems, I always focus on the reason behind the damage first. A tile issue is not only a surface problem. Water, installation quality, and daily use can all affect the final result.
What materials are needed for tile repair?
Many people think tile repair only needs a replacement tile and some adhesive. However, a good repair requires several materials because every step affects the final quality. Using the right materials can help the repaired area stay strong and look natural.
The main materials needed for shower tile repair include replacement tiles, tile adhesive, grout, sealant, cleaning tools, repair tools, and safety equipment. The exact materials depend on the type and size of the damage.
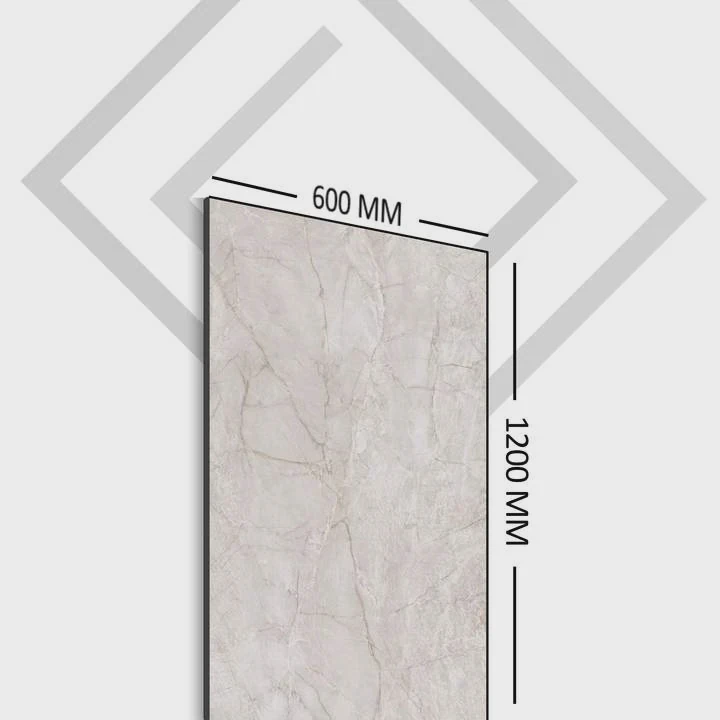
The first material to consider is the replacement tile. If a tile is cracked or broken, a matching tile is usually the best solution. Keeping extra tiles from the original installation can make future repairs much easier.
Tile adhesive is another important material. It helps connect the new tile with the wall surface. A suitable adhesive should work well in wet areas because showers have constant exposure to water and humidity.
Grout is also necessary because the spaces between tiles need proper protection. Old or damaged grout can allow water to move behind the tile surface. Fresh grout helps create a cleaner appearance and supports moisture protection.
Common materials for shower tile repair
| Material | Purpose | Important Point |
|---|---|---|
| Replacement tile | Replace broken tile | Match size and design |
| Tile adhesive | Hold tile in place | Choose wet-area products |
| Grout | Fill tile gaps | Select matching color |
| Sealant | Protect edges | Reduce water entry |
| Cleaning tools | Prepare surface | Remove dirt and residue |
Repair tools are also important. A tile removal tool, scraper, sponge, level, and measuring tools can help create a better result. Safety equipment such as gloves and eye protection should also be used during repair work.
I believe preparation is often the difference between a temporary repair and a lasting repair. Many problems happen because people focus only on the visible crack. They replace the tile but ignore the surface condition behind it.
Before starting any repair, the shower area should be dry and clean. Moisture behind tiles can create future problems. A careful inspection helps identify whether the issue is only the tile or a deeper waterproofing problem.
The quality of materials also affects the repair result. Cheap products may save money at the beginning, but they may not perform well in a wet shower environment. Choosing suitable materials can reduce future maintenance needs.
How to match existing tiles during repair?
Replacing one shower tile sounds simple, but finding a perfect match can be difficult. Many bathrooms use tiles that are no longer available after several years. Differences in color, texture, and size can make a repair area noticeable.
To match existing shower tiles, I compare tile size, color, surface texture, finish, and installation style. Using leftover tiles or checking original product information can improve the chance of finding a close match.

The first step is checking the tile size. Even a small difference in dimensions can affect the final appearance. The replacement tile should have the same thickness because an uneven surface can create problems.
Color matching is another challenge. Tile color can change after years of sunlight, cleaning, and water exposure. A new tile from the same collection may still look slightly different because the old tile has aged.
Factors for tile matching
| Matching Factor | Why It Matters |
|---|---|
| Size | Keeps tile layout consistent |
| Thickness | Creates an even surface |
| Color | Improves visual connection |
| Texture | Maintains the same feeling |
| Finish | Matches light reflection |
I often recommend checking hidden areas for extra tiles. Some builders leave spare tiles behind appliances, inside storage areas, or with original building materials. These tiles usually provide the closest match.
If original tiles cannot be found, there are other options. Some homeowners choose to replace a larger section instead of one tile. This approach can create a more balanced appearance because the new tiles form a planned design area.
Another option is creating a feature section. Instead of trying to hide the difference, some designs use a different tile style intentionally. This method can turn a repair into a small bathroom improvement.
The repair goal should guide the tile choice. For a luxury bathroom, a close match may be very important. For a rental property, a practical and durable solution may be the main concern.
Matching tiles requires patience because the smallest details can affect the final result. A repair should not only solve the damage problem. It should also maintain the overall bathroom appearance.
Can small cracks be repaired easily?
Small cracks in shower tiles are common, especially in older bathrooms. They may appear because of impact, movement, temperature changes, or installation problems. Many people wonder if they need to replace the whole tile immediately.
Small shower tile cracks can often be repaired easily when the damage is limited and the tile structure is still stable. Minor cracks can be filled, sealed, or repaired depending on their size and location.
The repair method depends on the type of crack. A small surface crack may only affect the tile finish. A deeper crack that goes through the entire tile can create a path for water and usually needs tile replacement.
Before repairing a crack, I check whether the tile is loose. A stable tile with a small surface crack is different from a tile that moves when touched. Movement usually means there may be a problem underneath.
Small crack repair situations
| Crack Type | Possible Solution |
|---|---|
| Surface hairline crack | Fill and seal |
| Small corner damage | Repair compound |
| Deep crack through tile | Replace tile |
| Loose cracked tile | Remove and inspect base |
Small repairs can work well for cosmetic problems. They can improve appearance and reduce the chance of water entering the damaged area. However, they should not be used to hide serious damage.
The surrounding grout should also be checked. Sometimes the crack is not only caused by the tile. Old grout lines can become weak and allow movement. Repairing the grout may help prevent future problems.
I also pay attention to the location of the crack. A crack near the shower floor or a water-heavy area needs more attention because these areas face constant moisture exposure.
A quick repair can save time, but a correct repair saves future trouble. The best approach is to understand why the crack appeared. If the reason is not solved, the same problem may return.
Small cracks are not always emergencies, but they should not be ignored. Regular inspection can help homeowners find problems early and avoid larger repair costs.
Why address leaks before repairing tiles?
Many shower tile problems are connected to water damage. A cracked tile may be a visible sign, but the real issue can exist behind the tile surface. Repairing the tile without fixing the leak may only create a temporary improvement.
Leaks should be repaired before tile repair because water can damage the wall structure, weaken adhesive, and cause new tile problems. Fixing the water source creates a stronger foundation for the tile repair.

Water is one of the biggest concerns in shower areas. When water enters behind tiles, it can affect the backing material and create hidden damage. The surface may look acceptable while problems continue underneath.
Before repairing tiles, I check common leak sources. These may include damaged grout, broken sealant, plumbing issues, or waterproofing failures. Finding the source helps prevent repeated repairs.
Common causes of shower leaks
| Cause | Possible Effect |
|---|---|
| Damaged grout | Water enters tile gaps |
| Old sealant | Moisture reaches edges |
| Plumbing problems | Hidden water damage |
| Poor waterproofing | Long-term structural issues |
A repaired tile cannot stop water if the waterproofing system has already failed. The new tile may look perfect, but moisture can continue causing damage behind the surface.
This is why professional repair often starts with inspection. The visible tile problem is only one part of the situation. A complete solution considers both appearance and protection.
I believe homeowners should avoid quick fixes when dealing with shower leaks. A small leak today can become a much larger renovation project later. Early action can protect the bathroom structure and reduce unnecessary costs.
Once the leak problem is solved, tile repair becomes more effective. The new tile, grout, and sealant can work together properly. This creates a cleaner, safer, and longer-lasting shower space.
Conclusion
Repairing shower tiles requires the right materials, careful matching, proper crack treatment, and leak inspection. A successful repair does not only improve appearance. It also protects the bathroom from future water damage.




