How to tile a shower floor and walls?
- Sinotiles
- 2026-07-30
A shower is one of the most demanding areas for tile installation because it faces constant water exposure, humidity, and daily use. Many homeowners choose beautiful tiles but ignore the preparation behind a successful shower project.
Tiling a shower floor and walls requires careful planning, waterproofing, suitable tile selection, and correct installation steps. A complete system helps prevent leaks, cracks, and long-term damage.
In my experience working with ceramic and porcelain tile customers, shower projects are not only about creating a beautiful bathroom. They are also about building a safe and durable space where every layer works together.
The tile is only the visible part. Behind the surface, there are important steps involving the base, waterproof membrane, adhesive, grout, and sealing process.
What preparation is needed for shower tiling projects?
Proper preparation creates the foundation for a successful shower tile installation. A strong surface, accurate measurements, and a clear design plan can reduce problems during and after construction.

Many shower tile failures happen because installation starts too quickly. If the surface is uneven or moisture protection is missing, even high-quality tiles may not perform well.
Before installing tiles, the shower area needs a complete inspection. The installer should check the wall structure, floor condition, plumbing position, and overall layout.
Main preparation steps for shower tiling
| Preparation step | Purpose | Important details |
|---|---|---|
| Check wall and floor structure | Creates a stable base | Avoid movement and cracks |
| Measure the shower area | Plans tile layout | Reduces cutting mistakes |
| Prepare the surface | Improves tile bonding | Keep the area clean and flat |
| Plan tile placement | Creates better appearance | Balance edges and corners |
The first step is making sure the shower structure is strong. Walls should be stable, and the floor should have the correct slope toward the drain.
A shower floor cannot be completely flat because water needs to move away. Without proper slope, water can stay on the surface and create moisture problems.
Why layout planning matters
Large format tiles are becoming more popular in modern bathrooms. Sizes such as 600x1200mm tiles can create a clean look with fewer grout lines. However, larger tiles require more accurate preparation.
A good layout considers:
- Tile size
- Wall height
- Drain location
- Corner positions
- Grout line direction
A poor layout can create very small tile pieces at the edges. This often makes the shower look less professional.
Tools and materials for preparation
A typical shower tiling project may need:
- Measuring tools
- Leveling tools
- Waterproof materials
- Tile adhesive
- Tile spacers
- Grout
- Sealant
Professional installers spend time preparing because mistakes become expensive after tiles are installed.
From a supplier perspective, I often explain that tile quality and installation quality are connected. A premium tile needs a suitable installation environment to show its full value.
For international projects, preparation is even more important because different countries have different building methods and climate conditions. A shower in a humid region may need different protection compared with one in a dry area.
How do you waterproof shower floors and walls properly?
Waterproofing is the most important step in shower tile installation. Tiles and grout can resist water, but they are not the main waterproof barrier. The waterproof layer behind the tiles protects the structure.
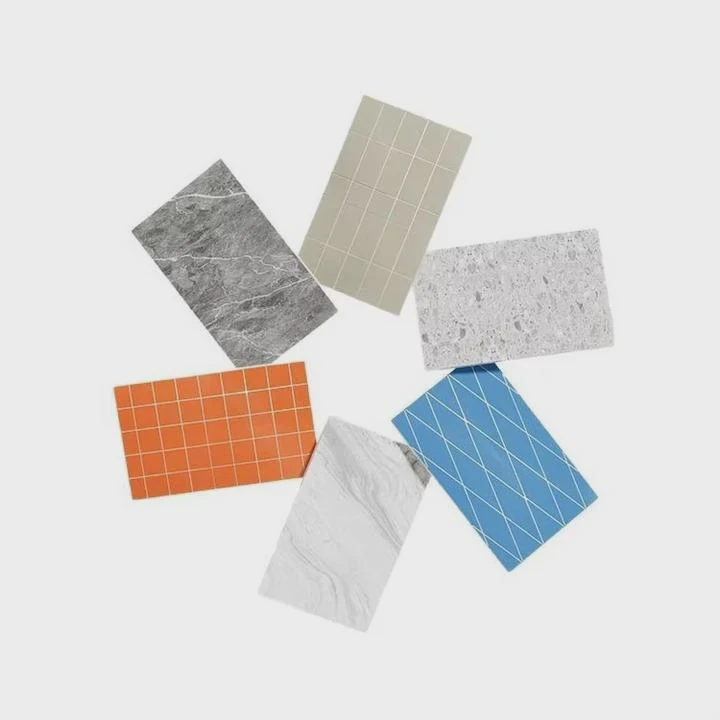
Many people believe that grout prevents all water from entering. However, small amounts of moisture can move through grout joints over time. A proper waterproof system helps control this moisture.
Common shower waterproofing methods
| Waterproofing method | Description | Common use |
|---|---|---|
| Sheet membrane | Pre-made waterproof layer | Professional shower systems |
| Liquid membrane | Brush or roll applied coating | Flexible installation |
| Waterproof boards | Moisture-resistant panels | Wall preparation |
The waterproof layer should cover all areas exposed to water, including:
- Shower floor
- Shower walls
- Corners
- Drain connections
- Pipe openings
Steps for proper waterproofing
- Prepare a clean and stable surface.
- Install the waterproof system.
- Seal corners and joints carefully.
- Check for complete coverage.
- Allow proper drying time.
Corners are especially important because they are common weak points. Small gaps in these areas can allow water to enter behind the tile.
Why waterproofing quality matters
Water damage behind shower tiles can create serious problems. It may damage walls, create mold conditions, and require expensive repairs.
A good waterproof system provides:
- Better moisture control
- Longer tile life
- Reduced repair costs
- Better indoor comfort
When I discuss bathroom tile projects with customers, I always highlight waterproofing before discussing tile patterns. A beautiful shower design has little value if the structure underneath is not protected.
Professional installation considerations
Commercial projects such as hotels, apartments, and resorts require strict waterproofing standards because many users will use the showers every day.
These projects usually need:
- Reliable materials
- Experienced installers
- Quality inspections
- Maintenance planning
For homeowners, the same principle applies. Waterproofing is not the place to reduce costs. A small saving during installation can create much larger expenses later.
A complete shower system combines waterproofing, tile selection, and correct installation. Each part supports the final result.
Which tiles are best for shower installations?
The best shower tiles are durable, water-resistant, easy to clean, and suitable for wet environments. Porcelain tiles, ceramic tiles, and some natural stones can work well when they match the project requirements.
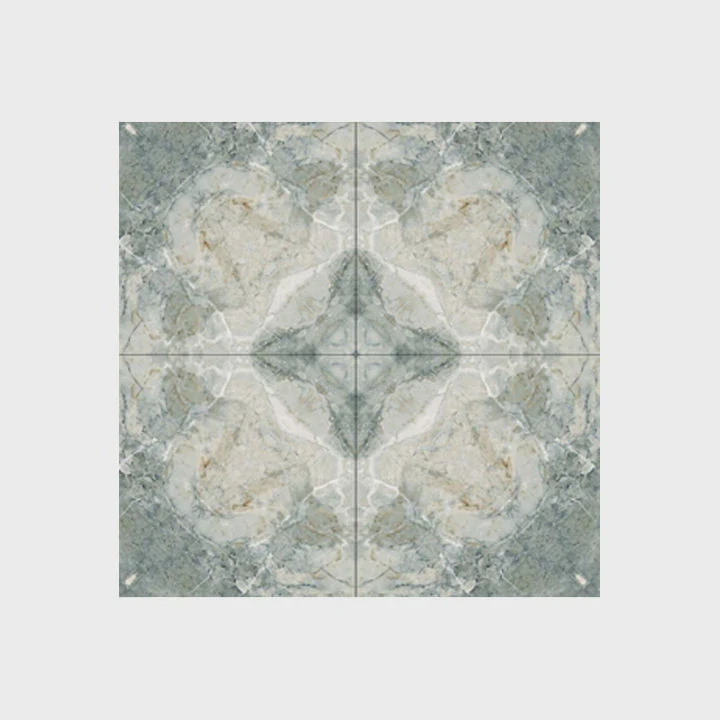
Tile selection affects both appearance and performance. A shower needs tiles that can handle moisture, temperature changes, and regular cleaning.
Common shower tile options
| Tile type | Advantages | Suitable area |
|---|---|---|
| Porcelain tile | Low water absorption and strong durability | Floors and walls |
| Ceramic tile | Many designs and affordable options | Shower walls |
| Mosaic tile | Flexible for curves and small areas | Shower floors |
| Natural stone | Premium appearance | Requires more maintenance |
Porcelain tile is often a popular choice for shower floors because it is dense and durable. It can handle moisture and daily use.
Ceramic tile provides many design choices. It is commonly used on shower walls because walls usually receive less physical pressure than floors.
Important tile features for showers
Good shower tiles should have:
- Low water absorption
- Suitable slip resistance
- Strong surface quality
- Easy maintenance
- Proper size for the location
The shower floor needs extra attention because it receives direct water flow and foot traffic. Small mosaic tiles are often used because they provide more grout lines and better surface flexibility.
Large tiles can also work on shower walls. They create a modern appearance and reduce cleaning work because fewer grout lines collect dirt.
Choosing tile style and function together
Many customers focus on color and pattern first. However, function should come before appearance.
For example:
- Matte surfaces can provide a softer look and better grip.
- Glossy surfaces can create brightness but may show water marks more easily.
- Textured tiles can add safety but may need more cleaning.
In my experience, successful bathroom projects balance design and practical needs. A tile should not only look attractive on installation day. It should continue performing after years of use.
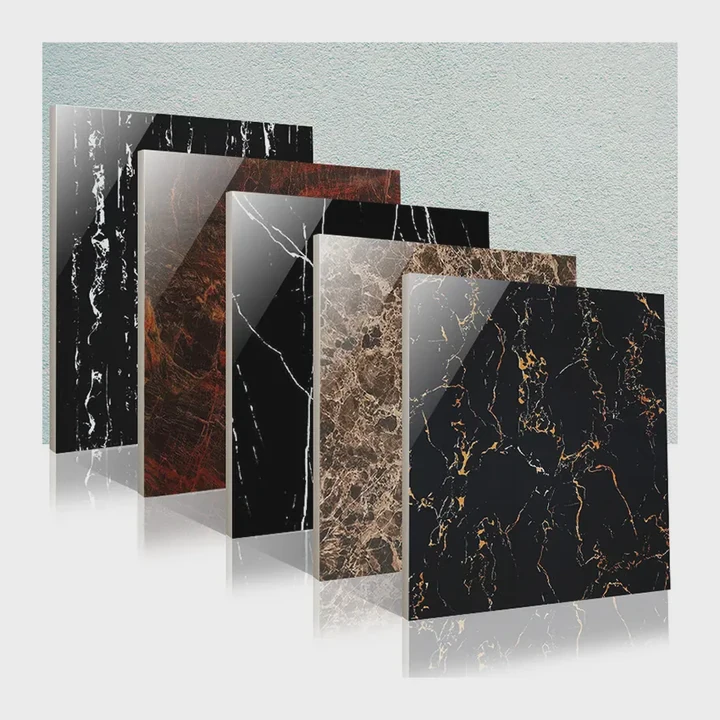
Modern ceramic manufacturers now offer many shower-friendly designs. Customers can choose marble looks, stone textures, concrete styles, and natural patterns while keeping the benefits of ceramic and porcelain materials.
What order should you tile shower floor and walls?
The usual installation order is to tile the shower walls first and the shower floor afterward. This method helps protect the floor surface and creates a cleaner final appearance.
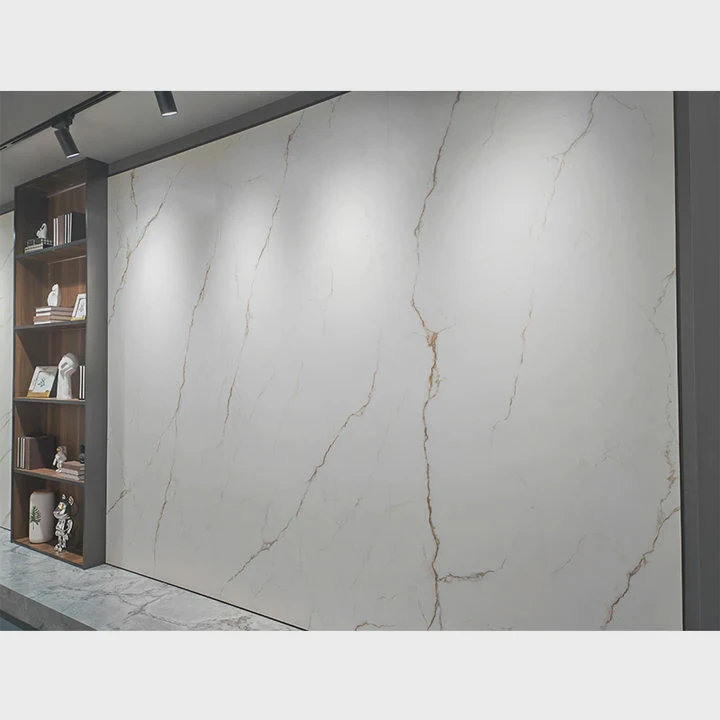
However, the exact process can depend on the installation system and installer preference. The most important factor is maintaining proper waterproofing and tile alignment.
Common shower tiling order
| Step | Installation area | Reason |
|---|---|---|
| 1 | Waterproofing | Protects the structure |
| 2 | Shower walls | Creates a stable starting point |
| 3 | Shower floor | Protects floor appearance |
| 4 | Grouting | Seals tile joints |
Installing wall tiles first helps prevent damage from tools and movement during construction. It also allows the floor tiles to create a cleaner connection at the bottom edge.
Why wall tiles often come first
Wall tiles are usually easier to install before the floor surface is finished. Workers can stand on the unfinished floor without damaging new floor tiles.
This method also helps control the visual line between walls and floor.
Important details include:
- Keeping grout lines aligned
- Checking tile levels
- Maintaining consistent spacing
- Sealing corners properly
Final installation checks
After all tiles are installed, the project should be checked for:
- Loose tiles
- Uneven surfaces
- Poor grout joints
- Water drainage problems
The final result depends on many small details. A professional shower installation requires patience and accuracy.
From my experience supplying ceramic and porcelain tiles, I know that customers often remember the final appearance. However, the hidden work behind the tile decides whether the shower remains beautiful for many years.
A well-installed shower combines strong preparation, waterproof protection, suitable tiles, and careful installation order. These steps create a bathroom space that is both attractive and reliable.
Conclusion
Tiling a shower floor and walls requires more than choosing beautiful tiles. Proper preparation, waterproofing, suitable materials, and correct installation order help create a durable and attractive shower.