How to tile kitchen counter?
- Sinotiles
- 2026-07-22
A kitchen counter needs to handle daily pressure from cooking, cleaning, heat, and moisture. A poor tile installation can create uneven surfaces, damaged grout, and difficult maintenance problems.
Tiling a kitchen counter requires good surface preparation, suitable tile selection, careful leveling, and proper grout protection. A clear installation process helps create a durable and attractive countertop.
I have learned that kitchen countertop projects are different from normal wall or floor tiling. The surface needs to support daily activities and provide a clean working area. The right materials and installation steps can make a tiled counter last for many years.
What preparation is needed for countertops?
Countertop preparation is the foundation of a successful tile installation. Many problems that appear after installation are caused by poor preparation before the first tile is placed. A strong base helps prevent cracks, movement, and uneven surfaces.
A kitchen counter needs a clean, strong, flat, and moisture-resistant base before tile installation begins. Proper preparation improves tile performance and appearance.
Before installing tiles, I always recommend checking the existing countertop structure. The surface must be strong enough to support the tile weight. A weak or damaged base can create movement, and movement can break tiles or grout lines.
Check the countertop condition first
The first step is to inspect the current surface. The installer needs to check for cracks, loose materials, water damage, and uneven areas.
A good preparation process usually includes:
| Preparation step | Purpose |
|---|---|
| Clean the surface | Remove grease, dust, and dirt |
| Repair damage | Create a stable foundation |
| Check level | Prevent uneven tile placement |
| Add waterproof protection | Reduce moisture problems |
| Measure the area | Plan tile layout correctly |
The surface must also be free from oil and cooking residue. Kitchen counters often collect grease that can reduce adhesive performance. A clean surface allows better contact between the tile and the base.
Choose the right countertop base
Different countertop bases need different preparation methods. Some surfaces are easier to tile than others.
Concrete surfaces are usually stable and strong. Wood-based counters may need additional support because wood can expand and contract with temperature and humidity changes. This movement can affect the tile surface.
A backer board or suitable tile underlayment can create a better surface for installation. It helps separate the tile from small movements in the original structure.
I also suggest planning the tile layout before applying adhesive. The installer should know where cuts will happen, how edges will look, and where grout lines will appear. This planning reduces waste and creates a cleaner final result.
Think about daily kitchen use
A kitchen counter is not only a decorative surface. It is a working area. The preparation process should consider:
- Water exposure near sinks
- Heat from cooking areas
- Food contact areas
- Cleaning habits
- Heavy kitchen equipment
The counter should be designed for practical use. A beautiful tile surface can still fail if the base is not prepared correctly.
The preparation stage may take more time than expected, but it creates the foundation for the entire project. A strong beginning makes the later installation steps easier and more reliable.
Which tiles are best for kitchen counters?
Choosing the right tile is one of the most important decisions for a kitchen counter. Not every tile designed for walls or floors can perform well on a countertop. The material needs to handle pressure, stains, heat, and frequent cleaning.
The best tiles for kitchen counters are durable, low-absorption tiles such as porcelain tiles, glazed tiles, and some high-quality ceramic tiles.
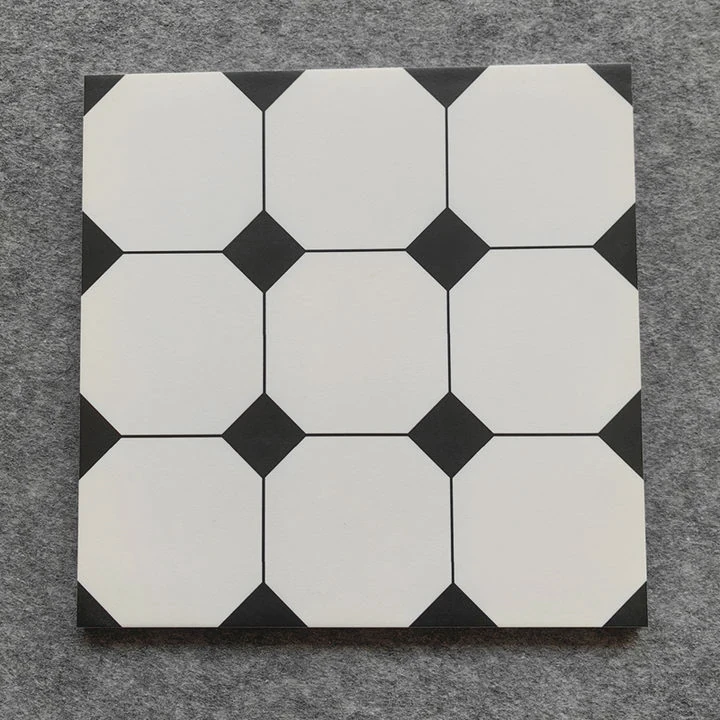
When selecting countertop tiles, I focus on both performance and design. A kitchen counter needs to look attractive, but it also needs to work well every day.
Compare common countertop tile options
| Tile type | Advantages | Considerations |
|---|---|---|
| Porcelain tile | Strong, low water absorption, durable | Usually harder to cut |
| Glazed ceramic tile | Many designs and colors | Quality varies by product |
| Mosaic tile | Flexible for curved areas | More grout lines |
| Natural stone tile | Unique appearance | Needs more maintenance |
Porcelain tiles are often a popular choice because they have strong performance. They can resist moisture and daily wear. They are suitable for busy kitchens where durability is important.
Glazed ceramic tiles can also work well. They offer many colors, patterns, and surface styles. However, buyers should select products with suitable strength because countertop use can create more stress than wall applications.
Consider tile size and surface design
Tile size affects both appearance and maintenance. Large tiles create fewer grout joints, which can make cleaning easier. Smaller tiles provide more design flexibility but create more grout areas.
For kitchen counters, I often consider:
- 600x600mm tiles for modern designs
- 600x1200mm tiles for large surfaces
- Mosaic tiles for edge details or special areas
The surface finish also matters. Extremely rough textures may collect dirt. Very smooth glossy surfaces may show scratches or marks more easily.
Match tile choice with the kitchen style
The tile should work with the overall kitchen design. Modern kitchens often use simple stone-look or marble-look tiles. Traditional kitchens may use patterned or handmade-style tiles.
A good countertop tile should balance:
- Appearance
- Strength
- Cleaning needs
- Budget
- Installation difficulty
I believe the best choice is not always the most expensive tile. The best choice is the tile that matches the project needs and provides reliable long-term performance.
How to ensure tiles are level on surfaces?
A level tile surface is important for both appearance and daily use. Uneven tiles can create uncomfortable edges, water collection areas, and cleaning difficulties.
Tiles stay level on kitchen counters when installers prepare a flat base, use proper adhesive control, and check each tile during installation.
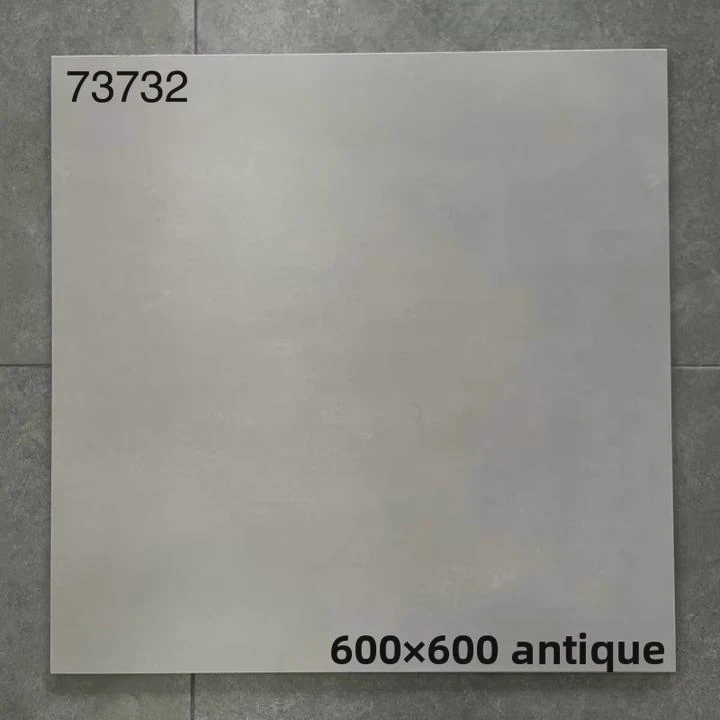
Tile leveling starts before the first tile is installed. The countertop surface should already be flat. Adhesive cannot always fix major surface problems.
Use proper installation methods
The adhesive layer should have consistent thickness. Too much adhesive in one area and too little in another can create height differences between tiles.
A good installation process includes:
- Spread adhesive evenly.
- Place tiles carefully.
- Check height differences.
- Adjust before adhesive dries.
- Use leveling tools when needed.
Tile leveling systems can help reduce uneven edges between tiles. These tools are especially useful for larger tiles because large surfaces make small height differences more visible.
Important leveling factors
| Factor | Why it matters |
|---|---|
| Flat countertop base | Creates stable tile support |
| Correct adhesive amount | Prevents tile movement |
| Tile spacing | Keeps grout lines consistent |
| Leveling tools | Reduces uneven edges |
The installer should also check the slope of the countertop. A kitchen counter near a sink may need slight water direction planning. However, the surface should still feel comfortable and stable during use.
Pay attention to tile cuts and edges
The edges of a tiled countertop require extra attention. Poorly cut edge pieces can create weak points and affect the overall appearance.
I recommend planning edge details before installation. Options include:
- Matching edge tiles
- Metal trim profiles
- Rounded tile edges
- Decorative border designs
The final result depends on many small details. A countertop may use high-quality tiles, but poor leveling can reduce the value of the entire project.
A careful installation process creates a smoother surface, better appearance, and longer service life. Taking extra time during leveling usually prevents expensive repairs later.
Should countertop grout be sealed after installation?
Grout plays an important role in a tiled kitchen counter. It fills the spaces between tiles and helps create a finished surface. However, grout can absorb moisture and stains if it is not properly protected.
Countertop grout should usually be sealed after installation because sealing helps reduce water absorption, stains, and maintenance problems.
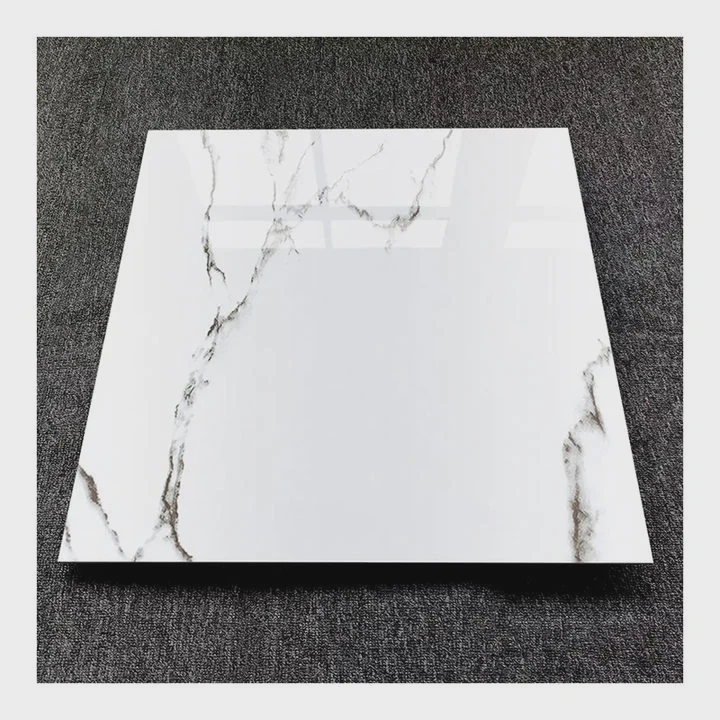
Kitchen counters face many substances every day. Coffee, oil, sauces, and water can enter grout lines if the grout is not protected.
Why grout sealing matters
Unsealed grout can become dirty over time. It may also become harder to clean because stains can enter the porous material.
A grout sealer helps by:
- Reducing moisture absorption
- Protecting against stains
- Making cleaning easier
- Improving long-term appearance
The sealing process should happen after the grout has fully cured. The exact waiting time depends on the grout type and product instructions.
Maintenance after sealing
Sealing does not mean the grout never needs care. A kitchen counter still needs regular cleaning.
| Maintenance action | Recommended purpose |
|---|---|
| Clean spills quickly | Prevent stains |
| Use gentle cleaners | Protect grout surface |
| Check grout condition | Find damage early |
| Reseal when needed | Maintain protection |
The frequency of resealing depends on usage, grout type, and kitchen conditions. Busy kitchens may need more attention than lightly used spaces.
I also recommend choosing grout color carefully. Light grout can create a clean appearance but may show stains more easily. Darker grout can hide dirt but may affect the overall design style.
A well-sealed grout system improves both function and appearance. It helps the tiled counter remain cleaner and protects the investment made during installation.
Conclusion
Tiling a kitchen counter needs careful planning, strong materials, accurate installation, and proper maintenance. The right process helps create a durable countertop that looks good and works well every day.