How to tile stairs?
- Sinotiles
- 2026-08-06
Tiling stairs looks simple, but small mistakes can create safety risks and repair problems. Poor measurements, weak bonding, or wrong tile choices can make stairs unsafe.
To tile stairs successfully, I need to prepare the surface, measure each step carefully, choose suitable tiles, and install them with strong fixing methods.
A stair project needs more attention than a flat floor because every step must support repeated pressure. A good installation plan helps create stairs that are safe, attractive, and durable for many years.
What preparation is needed for tiling stairs?
Stair tiling starts before placing the first tile. The preparation stage decides whether the final result will stay strong or develop problems later. Stairs experience more movement and pressure than normal floors, so every detail matters.
The main preparation steps include checking the stair structure, cleaning the surface, measuring each step, and selecting suitable tile materials.

When I prepare stairs for tiling, I first check the condition of the existing steps. The surface must be strong, stable, and free from loose materials. Cracks, uneven areas, or damaged concrete can affect tile bonding.
Checking stair conditions before installation
A strong stair base is the first requirement. If the stair structure moves, even high-quality tiles may crack. I usually check:
| Check item | Why it matters |
|---|---|
| Surface strength | Prevents tile movement and cracks |
| Step level | Creates a safer walking surface |
| Step size consistency | Helps achieve a balanced appearance |
| Moisture condition | Avoids bonding problems |
After checking the structure, I clean the stairs carefully. Dust, oil, paint, and old adhesive can reduce the strength of tile adhesive. A clean surface allows better contact between the tile and the stair base.
Measuring stair dimensions
Stairs are different from normal floors because each step has two important parts:
- Tread: the horizontal area where people place their feet.
- Riser: the vertical area between steps.
I measure both parts before ordering tiles. The tread usually needs stronger attention because it receives direct walking pressure.
Choosing the right tile materials
Not every tile works well for stairs. Stair tiles need strong hardness, good grip, and resistance to daily wear.
Common choices include:
- Porcelain tiles for high strength.
- Natural stone tiles for premium designs.
- Anti-slip ceramic tiles for safer walking.
The tile thickness also matters. Thin tiles may not handle repeated impact well, especially in busy areas.
Preparation also includes planning the tile layout. I decide where full tiles should appear and where cuts should be placed. A good layout improves appearance and reduces unnecessary waste.
A careful preparation process creates a strong base for the next installation steps. It helps prevent problems that are difficult and expensive to repair later.
How can tile cuts be measured for stair edges?
Stair edges need accurate tile cutting because they are the most visible and most used parts of the installation. Wrong cuts can create uneven lines, weak corners, and safety issues.
Tile cuts for stair edges can be measured by recording each tread and riser size, checking edge positions, and cutting tiles based on the exact stair dimensions.

When I measure stair tiles, I do not assume every step has the same size. Even stairs built together may have small differences. These differences become noticeable after tile installation.
Measuring each stair step
I start by measuring:
- The tread depth.
- The tread width.
- The riser height.
- The edge overhang or stair nose requirement.
The measurements help determine the exact tile size needed for each part.
| Stair part | Measurement focus | Installation purpose |
|---|---|---|
| Tread | Depth and width | Creates walking surface |
| Riser | Height and width | Covers vertical face |
| Stair edge | Length and thickness | Protects the corner |
Planning stair edge cuts
The stair edge is important because it receives impact from shoes and objects. A poor edge cut can chip quickly. I usually plan the edge piece before cutting the main tile.
Some projects use special stair nose tiles. These products create a finished edge and provide better protection. Other projects use metal profiles or custom tile cuts.
Before final cutting, I always create a dry layout. This means placing tiles without adhesive to check the fit. This simple step helps identify problems before permanent installation.
Avoiding common cutting mistakes
Several mistakes happen during stair tile cutting:
- Measuring only one step and copying the size.
- Forgetting grout joint space.
- Cutting without checking the final position.
- Using damaged tile pieces on visible edges.
I avoid these problems by measuring twice and cutting once. Accurate cutting reduces material waste and improves the final appearance.
Professional tile cutters, wet saws, and diamond blades can help create clean cuts. These tools reduce cracking and make edge finishing easier.
Stair tile cutting is not only about making pieces fit. It is about creating a safe and balanced stair surface. Careful measurement creates better results and reduces future maintenance.
Why use anti-slip tiles on stairs?
Stairs naturally have a higher safety risk because people move vertically while using them. A slippery surface can cause serious accidents, especially in wet areas or places with heavy traffic.
Anti-slip tiles are used on stairs because they provide better grip, reduce slipping risks, and improve safety during daily use.
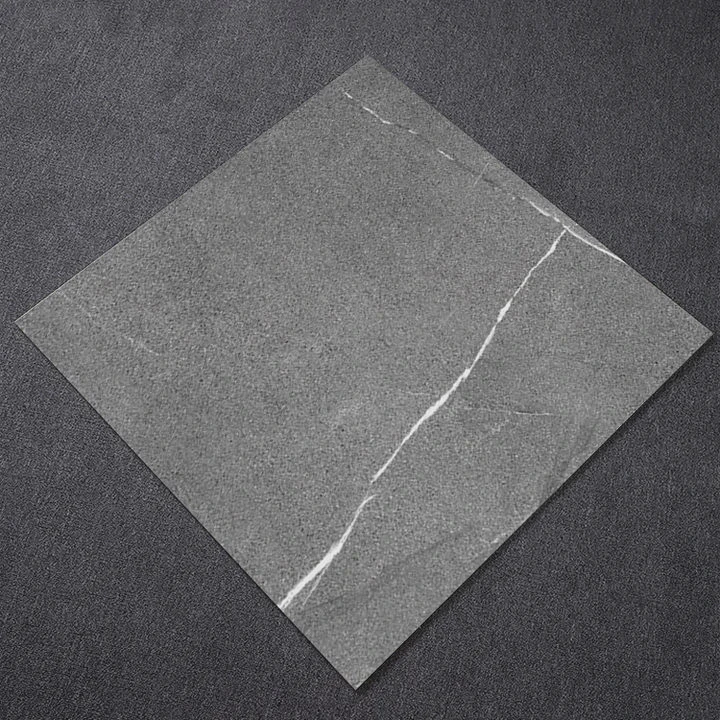
When I choose stair tiles, appearance is important, but safety comes first. A beautiful tile with poor grip may create problems after installation.
Benefits of anti-slip stair tiles
Anti-slip tiles provide several advantages:
| Benefit | Explanation |
|---|---|
| Better traction | Helps shoes maintain contact |
| Improved safety | Reduces slipping risk |
| Better durability | Designed for frequent walking |
| Suitable for outdoor areas | Handles moisture better |
The surface texture of anti-slip tiles creates more friction between shoes and the tile. This feature is especially useful for outdoor stairs, public buildings, and areas exposed to water.
Choosing the right anti-slip level
Different environments need different levels of slip resistance. Indoor home stairs may need moderate protection, while outdoor or commercial stairs usually require stronger performance.
I consider several factors:
- Location of the stairs.
- Amount of daily traffic.
- Exposure to water.
- Cleaning requirements.
For example, entrance stairs often face rain and dirt. These stairs need stronger anti-slip performance than dry indoor stairs.
Combining safety and design
Some people think anti-slip tiles cannot look attractive, but modern tile designs provide many options. Manufacturers now offer different colors, textures, and patterns while maintaining safety features.
I also consider lighting conditions. Dark or highly patterned stairs may affect visibility. A clear contrast between the tread and riser can help people recognize each step more easily.
Anti-slip tiles are not only a product choice. They are part of the complete stair design. A good stair installation should protect users while maintaining a clean appearance.
Which steps ensure durable stair tile installation?
A durable stair tile installation requires more than placing tiles with adhesive. Every step, from material selection to final inspection, affects the long-term performance.
Durable stair tile installation requires strong preparation, correct adhesive use, accurate placement, proper curing, and regular maintenance.
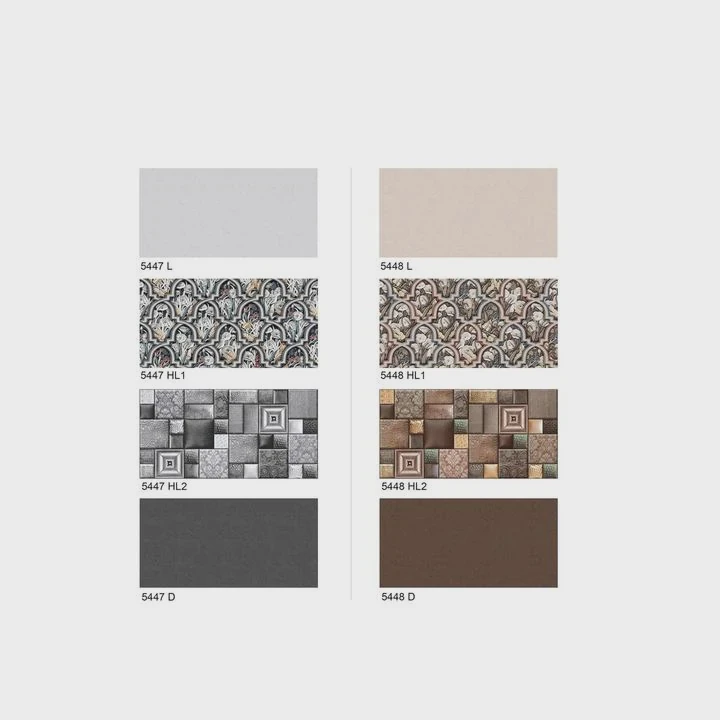
When I install stair tiles, I focus on creating a strong connection between the tile and the stair base. Stairs receive repeated pressure, so weak installation methods often fail faster.
Important installation steps
The main steps include:
- Preparing the stair surface.
- Applying suitable tile adhesive.
- Placing tiles with correct alignment.
- Installing edge protection.
- Allowing proper curing time.
- Sealing and checking the finished surface.
Selecting proper adhesive
The adhesive choice affects tile strength. Stair tiles need strong bonding because gravity and movement create additional stress.
I select adhesive based on:
- Tile material.
- Stair location.
- Indoor or outdoor conditions.
- Expected traffic level.
Using low-quality adhesive may save money at first, but it can lead to loose tiles and expensive repairs later.
Maintaining stair tile performance
After installation, maintenance also matters. Regular cleaning prevents dirt buildup and helps maintain the tile surface. I also check grout lines and edges because these areas may show early signs of damage.
A simple maintenance plan can include:
| Maintenance action | Recommended purpose |
|---|---|
| Regular cleaning | Keeps surface safe |
| Grout inspection | Finds early damage |
| Edge checking | Prevents loose sections |
| Repairing cracks quickly | Stops larger problems |
Durability comes from the entire installation system. Strong materials, accurate measurements, and careful workmanship work together.
A stair is not only a decorative feature. It is a structure people depend on every day. A well-installed tile surface improves both appearance and long-term safety.
Conclusion
Tiling stairs requires careful preparation, accurate cutting, safe tile selection, and strong installation methods. By following each step correctly, I can create stairs that are durable, attractive, and safe for daily use.