
How to Visualize the Size of Your Tile?
- Sinotiles
- 2026-05-28
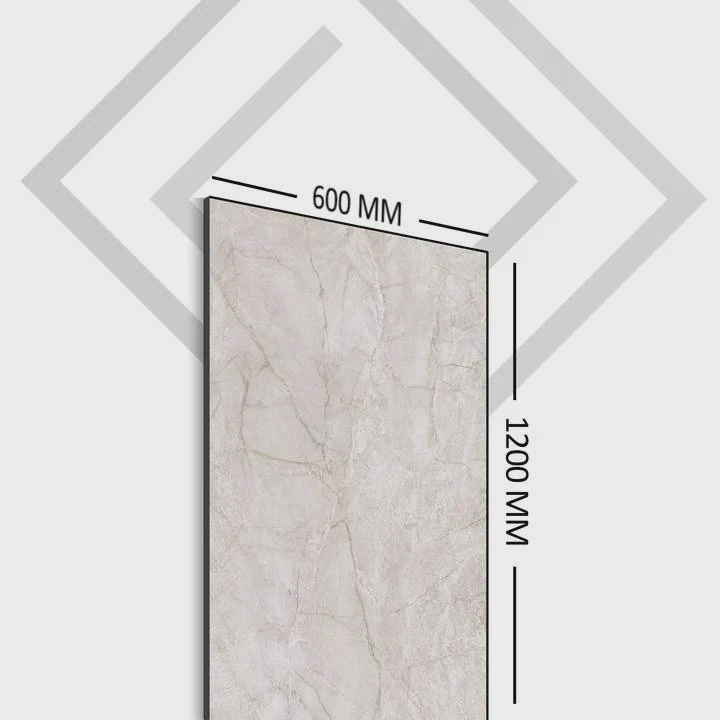
Many buyers choose tile sizes based only on product photos. Later, the finished space feels too crowded, too empty, or visually unbalanced.
The best way to visualize tile size is by using mock layouts, physical samples, digital tools, floor markings, and realistic room planning before installation begins.
Tile size changes far more than appearance alone. It affects room proportions, grout visibility, maintenance, installation cost, and even how large or small a space feels. A tile that looks perfect inside a showroom may appear completely different inside a bathroom, kitchen, hotel lobby, or commercial project. Because of this, proper visualization before installation helps avoid expensive design mistakes and improves overall project results.
What Methods Help Visualize Tile Size Before Installation?
Many tile selection mistakes happen because buyers cannot accurately imagine scale inside the real space. Product catalogs and online images often create misleading expectations.
The most effective methods for visualizing tile size include floor marking, dry layouts, digital rendering, sample placement, and comparing tile dimensions directly inside the installation area.
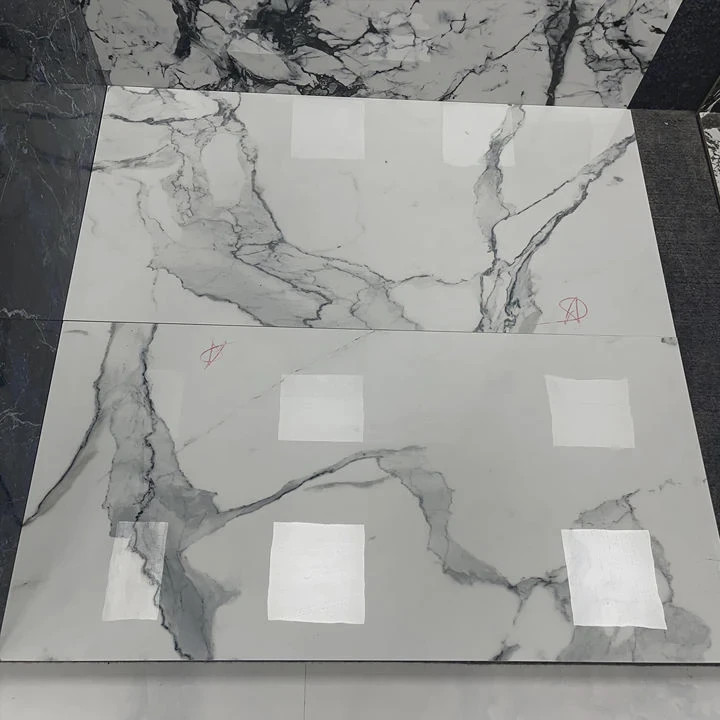
Tile size has a major impact on how a room feels. Large tiles can make small rooms appear more open, while smaller tiles may create more texture and detail. Still, these effects become difficult to understand without proper visualization.
Use Tape Markings on the Floor
One simple but highly effective method is using masking tape to outline tile dimensions directly on the floor or wall.
This allows people to:
- Understand scale more clearly
- See grout line spacing
- Compare multiple tile sizes
- Visualize layout flow
Even basic floor markings often reveal design problems early.
Compare Multiple Tile Sizes
Many buyers only look at one tile size at a time. Comparing several sizes side by side creates a much clearer understanding of proportion.
For example:
- 600x600mm tiles create a balanced standard look
- 800x800mm tiles feel more spacious
- 600x1200mm tiles create a modern linear effect
- Large slabs reduce grout visibility significantly
Consider Room Dimensions
Tile size should relate to room size.
Small rooms filled with many tiny tiles may feel visually busy. Extremely large tiles in narrow rooms may create excessive cutting and material waste.
Here is a simple comparison:
| Room Type | Common Tile Size | Visual Effect |
|---|---|---|
| Small bathroom | 600x600mm | Balanced appearance |
| Modern living room | 800x800mm | Spacious feeling |
| Luxury wall design | 600x1200mm | Elegant linear style |
| Commercial lobby | Large slabs | Seamless appearance |
Observe Grout Line Impact
Many people underestimate how much grout lines affect the final appearance.
More grout lines create:
- More visual texture
- Stronger patterns
- Higher cleaning needs
Fewer grout lines create:
- Cleaner appearance
- More modern style
- Easier maintenance
Viewing Distance Matters
Tile size may appear differently depending on viewing distance.
Large commercial areas usually benefit from bigger formats because people view the floor from farther away. Smaller residential bathrooms often require more balanced proportions.
Lighting Changes Perception
Lighting also changes how tile size appears.
Natural light can make large tiles feel even more open and continuous. Dark rooms sometimes benefit from smaller formats that add visual detail.
Real-Space Visualization Is Better Than Catalog Images
Catalog photos often use wide-angle photography and ideal lighting conditions.
Actual room conditions differ greatly. This is why many designers prefer on-site visualization before final approval.
Good planning reduces:
- Design regret
- Installation delays
- Material waste
- Customer dissatisfaction
Visualization is not only about style. It also improves practical project decisions.
How Can Mock Layouts Improve Planning Accuracy?
Many installation problems begin because layouts were never tested before installation started. Small mistakes later become expensive corrections.
Mock layouts improve planning accuracy by showing tile spacing, grout alignment, cutting requirements, visual balance, and overall room flow before permanent installation begins.
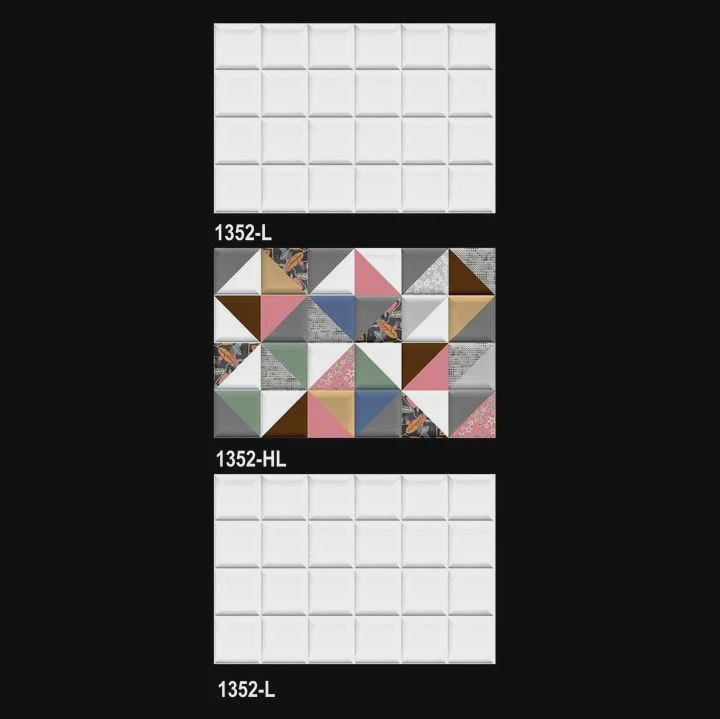
Mock layouts are one of the most useful steps in professional tile planning. They help installers, designers, and buyers identify problems before adhesive and grout make changes difficult.
What Is a Mock Layout?
A mock layout is a temporary arrangement of tiles before final installation.
Tiles are placed on the floor or against the wall without adhesive to test:
- Alignment
- Pattern flow
- Proportions
- Spacing
- Cut locations
This process gives a realistic preview of the finished result.
Preventing Uneven Tile Cuts
One common installation problem is ending up with very narrow tile cuts near walls or corners.
Mock layouts help installers shift the layout slightly to create more balanced edge cuts.
This creates a cleaner and more professional appearance.
Testing Grout Line Visibility
Grout lines strongly affect the final design.
A mock layout helps determine:
- Appropriate grout width
- Color matching
- Pattern consistency
Dark grout creates stronger visual contrast. Light grout creates a softer and more seamless appearance.
Understanding Pattern Direction
Rectangular tiles such as 600x1200mm products often create directional movement in a space.
The layout direction changes how the room feels.
For example:
- Horizontal layouts make rooms feel wider
- Vertical layouts make walls appear taller
- Diagonal layouts create dynamic movement
Large Tiles Need Careful Planning
Large-format tiles and porcelain slabs require especially accurate layouts.
Small alignment mistakes become highly visible because:
- Grout lines are fewer
- Tile edges are longer
- Surface continuity matters more
Mock Layouts Reduce Material Waste
Testing layouts early helps estimate:
- Cutting requirements
- Extra material needs
- Installation efficiency
This improves budget control on both residential and commercial projects.
Comparing Layout Styles
| Layout Style | Main Effect | Common Use |
|---|---|---|
| Straight layout | Clean appearance | Modern interiors |
| Brick pattern | Natural movement | Wood-look tiles |
| Diagonal layout | Dynamic design | Decorative spaces |
| Seamless slab layout | Luxury feeling | High-end projects |
Communication Improves with Mockups
Mock layouts also help communication between:
- Designers
- Installers
- Project owners
- Clients
Many misunderstandings disappear once everyone can see the actual layout clearly.
Commercial Projects Depend on Precision
Hotels, office buildings, and retail projects often require approved mockups before full installation begins.
This helps maintain:
- Design consistency
- Brand image
- Installation quality
Large projects cannot afford major layout errors after installation starts.
Planning Creates Better Final Results
Good layouts improve both appearance and functionality.
They help balance:
- Tile proportions
- Grout symmetry
- Visual flow
- Installation efficiency
Mock layouts may require extra preparation time, but they usually save far more time and cost later.
Why Use Samples to Test Tile Proportions?
Tile images online often fail to show the true scale, texture, and color variation. Many buyers only understand the real proportions after installation is complete.
Physical tile samples help test size proportions, lighting effects, surface textures, color consistency, and overall compatibility with the actual space before purchasing large quantities.
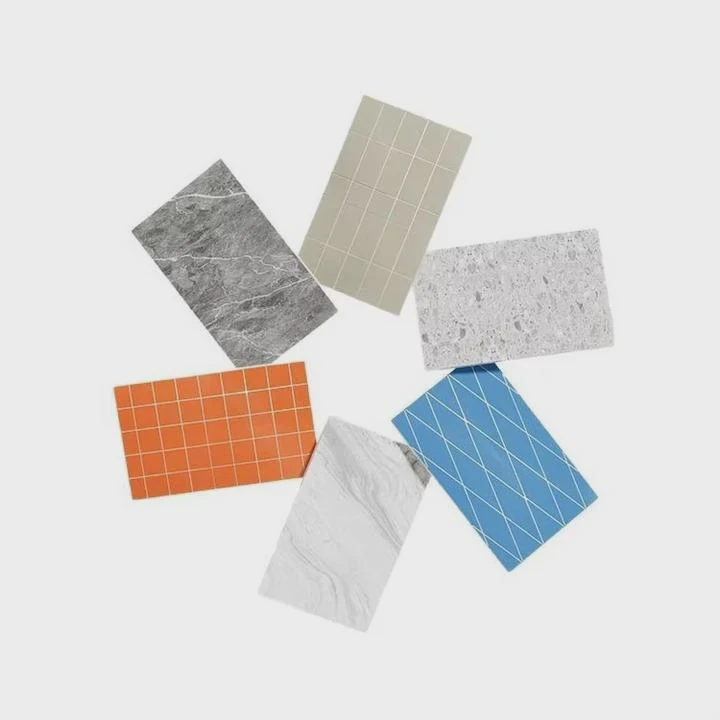
Tile samples are one of the simplest and most valuable planning tools. They reduce uncertainty and help buyers make more confident decisions.
Real Texture Looks Different in Person
Digital photos often hide important surface details.
A polished tile, matte tile, or textured surface may appear very different under real lighting conditions.
Physical samples reveal:
- Surface feel
- Reflection levels
- Edge finishing
- Texture depth
Lighting Changes Tile Appearance
Bathroom lighting, natural sunlight, and artificial lighting all affect tile appearance.
One tile may appear:
- Warm during daylight
- Cooler under LED lighting
- Darker in shadowed spaces
Testing samples inside the actual room provides a much more accurate result.
Size Perception Improves Immediately
Small sample images rarely communicate true scale.
Holding a real tile sample helps buyers understand:
- Tile proportion
- Visual weight
- Pattern repetition
- Grout impact
This becomes especially important for:
- Large-format porcelain
- Marble-look slabs
- Wood-look planks
Samples Help Match Interior Elements
Tiles should work together with:
- Cabinets
- Countertops
- Wall paint
- Furniture
- Bathroom fixtures
Physical samples make these comparisons easier.
Testing Multiple Sizes Together
Many projects compare two or three tile sizes before final selection.
For example:
- 600x600mm for balanced layouts
- 800x800mm for open spaces
- 600x1200mm for modern wall designs
Seeing them side by side improves decision-making significantly.
Samples Reduce Buying Risk
Large tile projects often involve major budgets.
Ordering without samples increases the risk of:
- Color mismatch
- Wrong size selection
- Poor lighting compatibility
- Design dissatisfaction
Why Commercial Buyers Request Samples
Professional buyers often test samples carefully before approving mass production.
They evaluate:
- Color consistency
- Surface durability
- Slip resistance
- Edge precision
This is especially important for hotels, apartment projects, and large commercial developments.
Sample Evaluation Checklist
| Evaluation Area | Why It Matters |
|---|---|
| Tile size | Room proportion |
| Surface finish | Maintenance and safety |
| Color under lighting | Final appearance |
| Edge quality | Installation precision |
Samples Improve Long-Term Satisfaction
Many tile choices remain visible for decades after installation.
Because replacement costs are high, buyers benefit from making slower and more informed decisions during the selection process.
Samples help create confidence before placing large production orders.
Which Tools Assist in Tile Size Visualization?
Many people struggle to imagine how tiles will look after installation. Visualization tools help turn abstract measurements into realistic planning decisions.
Tile visualization tools include digital design software, augmented reality apps, layout calculators, showroom displays, laser measurement tools, and physical sample boards that improve planning accuracy.
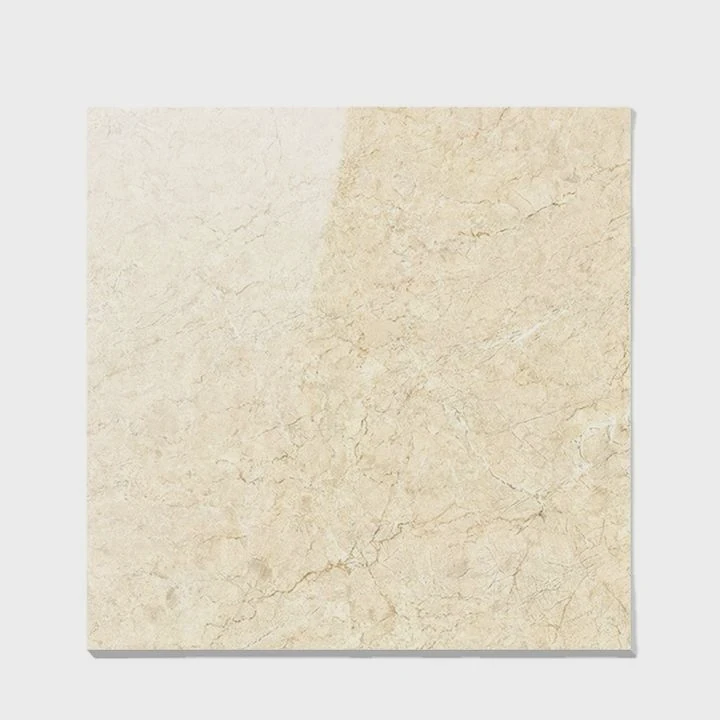
Modern technology has made tile planning much easier than before. Buyers can now preview layouts digitally before installation even begins.
Digital Room Visualizers
Many tile suppliers now provide digital visualization software.
These tools allow users to:
- Upload room photos
- Change tile sizes
- Compare colors
- Test layout patterns
This creates a fast preview of potential designs.
Augmented Reality Applications
Some modern apps use augmented reality technology.
Users can point a smartphone or tablet camera toward the room and preview virtual tile installations directly on the screen.
This helps improve:
- Scale understanding
- Design confidence
- Product comparison
Tile Calculators
Tile calculators assist with:
- Quantity estimation
- Layout planning
- Material budgeting
They help reduce material shortages and unnecessary overordering.
Laser Measurement Tools
Accurate room measurements improve visualization accuracy.
Laser tools provide:
- Faster measurements
- Better precision
- Easier large-room planning
This becomes especially useful in commercial projects.
Showroom Displays
Physical showroom displays remain highly valuable because buyers can observe full-size installations directly.
Good showroom setups help customers understand:
- Tile proportion
- Grout spacing
- Texture visibility
- Lighting interaction
Sample Boards and Mock Walls
Many professional designers create physical sample boards using:
- Multiple tile sizes
- Grout options
- Color combinations
This provides a realistic presentation before installation begins.
Comparing Visualization Tools
| Tool Type | Main Benefit | Best Use |
|---|---|---|
| Digital visualizer | Fast design preview | Early planning |
| AR app | Real-room simulation | Home projects |
| Showroom display | Real-size experience | Final selection |
| Mock boards | Detailed comparison | Commercial approval |
Commercial Projects Use Multiple Tools Together
Large projects often combine:
- CAD drawings
- Physical mockups
- Digital renderings
- Sample boards
This creates better coordination between architects, designers, and installers.
Visualization Reduces Expensive Mistakes
Incorrect tile size selection may create:
- Poor room proportions
- Excessive grout lines
- Higher waste
- Installation delays
Visualization tools help identify these issues before materials are installed.
Better Planning Improves Project Confidence
Tile installation is a long-term investment. Good visualization creates more confidence during the decision-making process.
The right tools help buyers understand how tile size will affect:
- Space perception
- Lighting
- Maintenance
- Overall design balance
Clear visualization usually leads to stronger final results and higher customer satisfaction.
Conclusion
Visualizing tile size before installation helps avoid costly mistakes and improves both design and functionality. Mock layouts, physical samples, digital tools, and careful planning all help create spaces that feel balanced, modern, and visually comfortable for long-term use.



