
Can I Put Tile Over Tile?
- Sinotiles
- 2026-08-19

Removing old tiles can create dust, noise, and extra costs during renovation. Many homeowners want a faster solution, but they worry about whether new tiles can stay strong over old tiles.
Yes, I can put tile over tile when the existing tiles are stable, clean, and properly prepared. The success depends on surface condition, strong adhesion, and the correct installation method.
Installing new tiles over old tiles can be a practical choice for many renovation projects. It can reduce demolition work and shorten the installation time. However, this method is not always suitable for every situation. I need to check the old tile surface carefully before making a decision.
The biggest mistake I see is treating tile-over-tile installation as a simple shortcut. New tiles still need a strong foundation. If the old tiles are loose, damaged, or poorly installed, the new layer may also fail.
I always focus on three important questions before starting this type of project. Is the old tile surface strong enough? Can the new adhesive create a strong bond? Will the extra tile thickness create other problems?
When these questions have good answers, tile over tile can become a reliable renovation method.
What preparation is needed before tiling over tile?
Before I install new tiles over old tiles, I need to prepare the existing surface carefully. Good preparation creates a strong base and helps prevent future installation problems.
The preparation process includes checking old tile stability, cleaning the surface, repairing damage, and creating a suitable base for new tile installation. A strong foundation is the first step for long-lasting results.
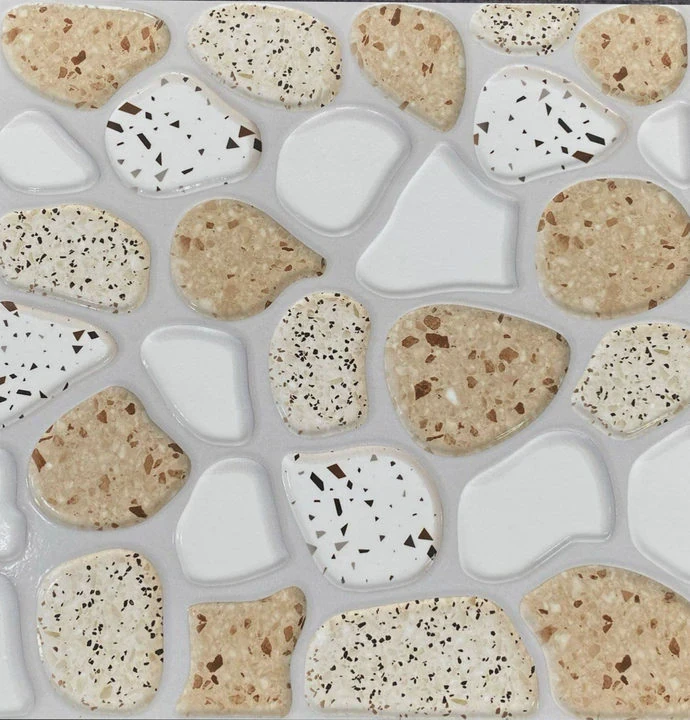
The first step is checking the condition of the old tiles. I need to make sure every existing tile is firmly attached. If some tiles move when pressure is applied, they cannot support a new tile layer. Loose tiles must be removed or repaired before starting.
I also check for cracks and hollow sounds. A hollow sound usually means there is a problem under the tile. The tile may not have enough support, and adding another layer can increase the risk of failure.
The surface must also be clean. Old tiles often collect dirt, grease, soap residue, and cleaning chemicals. These materials create a barrier between the old tile and the new adhesive. Even a thin layer of contamination can reduce bonding strength.
Another important step is checking the surface level. New tiles need a stable and flat base. If the old tile surface has large differences in height, the final result may look uneven.
Key preparation steps
| Preparation Step | Purpose |
|---|---|
| Inspect old tiles | Confirm the surface is stable |
| Remove damaged areas | Prevent future movement |
| Clean the surface | Improve adhesive performance |
| Repair uneven areas | Create a better installation base |
| Check final height | Avoid problems with doors and edges |
I also need to consider the extra thickness after installing new tiles. Adding another tile layer increases the floor height. This can affect doors, kitchen cabinets, bathroom drains, and room transitions.
For example, if I install new tiles in a bathroom, I need to check whether the raised floor level will affect water drainage. If the height changes too much, the renovation may need another solution.
Important questions before installation
Before I start a tile-over-tile project, I usually check:
- Is the old tile surface strong enough?
- Are there any hidden moisture problems?
- Can the new adhesive bond correctly?
- Will the new tile thickness create problems?
- Is this solution suitable for long-term use?
Preparation takes time, but it reduces problems later. A professional tile installation is not only about choosing beautiful tiles. It is about creating a strong system where every layer works together.
How do you ensure adhesion on existing tiles?
Adhesion is the most important factor when I install new tiles over old tiles. Without strong bonding, the new tiles may separate, crack, or move after some time.
I ensure adhesion by cleaning the existing surface, improving texture, and selecting the correct adhesive. A strong connection between old and new tiles helps create a durable installation.
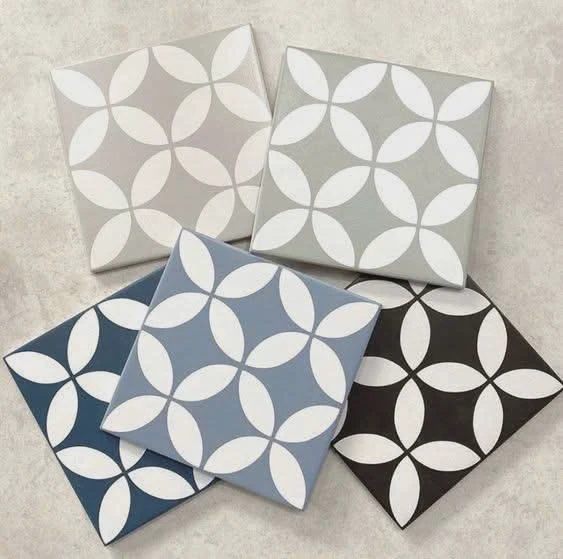
Old tiles are usually smooth and have low absorption. This creates a challenge because normal adhesive may not grip the surface properly. Unlike concrete or unfinished surfaces, glazed tiles do not easily allow materials to attach.
The first step is removing anything that blocks adhesion. Dust, oil, wax, and chemical residue can weaken the connection. I always make sure the surface is completely clean before applying adhesive.
The second step is choosing the right adhesive product. A flexible and high-performance tile adhesive is usually better for tile-over-tile projects. The adhesive needs enough strength to connect two hard surfaces together.
Factors that improve adhesion
| Factor | Why It Matters |
|---|---|
| Clean surface | Removes bonding barriers |
| Correct adhesive | Provides stronger connection |
| Proper application | Creates full tile support |
| Correct curing time | Allows adhesive to become strong |
The way adhesive is applied also matters. The adhesive layer should have enough coverage behind the tile. Empty spaces can create weak areas, especially when using large format tiles.
I also pay attention to pressure during installation. Pressing the tile properly helps remove air pockets and improves contact between the tile and adhesive.
Temperature changes are another factor. Floors and walls naturally expand and contract because of heat and cold. A flexible adhesive can handle these small movements better.
I believe many tile failures happen because people focus only on the appearance of the new tile. A beautiful tile cannot perform well without a strong connection underneath.
A successful tile-over-tile installation depends on careful preparation, correct materials, and proper installation methods. When these steps are completed, the new tile layer can provide a stable and attractive surface.
Why is surface roughening important?
Surface roughening is an important preparation step because many existing tiles have a smooth glazed finish. This smooth surface can make it difficult for adhesive to create a strong connection.
Surface roughening improves bonding by creating texture on the old tile surface. The added texture gives adhesive more areas to grip and helps prevent future tile movement.
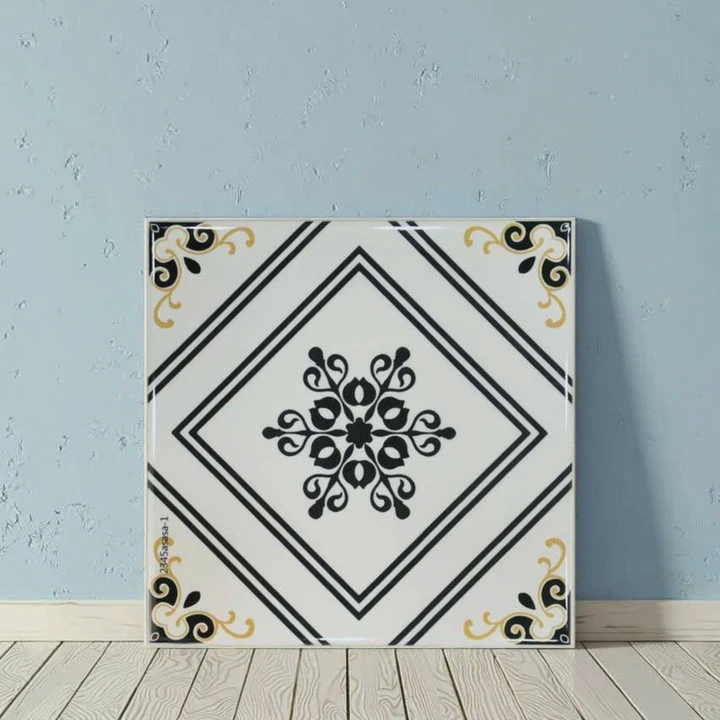
Many ceramic and porcelain tiles are designed to be smooth, waterproof, and easy to clean. These features are useful during daily use, but they can become a challenge during renovation.
A smooth surface gives adhesive fewer points to hold. When I roughen the surface, I create small textures that allow the adhesive to connect better with the old tile.
How surface roughening helps
Surface roughening provides several benefits:
- It increases contact between adhesive and tile.
- It improves mechanical bonding.
- It reduces the chance of tile movement.
- It creates a better base for new materials.
There are different methods to improve surface texture. Some projects use mechanical methods such as sanding or grinding. Other projects may use special bonding primers designed for smooth surfaces.
The correct method depends on the tile type and project condition. I need to balance improving adhesion while avoiding unnecessary damage to the original surface.
Large format tiles require even more attention. Bigger tiles create more weight and more stress on the adhesive layer. A weak connection becomes more noticeable when the tile size increases.
Surface preparation comparison
| Surface Condition | Installation Result |
|---|---|
| Smooth and dirty tile | Weak bonding |
| Clean but very smooth tile | Limited adhesion |
| Clean and roughened tile | Better adhesive connection |
| Properly prepared surface | More stable installation |
I always remind customers that a clean-looking surface is not always a ready surface. A tile may look perfect but still need preparation before receiving a new layer.
Surface roughening is a small step, but it has a large effect on the final result. It helps create a stronger connection between old tiles and new tiles, which improves the durability of the entire installation.
Are there risks when tiling over old tile?
Although tile-over-tile installation can work well, I still need to consider the possible risks before choosing this method. Every project has different conditions.
The main risks include weak adhesion, hidden damage, increased floor height, and future cracking. Careful inspection helps reduce these problems before installation begins.
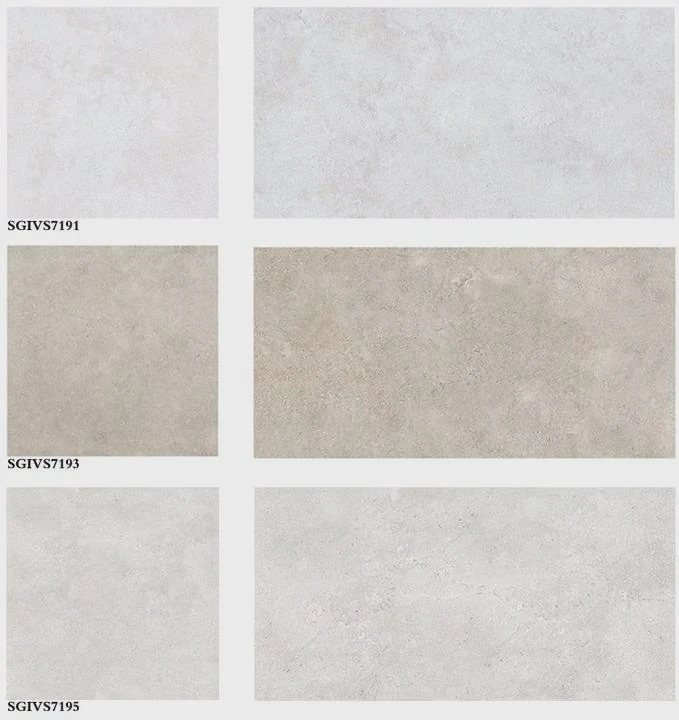
The biggest risk is covering a damaged surface. If old tiles are already loose or cracked, new tiles cannot solve the problem. The weakness remains underneath the new layer.
Moisture is another concern. Areas like bathrooms and kitchens often experience water exposure. If moisture has already damaged the original installation, covering the surface may hide the problem instead of fixing it.
Another risk is increased thickness. Two tile layers create a higher floor level. This can affect doors, cabinets, stairs, and transitions between rooms.
Common risks and solutions
| Risk | Possible Problem | Solution |
|---|---|---|
| Loose old tiles | New tiles may fail | Remove unstable tiles |
| Poor bonding | Tiles may separate | Improve surface preparation |
| Extra thickness | Doors may not fit | Measure before installation |
| Hidden moisture | Long-term damage | Check problem areas |
I also think about future maintenance. If the new tile layer fails, removing two layers can become more difficult and expensive. This is why planning before installation is important.
However, these risks do not mean tile-over-tile installation is always a bad choice. Many successful projects use this method because it saves time and reduces construction waste.
The key is understanding when the method works and when it does not. A strong existing surface, correct adhesive, and careful preparation can create a successful result.
Conclusion
I can put tile over tile when the old surface is stable and properly prepared. Good cleaning, strong adhesion, surface roughening, and careful inspection help create a durable tile installation.




