
How to Attach Tile Backer Board?
- Sinotiles
- 2026-04-13

Many projects fail because the base is weak. Tiles crack. Floors shift. Moisture sneaks in. Most people ignore the foundation until it is too late.
The correct way to attach tile backer board is to prepare the subfloor, use the right materials, fasten it properly, and seal all seams carefully to create a stable, moisture-resistant base.
A strong tile job always starts below the surface. When the base is done right, everything above it lasts longer and looks better.
What materials are needed for backer board installation?
Problems start when materials are incomplete or mismatched. Many installers rush. They forget key items. This leads to weak bonding and long-term failure.
You need backer board panels, thin-set mortar, screws or nails, mesh tape, a trowel, and basic cutting tools to install backer board correctly.
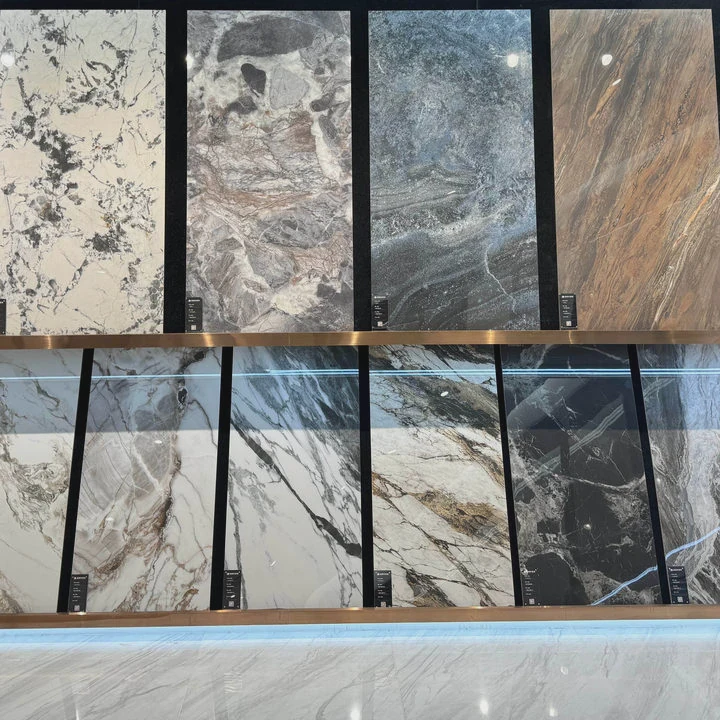
A proper installation always begins with having the full set of materials ready. Missing even one item can affect the entire result.
Core Materials Explained
Each material plays a clear role in the system:
| Material | Purpose |
|---|---|
| Backer board | Provides a stable tile base |
| Thin-set mortar | Bonds board to subfloor |
| Screws or nails | Secures board mechanically |
| Mesh tape | Reinforces seams |
| Waterproofing | Protects against moisture |
Backer boards are usually made of cement or fiber cement. These materials resist moisture and do not warp like wood. This is why they are essential in bathrooms, kitchens, and wet areas.
Thin-set mortar is often misunderstood. It is not just glue. It fills small gaps between the subfloor and board. This ensures full contact and removes air pockets. Without it, boards can flex and crack tiles later.
Tools You Should Prepare
Basic tools are simple but important:
- Notched trowel
- Drill or screw gun
- Utility knife or scoring tool
- Tape measure
- Straight edge
Each tool helps improve accuracy. For example, a straight edge ensures clean cuts. Clean edges make seams tighter. Tight seams reduce movement.
Why Material Quality Matters
Low-quality materials may save money at first. But they often lead to failure. For example:
- Cheap screws may rust
- Weak boards may crumble
- Poor mortar may not bond well
In many projects, material choice decides whether the installation lasts 2 years or 20 years.
A reliable setup always focuses on compatibility. All materials should work together as a system. This creates strength, stability, and durability.
How do you secure backer board to subfloor?
Many failures happen because boards are not secured well. Loose boards move. Movement breaks tiles. This is one of the most common mistakes.
Backer board should be secured by applying thin-set mortar underneath and fastening it with screws in a consistent pattern across the entire surface.
The process is simple but must be done carefully. Each step builds stability.
Step-by-Step Installation Process
1. Prepare the Subfloor
The surface must be clean and level. Remove dust, debris, and old adhesives. Any uneven area should be fixed before installation.
If the subfloor is weak, no amount of fastening will help. Stability always starts here.
2. Apply Thin-Set Mortar
Spread mortar evenly using a notched trowel. Do not skip this step. It fills gaps and supports the board fully.
3. Lay the Backer Board
Place the board into the mortar while it is still wet. Press it down firmly. Slight movement helps the mortar spread evenly.
4. Fasten the Board
Use screws or nails. Start from the center and move outward. This helps prevent air pockets.
Follow a consistent spacing pattern. Usually, fasteners are placed every 6 to 8 inches.
Fastening Pattern Example
| Area | Spacing Recommendation |
|---|---|
| Edges | Every 6 inches |
| Center field | Every 8 inches |
This pattern ensures even pressure. Uneven fastening can cause stress points.
Common Mistakes to Avoid
- Skipping mortar layer
- Using too few fasteners
- Placing fasteners too close to edges
- Not pressing board into mortar
Each mistake leads to weak spots. Weak spots eventually cause cracks.
Real-World Insight
In many export projects, especially for large commercial spaces, consistent fastening is critical. Large-format tiles require a very stable base. Even small movement becomes visible.
Proper securing is not about speed. It is about consistency and coverage.
Which fasteners are best for backer board?
Using the wrong fasteners can ruin the installation. Some people use regular wood screws. This is a big mistake. They do not hold well and may corrode.
The best fasteners for backer board are corrosion-resistant screws specifically designed for cement boards, as they provide strong grip and long-term durability.
Choosing the right fastener is not complicated, but it must be precise.
Types of Fasteners
1. Backer Board Screws
These are the most recommended option. They are designed with:
- Corrosion resistance
- Special thread design
- Flat heads for flush finish
2. Galvanized Roofing Nails
These are sometimes used. They work well but require careful installation.
3. Standard Wood Screws (Not Recommended)
These should be avoided. They lack durability in moist environments.
Fastener Comparison
| Fastener Type | Strength | Moisture Resistance | Recommendation |
|---|---|---|---|
| Backer board screws | High | High | Best choice |
| Galvanized nails | Medium | Medium | Acceptable |
| Wood screws | Low | Low | Avoid |
Why Screw Design Matters
Backer board screws have ribbed heads. These help them sit flush without tearing the board surface. This creates a smooth base for tiles.
The thread design also helps them grip tightly. Loose fasteners lead to movement. Movement leads to cracks.
Installation Tips
- Drive screws until flush, not sunk
- Keep spacing consistent
- Avoid over-tightening
Over-driving screws can damage the board. This reduces holding strength.
Practical Experience
In large-scale projects, using proper screws reduces maintenance issues. Many contractors report fewer callbacks when correct fasteners are used.
The cost difference is small. But the performance difference is significant.
When should seams be taped and sealed?
Ignoring seams is a common problem. Many people think tiles will cover everything. This is wrong. Seams are weak points.
Seams should be taped and sealed immediately after the backer board is installed to strengthen joints and prevent cracks from forming.
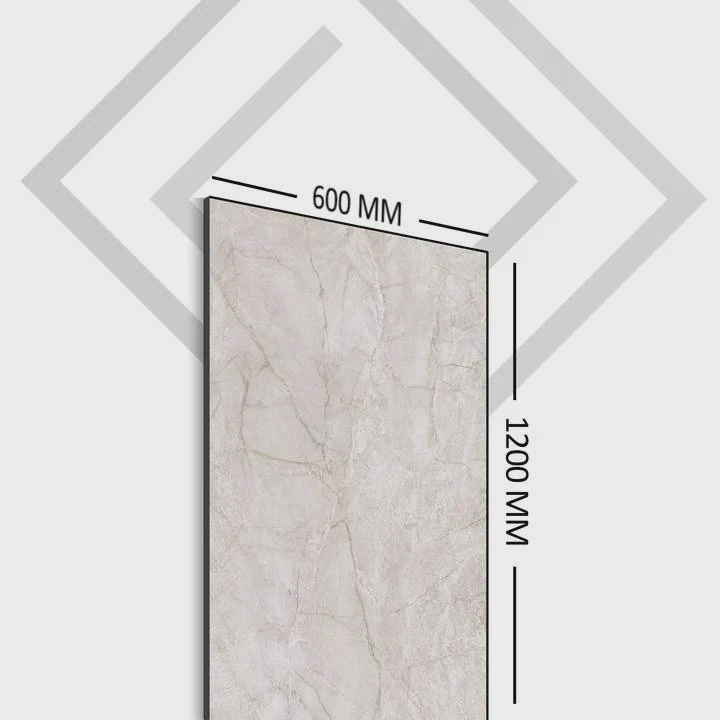
Seam treatment is not optional. It is a required step for durability.
Why Seams Matter
Backer boards come in panels. These panels create joints. Without reinforcement, these joints can move slightly.
Even small movement can:
- Crack grout
- Break tiles
- Allow water to enter
How to Tape Seams Properly
Step 1: Apply Mesh Tape
Use alkali-resistant mesh tape. This type is made for cement materials.
Step 2: Apply Thin-Set Mortar
Spread mortar over the tape using a trowel. Smooth it evenly.
Step 3: Let It Cure
Allow time for the mortar to harden before tiling.
Timing Considerations
Some installers tape seams while tiling. Others do it before. Both methods can work, but consistency is key.
Additional Protection
In wet areas, waterproofing is strongly recommended. This adds another layer of protection.
Common Errors
- Using drywall tape instead of mesh tape
- Skipping mortar over tape
- Leaving gaps between boards
Each error weakens the system.
Long-Term Performance
Proper seam treatment helps distribute stress across the surface. This reduces the chance of cracks forming over time.
In projects that involve high traffic or large tiles, seam strength becomes even more important.
Conclusion
A strong tile installation always starts with proper backer board attachment. When materials, fastening, and seam treatment are done right, the entire system becomes stable, durable, and long-lasting.


