
How to Fix Cracked Grout on Tile Floor?
- Sinotiles
- 2026-04-13
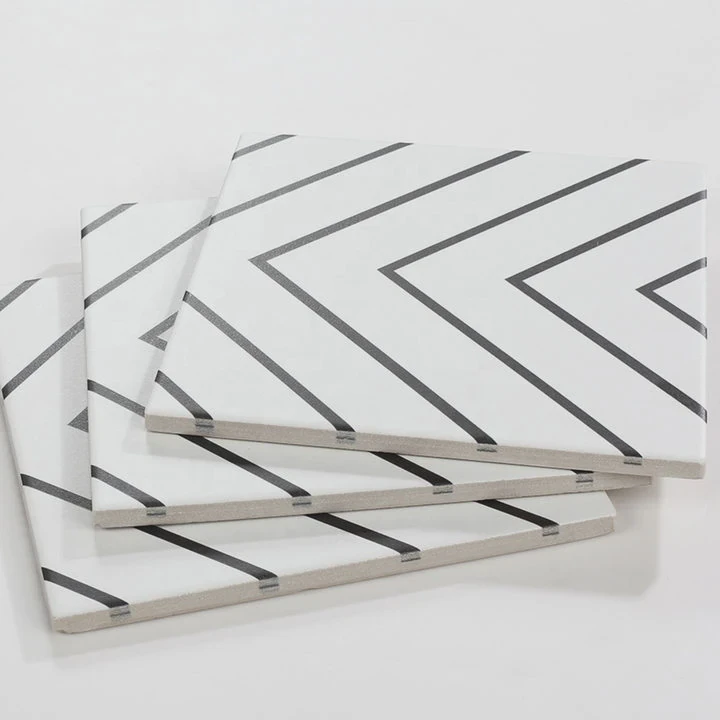
Cracked grout looks small, but it can quickly lead to bigger problems like loose tiles and water damage. Many people ignore it until repairs become expensive and messy.
The best way to fix cracked grout is to remove the damaged grout, clean the joints, and apply new grout properly. Choosing the right grout type and sealing it later ensures long-lasting results.
Many buyers and contractors ask the same question before starting repairs. Understanding the cause, method, and material choice makes the whole process easier and more reliable.
What causes grout to crack on tile floors?
Cracked grout is frustrating. It ruins the look of the floor and signals deeper issues. Many people repair it once, only to see cracks return again.
Grout cracks mainly due to movement, poor installation, or wrong material choice. Fixing the root cause is key to preventing repeated damage.
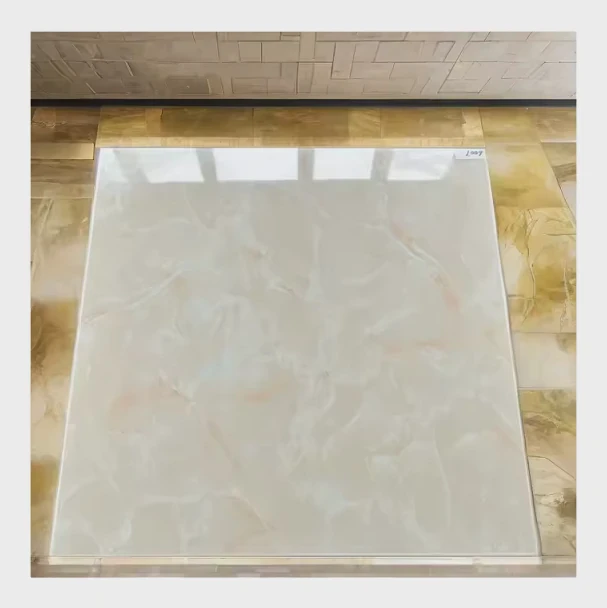
Grout is not flexible. It cannot handle movement well. When something shifts under or around the tile, cracks appear.
Common Causes of Cracked Grout
Here are the most frequent reasons:
| Cause | Description | Impact Level |
|---|---|---|
| Subfloor movement | Wood or weak base shifts over time | High |
| Poor installation | Incorrect mixing or spacing | High |
| Heavy traffic | Constant pressure on tiles | Medium |
| Moisture exposure | Water weakens grout structure | High |
| Wrong grout type | Using unsanded grout in wide joints | Medium |
Subfloor Movement Matters Most
A stable base is critical. If the subfloor moves, the tiles may stay in place, but grout lines will crack first. This is very common in wooden floors or poorly reinforced concrete.
Installation Mistakes Are Often Hidden
Many problems start during installation. For example:
- Too much water in grout mix makes it weak
- Not allowing proper curing time reduces strength
- Incorrect joint width causes stress
These mistakes are not visible at first. But after a few months, cracks begin to show.
Moisture Weakens Grout Over Time
Water slowly breaks down grout. This is worse in bathrooms, kitchens, and outdoor areas. Once water enters, it expands and contracts, causing cracks.
Material Choice Is Often Overlooked
Not all grout is the same. Using the wrong type leads to failure.
- Unsanded grout is weak for wide joints
- Cheap grout lacks durability
- No sealing allows water penetration
Understanding these causes helps avoid repeat repairs. A proper fix always starts with identifying why the grout failed in the first place.
How do you remove damaged grout safely?
Removing grout sounds simple, but it can damage tiles if done wrong. Many people rush this step and end up replacing tiles instead of grout.
To remove damaged grout safely, use the right tools, work slowly, and avoid applying too much pressure on tile edges. Precision matters more than speed.
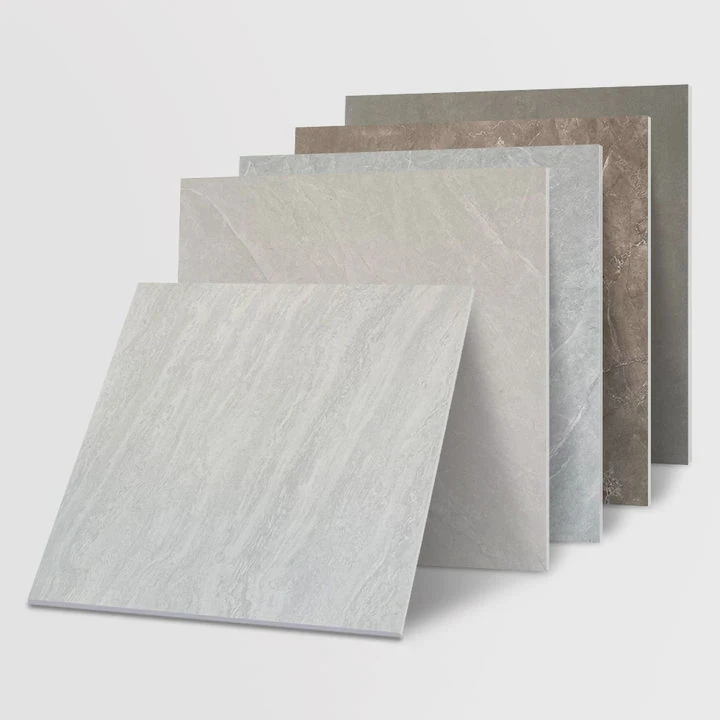
This step is critical. If done correctly, the repair will last longer and look cleaner.
Tools You Can Use
There are several options depending on the project size:
| Tool Type | Best For | Difficulty Level |
|---|---|---|
| Manual grout saw | Small repairs | Easy |
| Oscillating tool | Medium areas | Medium |
| Rotary tool | Large areas | Advanced |
Step-by-Step Removal Process
1. Start with the Right Depth
Remove grout to about 2-3 mm deep. This creates enough space for new grout to bond properly.
2. Work Along the Joint Line
Always follow the grout line. Do not angle the tool. This avoids chipping the tile edges.
3. Apply Light Pressure
Too much force can crack tiles. Let the tool do the work.
4. Clean the Dust
After removal, clean the area completely. Dust prevents proper bonding.
Common Mistakes to Avoid
- Using excessive force
- Skipping cleaning before regrouting
- Removing too little grout
- Damaging tile edges
Safety Tips
- Wear safety glasses
- Use a mask to avoid dust inhalation
- Work in good lighting
Why Careful Removal Matters
Many people think grout repair is just about filling gaps. But preparation is actually the most important step.
If old grout is not removed properly:
- New grout will not stick well
- Cracks will return quickly
- The finish will look uneven
Taking time during removal saves cost and effort later. A clean base always leads to a stronger repair.
Which grout types are best for repairs?
Choosing the wrong grout can lead to repeated repairs. Many buyers focus on price, but performance matters more in the long run.
The best grout for repairs depends on joint width, location, and usage. Sanded grout, unsanded grout, and epoxy grout each serve different purposes.

Understanding the differences helps you select the right product for each project.
Main Types of Grout
| Grout Type | Best Use | Strength | Flexibility |
|---|---|---|---|
| Sanded grout | Wide joints (>3mm) | High | Low |
| Unsanded grout | Narrow joints (<3mm) | Medium | Low |
| Epoxy grout | Wet or heavy-use areas | Very High | Medium |
Sanded vs Unsanded Grout
Sanded Grout
- Contains fine sand particles
- Stronger and more durable
- Best for floor tiles
Unsanded Grout
- Smooth texture
- Used for walls or small joints
- Less resistant to cracking
Why Epoxy Grout Is Growing Popular
Epoxy grout is more expensive, but it offers strong benefits:
- Waterproof
- Stain-resistant
- Highly durable
It is ideal for:
- Commercial spaces
- Kitchens
- Bathrooms
Key Factors When Choosing Grout
1. Joint Width
Wider joints need stronger grout. Sanded grout is the better choice.
2. Location
Wet areas require water resistance. Epoxy grout performs best.
3. Traffic Level
High-traffic floors need durable grout to prevent cracking.
4. Budget vs Performance
Cheaper grout may save money upfront but leads to higher repair costs later.
Common Buyer Mistake
Many buyers select grout based only on color or price. This leads to poor performance.
A better approach is to match grout type with:
- Tile size
- Installation environment
- Expected usage
Choosing the right grout is not just a technical step. It directly affects durability, maintenance cost, and customer satisfaction.
When should sealed grout be reapplied?
Many people think sealing grout is a one-time job. But over time, the seal wears off, leaving grout exposed to moisture and stains.
Grout sealing should be reapplied every 1-3 years, depending on usage, cleaning habits, and environmental conditions. Regular sealing extends grout life and prevents damage.
Sealing is not just maintenance. It is protection.
Signs That Grout Needs Resealing
Here are clear indicators:
- Grout darkens quickly when wet
- Stains appear easily
- Water does not bead on the surface
- Mold or mildew develops
Recommended Sealing Schedule
| Area Type | Resealing Frequency |
|---|---|
| Bathroom floors | Every 1 year |
| Kitchen floors | Every 1-2 years |
| Living areas | Every 2-3 years |
| Commercial spaces | Every 6-12 months |
How Sealing Works
Grout is porous. It absorbs water and dirt. A sealer creates a protective barrier.
There are two main types:
- Penetrating sealers (best for durability)
- Surface sealers (easier but less durable)
Steps to Reapply Sealer
1. Clean the Grout Thoroughly
Remove dirt, grease, and old residues.
2. Let It Dry Completely
Moisture blocks proper sealing.
3. Apply Sealer Evenly
Use a brush or applicator.
4. Wipe Excess Sealer
Avoid residue on tile surfaces.
Why Skipping Sealing Causes Problems
Without sealing:
- Water enters grout
- Cracks form faster
- Mold grows easily
- Maintenance cost increases
Long-Term Value of Proper Sealing
Sealing reduces repair frequency. It keeps grout looking new and strong.
For contractors and distributors, this means:
- Fewer complaints
- Longer product lifespan
- Better customer satisfaction
Sealing is a small step, but it plays a big role in overall tile performance.
Conclusion
Fixing cracked grout requires proper removal, the right material, and regular sealing. When each step is done correctly, tile floors stay durable, clean, and visually appealing for years.



