
How to Cut Tile with a Dremel Tool?
- Sinotiles
- 2026-08-10

Cutting tile can be difficult when the edge breaks or the surface cracks during the process. Many people worry about damaging expensive tiles when they only need a small cut for a home project.
A Dremel tool can cut tile effectively for small projects, detailed shapes, and repair work. The right attachment, correct speed, and careful cutting method can help create cleaner tile edges.
Before starting any tile cutting project, understanding the tool limits and proper techniques can save time and reduce material waste.
What attachments are needed for cutting tile?
Choosing the right attachment is the first step when using a Dremel tool for tile cutting. A normal cutting disc may not handle hard tile materials well because ceramic and porcelain tiles contain strong mineral surfaces.
The best attachments for cutting tile are diamond cutting wheels, diamond bits, and carbide accessories. These tools are designed to handle hard materials and provide better control during cutting.
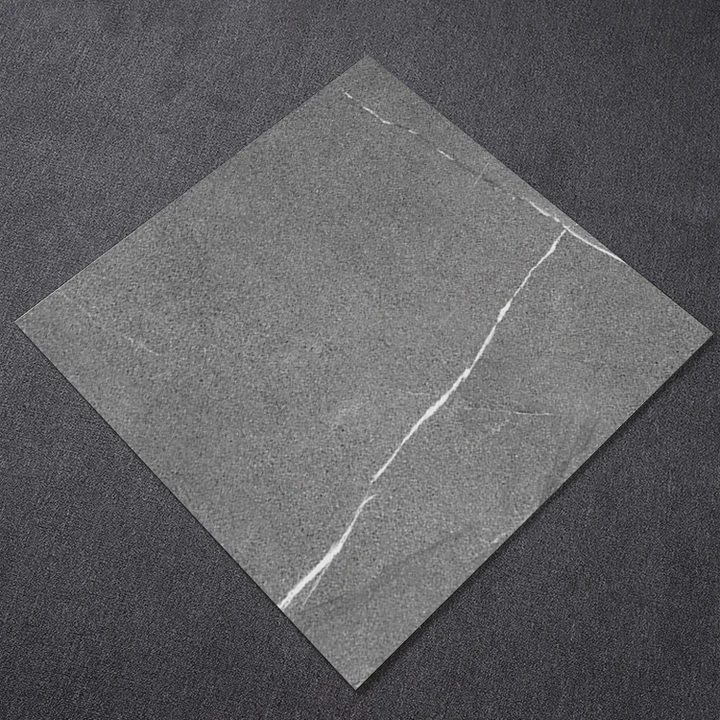
A diamond cutting wheel is usually the most common choice for straight cuts. It can cut through ceramic tile and porcelain tile because the diamond particles create a strong cutting surface.
A diamond bit is useful for detailed work. It helps create holes, curves, and small openings around pipes, sockets, and corners. This makes it useful for bathroom and kitchen installation projects.
| Tile Material | Recommended Attachment | Suitable Cutting Task |
|---|---|---|
| Ceramic tile | Diamond cutting wheel | Straight cuts and small adjustments |
| Porcelain tile | Strong diamond wheel | Hard material cutting |
| Natural stone tile | Diamond bit or wheel | Detailed shaping |
| Tile edges | Small diamond accessories | Finishing work |
The attachment quality affects the final result. A low-quality cutting wheel can create more vibration and heat. These problems may cause cracks or rough edges.
The speed setting of the Dremel tool also matters. Many people believe that higher speed always creates faster cutting. However, too much speed can create excessive heat and make the tile surface weaker.
Why preparation matters before cutting tile?
Good preparation helps improve cutting accuracy. The tile should be measured carefully before cutting because mistakes can waste expensive materials.
The working area should also be stable. A moving tile creates uneven pressure, and uneven pressure increases the chance of cracks.
The basic tools needed for tile cutting include:
| Tool | Purpose |
|---|---|
| Diamond cutting wheel | Main tile cutting |
| Safety glasses | Protect eyes from small particles |
| Dust mask | Reduce dust exposure |
| Clamp | Keep tile stable |
| Marker | Create clear cutting lines |
A Dremel tool is not a replacement for every tile cutting machine. Large construction projects usually need professional tile saws. However, the Dremel tool has an important advantage because it provides flexibility.
When a project needs a small corner cut, curved line, or detailed opening, a Dremel tool can provide better control than larger machines.
The key is choosing the correct attachment based on the tile type and cutting purpose. The right combination of tool and technique creates better results.
How to avoid chipping when using Dremel?
Tile chipping is one of the biggest challenges when using a Dremel tool. A small mistake during cutting can create broken edges that affect the final appearance.
The best way to avoid chipping is to use a sharp diamond attachment, apply light pressure, and move the tool slowly through the tile.
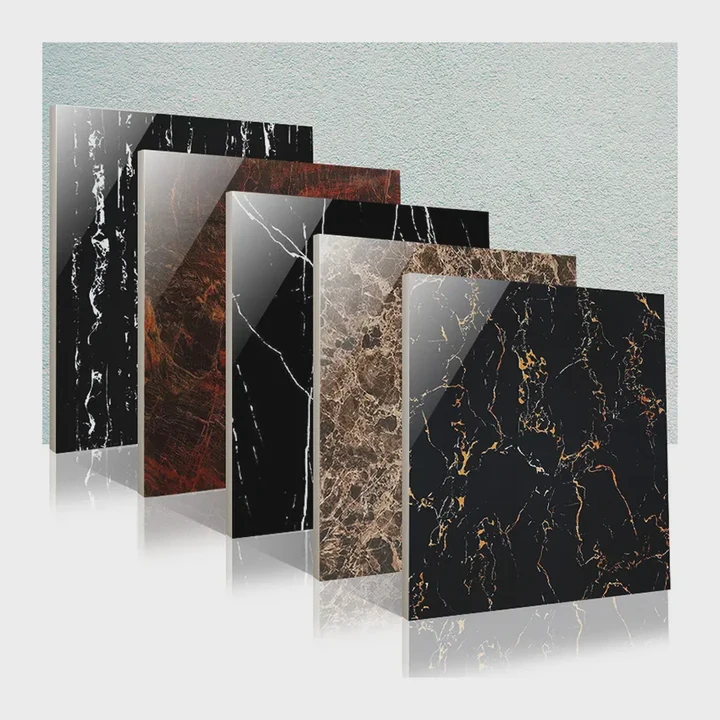
Many beginners push the tool too hard because they want faster results. However, extra pressure often creates more vibration. The vibration transfers stress into the tile and causes small cracks.
Steps for cleaner tile cutting
The first step is marking the cutting area clearly. A visible cutting line helps maintain accuracy and reduces unnecessary corrections.
The second step is securing the tile. The tile should stay completely stable during the cutting process. Even a small movement can create an uneven edge.
The third step is using a slow cutting movement. The Dremel should remove material gradually instead of forcing through the tile.
| Cutting Problem | Main Cause | Better Method |
|---|---|---|
| Broken corners | Too much pressure | Use gentle movement |
| Rough edges | Wrong attachment | Use diamond accessories |
| Cracks on surface | Too much vibration | Secure the tile |
| Dark marks | Excessive heat | Reduce speed |
Another useful method is leaving a small amount of extra material outside the final cutting line. After completing the main cut, the edge can be adjusted slowly.
This method gives better control because removing extra material is easier than fixing a broken tile.
How does cutting technique affect tile quality?
The cutting direction can influence the final appearance. When possible, the first cut should start from the less visible side of the tile.
For decorative walls or high-end flooring, the visible edge is very important. A small chip can reduce the overall appearance of the installation.
The condition of the cutting wheel also affects performance. A worn wheel creates more friction and requires more force. This increases heat and makes chipping more likely.
Dust control is another important factor. Tile dust can cover the cutting line and make it harder to follow the correct path.
A clean working area improves visibility and helps create accurate cuts.
Using a Dremel tool for tile cutting requires patience. The tool provides excellent control, but it works best when the user focuses on accuracy instead of speed.
A careful cutting process can create smooth edges and reduce wasted materials.
Can Dremel cut thick tiles effectively?
A Dremel tool can cut thick tiles, but the result depends on the tile material and thickness. It works well for small adjustments but has limits when dealing with very thick materials.
Thin ceramic tiles are easier to cut because they require less cutting power. Thick porcelain tiles are harder because they are dense and have a stronger structure.
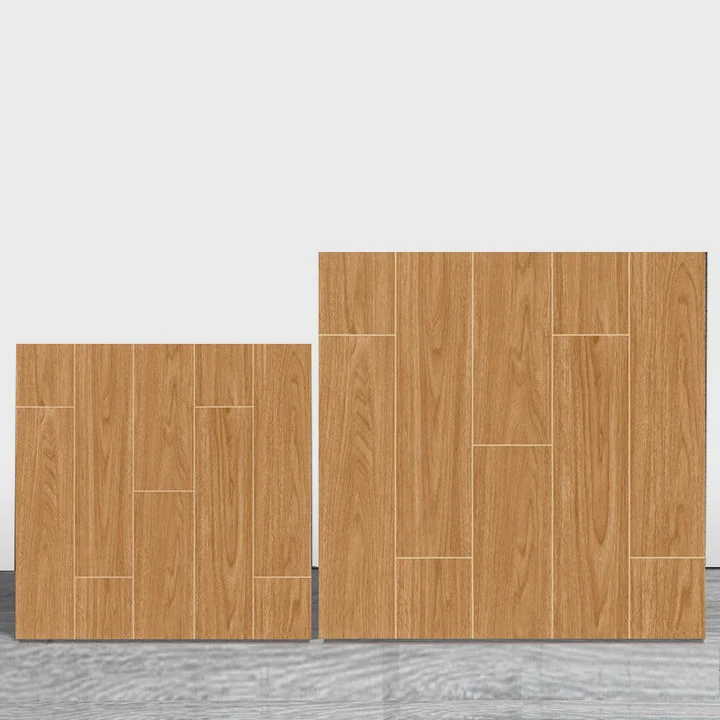
For small repair work, a Dremel can still be very useful. It can create openings for pipes, adjust corners, and complete detailed finishing work.
However, large numbers of thick tiles require stronger equipment.
Understanding the limits of Dremel cutting
The main advantage of a Dremel tool is precision. It is small, easy to control, and suitable for detailed work.
The main disadvantage is cutting speed. A Dremel removes material slowly compared with professional tile saws.
| Tile Thickness | Dremel Ability | Recommended Application |
|---|---|---|
| 3-6 mm | Very suitable | Ceramic tile projects |
| 6-10 mm | Possible | Small porcelain cuts |
| 10 mm+ | Limited | Small adjustments only |
| Large format tile | Not recommended | Professional machines |
The tile type also changes the cutting difficulty. Ceramic tiles are usually easier because they are softer. Porcelain tiles need more time because they have higher density.
Natural stone tiles can also create challenges because different stones have different hardness levels.
When should another cutting tool be considered?
A different cutting method is better when the project needs many straight cuts or large tile pieces.
Professional tile saws provide faster cutting speed and more consistent results. They are designed for large projects where many tiles need the same measurement.
The Dremel tool still has an important role because many real projects include complicated areas.
For example, a bathroom renovation may require cuts around water pipes, electrical outlets, and corners. These areas often need flexibility more than speed.
The best tool depends on the project goal. A Dremel tool is a useful supporting tool for detailed tile work, but it should be used within its practical limits.
Why use water cooling during cutting?
Water cooling helps control heat during tile cutting. It improves cutting performance, reduces dust, and protects the cutting attachment from excessive wear.
When a Dremel cuts tile, friction creates heat between the attachment and the tile surface. Too much heat can damage both the tool and the tile.
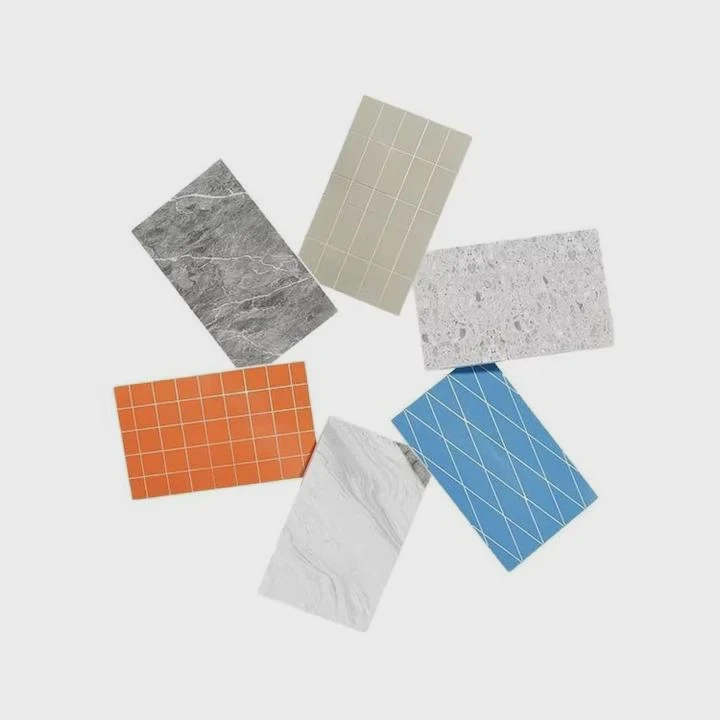
Using water during cutting helps maintain a lower temperature. This creates a smoother cutting process and reduces the chance of cracks.
How does water improve tile cutting?
The main benefit of water cooling is heat control. Hard tile materials create strong friction during cutting, especially porcelain and stone tiles.
Water also helps reduce dust. Tile dust can spread around the workspace and create an uncomfortable environment.
| Water Cooling Benefit | Cutting Improvement |
|---|---|
| Reduces heat | Protects tile surface |
| Controls dust | Creates cleaner workspace |
| Reduces friction | Improves cutting movement |
| Protects attachment | Extends tool life |
Water cooling is especially useful during longer cuts. When the cutting process takes more time, the attachment produces more heat.
A simple spray bottle can help control temperature during small projects. However, users should always follow safety instructions because water and electrical tools require careful handling.
Safety considerations during wet cutting
Safety equipment remains necessary even when using water cooling. Safety glasses protect the eyes from small tile pieces.
The workspace should also stay organized. Water should not reach electrical connections or unsafe areas.
Water cooling does not replace good cutting technique. The user still needs the correct attachment, proper pressure, and steady movement.
In my experience, small improvements in the cutting process often create better results. Using water cooling, selecting the right attachment, and working slowly can make tile cutting easier.
The goal is not only cutting through the tile. The goal is creating a clean edge that fits the final installation.
Conclusion
A Dremel tool can cut tile successfully when the correct attachment, cutting method, and cooling technique are used. It is especially useful for detailed cuts, repairs, and small tile projects.




