
How to Hang Pictures on Tile?
- Sinotiles
- 2026-05-27
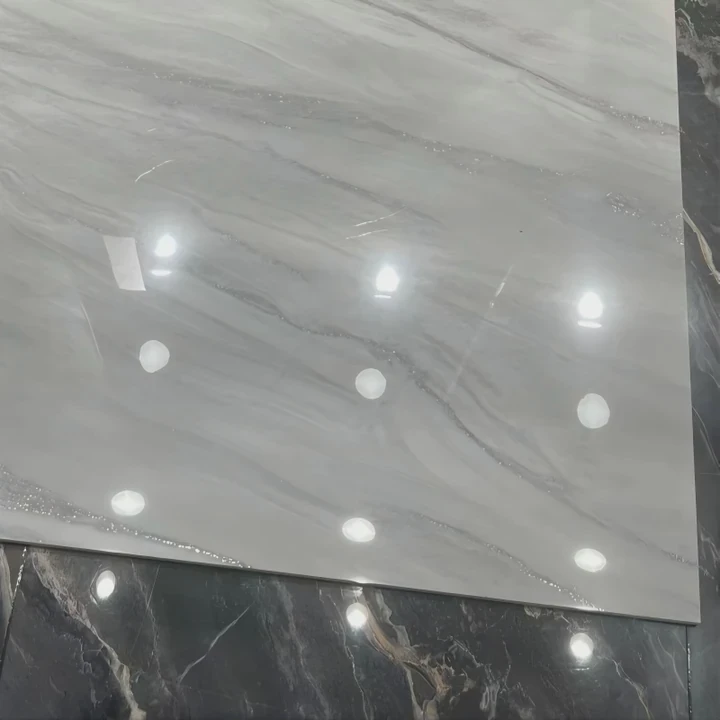
Many people worry about damaging bathroom or kitchen tiles when hanging pictures. One small mistake can crack the tile and create expensive repairs.
The safest way to hang pictures on tile depends on using proper tools, careful drilling methods, suitable anchors, and damage-free mounting solutions that match the tile type and item weight.
Tile surfaces are strong, but they can also be fragile during installation work. Porcelain, ceramic, marble, and glass tiles all react differently to pressure and drilling. Because of this, hanging pictures on tile requires more preparation than working with drywall or wood surfaces. A careful method protects the tile while creating a secure and professional result.
What Tools Are Used to Hang Items on Tile?
Using the wrong tools is one of the main reasons tiles crack during installation. Many people rush the process and damage the surface immediately.
The most common tools for hanging items on tile include tile drill bits, masking tape, anchors, level tools, measuring tape, screwdrivers, and adhesive mounting products designed for smooth surfaces.
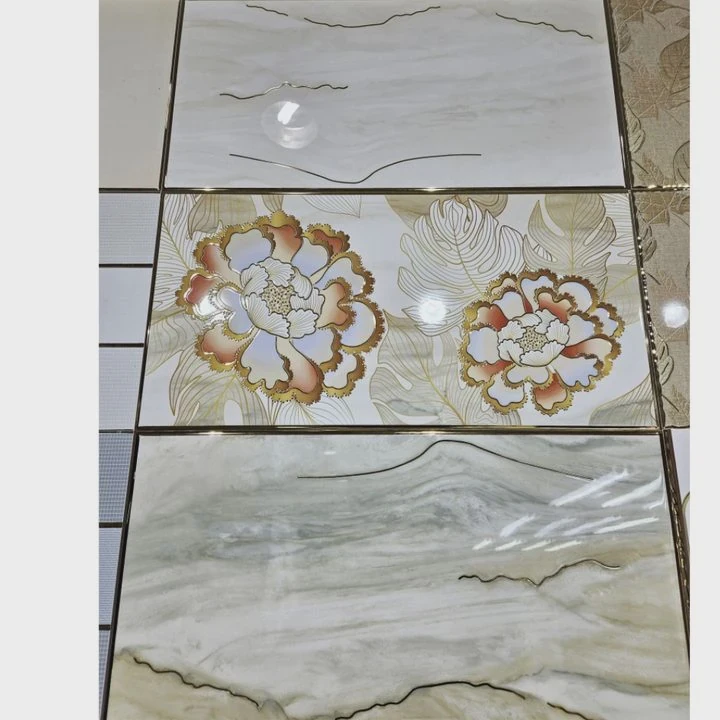
Tile surfaces require specialized tools because standard drilling equipment may slip or damage the glaze. Preparation matters just as much as the actual installation.
Tile Drill Bits Are Essential
Standard drill bits often fail on hard tile surfaces. Tile drill bits are designed to cut through ceramic and porcelain more safely.
Diamond-tipped and carbide-tipped bits are the most common choices.
Common Drill Bit Types
| Drill Bit Type | Best For | Main Benefit |
|---|---|---|
| Carbide-tipped | Ceramic tile | Affordable option |
| Diamond-tipped | Porcelain tile | Better durability |
| Glass/tile bit | Glass tile | Cleaner drilling |
Porcelain tiles are especially dense. They usually require stronger drill bits and slower drilling speeds.
Masking Tape Helps Control the Drill
One simple but important trick is placing masking tape over the drilling point.
This helps:
- Reduce drill slipping
- Improve drilling accuracy
- Protect the tile glaze
Smooth glossy tiles can be very slippery at the start of drilling. Tape creates extra grip for better control.
Measuring Tools Prevent Mistakes
Accurate positioning matters because extra holes in tile are difficult to repair invisibly.
Useful measuring tools include:
- Measuring tape
- Pencil or washable marker
- Spirit level
- Laser level
Even slightly uneven picture placement becomes highly visible on tiled walls because grout lines naturally highlight alignment problems.
Proper Drills Matter
Cordless drills with adjustable speed settings work best for most tile installations.
High-speed drilling creates too much heat and pressure. Slow, controlled drilling reduces cracking risk.
Hammer drill mode should usually remain off during the initial tile drilling stage. Excess vibration may crack the surface.
Adhesive Hanging Products
Not every picture requires drilling.
Modern adhesive hooks and mounting strips can support lightweight frames without damaging tile surfaces.
These products work best on:
- Smooth ceramic tile
- Glossy porcelain
- Glass tile
They are less reliable on textured or uneven surfaces.
Safety Equipment Is Important
Tile fragments and dust may become dangerous during drilling.
Basic safety equipment includes:
- Safety glasses
- Dust mask
- Gloves
Professional installers also use water cooling methods during drilling to reduce overheating on dense porcelain slabs.
Commercial Installation Standards
In hotels, restaurants, and commercial projects, installers often follow strict drilling procedures because tile replacement can become expensive and time-consuming.
Large-format porcelain panels especially require careful handling during mounting work. One damaged panel may affect the appearance of an entire wall section.
Using proper tools from the beginning greatly improves both safety and final installation quality.
How Can Drilling Prevent Tile Cracking?
Many tile cracks happen because people drill too quickly or apply uneven pressure. Once a tile cracks, repair work often becomes difficult and expensive.
Careful drilling prevents tile cracking by using low speed, proper drill bits, masking tape, gentle pressure, cooling methods, and gradual drilling techniques designed for hard surfaces.
Tile cracking usually happens because of heat, vibration, or sudden pressure. Understanding how tile behaves during drilling helps reduce these risks significantly.
Start Slowly
The beginning of drilling is the most sensitive stage.
Many people immediately use high speed, which causes the drill bit to slip or overheat.
A slow start helps create a small guide point before deeper drilling begins.
Keep Pressure Gentle
Too much force creates stress inside the tile.
Porcelain and ceramic are hard materials, but they are also brittle. Strong pressure can create sudden fractures.
Gentle and steady pressure works far better than aggressive drilling.
Use Water Cooling
Professional installers often apply small amounts of water while drilling.
Water helps:
- Reduce heat
- Extend drill bit life
- Lower cracking risk
Heat buildup becomes a major issue when drilling dense porcelain or large-format slabs.
Avoid Hammer Mode at First
Hammer drill settings create strong vibration.
This vibration may crack the glaze or weaken the tile edges before the hole is complete.
Many installers only activate hammer mode after fully penetrating the tile surface and reaching the wall behind it.
Drill Through Grout When Possible
Sometimes drilling through grout lines is safer than drilling directly into the tile.
Grout is softer and easier to repair if mistakes happen.
Still, grout drilling only works if the mounting position aligns correctly with the design layout.
Tile Thickness Changes the Difficulty
Different tile products require different drilling approaches.
| Tile Type | Drilling Difficulty | Main Concern |
|---|---|---|
| Ceramic | Moderate | Glaze chipping |
| Porcelain | High | Dense material |
| Glass tile | Very high | Surface cracking |
| Natural stone | Moderate | Surface staining |
Large porcelain slabs often require extra patience because of their density and thickness.
Sharp Drill Bits Improve Safety
Worn drill bits increase friction and heat. This creates more pressure on the tile.
Sharp drill bits cut more cleanly and reduce stress during installation.
Patience Prevents Expensive Repairs
Many tile cracks happen because people try to finish the job too quickly.
Professional installers usually work slowly, especially in visible areas like:
- Bathroom feature walls
- Kitchen backsplashes
- Hotel lobby walls
- Decorative porcelain slab installations
Replacing damaged tile can become difficult if matching products are no longer available. Careful drilling saves both time and money.
Why Use Anchors for Secure Mounting?
Pictures and wall decorations may eventually loosen or fall if mounted incorrectly. Tile surfaces alone often cannot hold screws securely without proper support.
Anchors create stronger mounting support by distributing weight inside the wall, reducing stress on tiles, and improving long-term stability for hanging items.
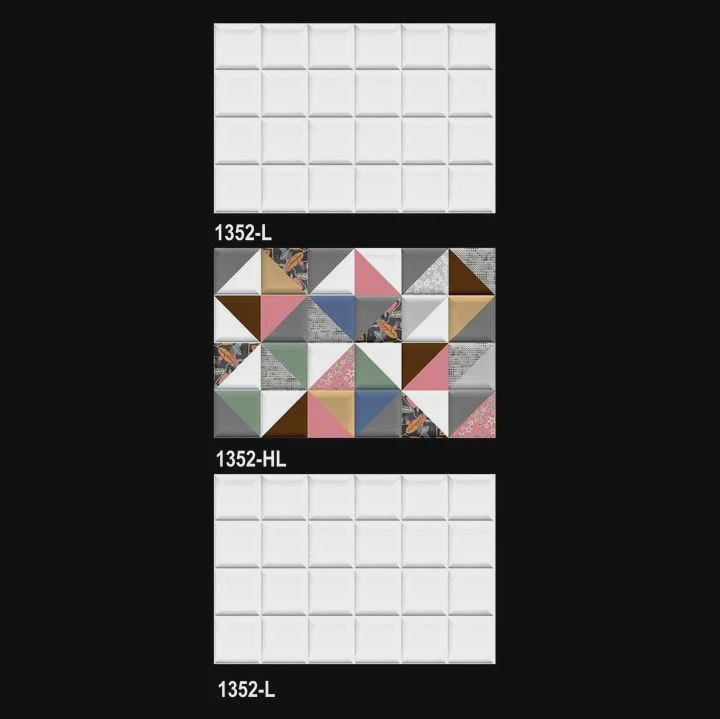
Anchors are important because tiles themselves are not structural support materials. The real support comes from the wall behind the tile.
Without anchors, screws may loosen over time due to vibration, humidity, or weight pressure.
How Anchors Work
Anchors expand behind the wall surface after installation.
This creates stronger holding power and helps distribute the load more evenly.
The anchor type depends on:
- Wall material
- Item weight
- Tile thickness
- Mounting location
Common Anchor Types
Plastic Anchors
Plastic anchors work well for lightweight pictures and decorations.
They are affordable and easy to install.
Metal Anchors
Metal anchors provide stronger support for heavier items.
They are often used for:
- Mirrors
- Shelves
- Large artwork
- Bathroom accessories
Hollow Wall Anchors
Drywall behind tile often requires hollow wall anchors or toggle bolts for maximum stability.
These anchors spread force across a larger surface area.
Weight Distribution Matters
One small screw point creates concentrated pressure.
Anchors help distribute this force more safely inside the wall structure.
This reduces:
- Tile stress
- Screw loosening
- Wall damage
Matching Anchor Strength to Item Weight
Using weak anchors for heavy objects creates safety risks.
Here is a simple guide:
| Item Type | Recommended Support |
|---|---|
| Small picture frame | Plastic anchor |
| Medium artwork | Heavy-duty anchor |
| Large mirror | Metal anchor or toggle bolt |
| Floating shelf | Reinforced wall support |
Humidity Can Affect Mounting Stability
Bathrooms and kitchens contain higher moisture levels than many other rooms.
Humidity may weaken poor-quality mounting systems over time.
Rust-resistant screws and moisture-resistant anchors usually perform better in wet environments.
Commercial Projects Require Higher Standards
Hotels, shopping centers, and restaurants often follow strict mounting regulations because falling fixtures create safety risks.
Professional installers carefully calculate:
- Wall strength
- Tile thickness
- Anchor capacity
- Long-term stability
Secure Mounting Protects the Tile
Good anchors reduce movement and vibration after installation.
This matters because repeated movement may slowly crack grout or damage tile edges over time.
A properly anchored installation protects both the wall structure and the tile surface itself.
Which Methods Avoid Damaging Tile Surfaces?
Many people want to hang pictures without permanently altering the tile. This is especially important in rental properties or luxury tile installations.
Damage-free tile hanging methods include adhesive strips, suction hooks, rail systems, removable mounting products, and careful grout-based installations that minimize surface impact.
Not every installation requires drilling. Today, many low-damage mounting solutions provide good results for lightweight decorations and temporary displays.
Adhesive Mounting Strips
Adhesive strips are one of the most popular non-drilling solutions.
They work best on:
- Smooth porcelain
- Glossy ceramic
- Glass tile
The tile surface must be:
- Clean
- Dry
- Free from dust or grease
Suction Hooks
Suction hooks can support lightweight decorations on smooth tiles.
However, they are less reliable for valuable or heavy artwork because suction strength may weaken over time.
Rail Hanging Systems
Some modern interior designs use rail systems installed near the ceiling.
Pictures hang from adjustable wires instead of direct wall drilling.
This method is common in:
- Art galleries
- Luxury apartments
- Commercial showrooms
Grout-Based Installation
When drilling becomes necessary, some installers prefer drilling through grout lines instead of tile surfaces.
Advantages include:
- Easier repair
- Lower cracking risk
- Less visible damage
Still, grout drilling may not always align with the desired picture position.
Removable Adhesive Hooks
Modern removable hooks are designed for temporary installations.
They can often be removed without leaving visible marks when used correctly.
These systems are useful for:
- Rental homes
- Seasonal decorations
- Temporary displays
Surface Preparation Is Critical
Even non-drilling methods require proper preparation.
Dirty or wet surfaces reduce adhesive performance significantly.
Heavy Items Still Require Mechanical Support
Adhesive methods are not ideal for large mirrors or heavy shelves.
For heavier installations, mechanical anchors remain the safest solution.
Comparing Damage-Free Methods
| Method | Best For | Limitation |
|---|---|---|
| Adhesive strips | Lightweight frames | Limited weight capacity |
| Suction hooks | Temporary decoration | May lose grip |
| Rail systems | Flexible displays | Higher installation cost |
| Grout drilling | Semi-permanent mounting | Limited positioning |
Protecting Premium Tile Installations
Luxury bathrooms and modern kitchens often use expensive large-format porcelain slabs or marble-look surfaces.
Replacing damaged decorative panels may become difficult because:
- Production batches vary
- Pattern matching matters
- Installation costs are high
Because of this, many property owners prefer low-damage hanging methods whenever possible.
Smart Planning Prevents Future Problems
Before hanging pictures on tile, it helps to plan carefully:
- Measure placement accurately
- Check wall structure
- Match mounting method to item weight
- Consider future removal needs
Careful preparation protects the tile while creating a clean and professional final appearance.
Conclusion
Hanging pictures on tile requires the right tools, careful drilling methods, proper anchors, and surface-safe mounting solutions. Smart installation choices protect the tile, improve safety, and create secure long-term results without unnecessary damage.



