
How to Lay Grout on Floor Tile?
- Sinotiles
- 2026-05-27
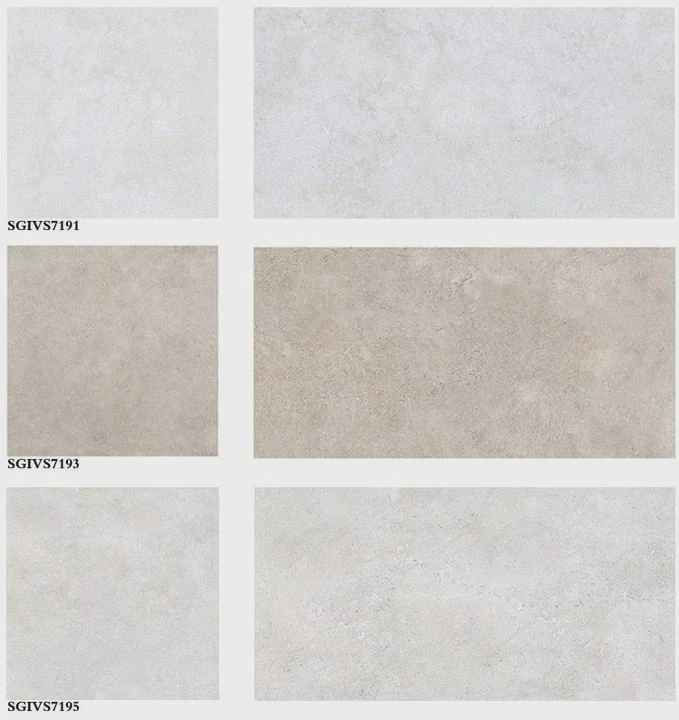
Many tile floors look uneven or messy because grout was applied incorrectly. Poor grouting can leave gaps, stains, weak joints, and costly repair problems later.
Laying grout on floor tile requires proper mixing, even spreading, careful joint filling, excess grout removal, and correct curing. Using the right tools and methods helps create durable, clean, and professional-looking tile floors.
Grouting is one of the final and most important steps in tile installation. Good grout work protects tile edges, blocks moisture, and improves the overall appearance of the floor. In both residential and commercial projects, grout quality directly affects long-term durability and maintenance performance.
What Steps Are Involved in Applying Grout?
Many people rush through grouting because they think it is simple. Small mistakes during this stage often lead to cracked joints, uneven surfaces, and weak bonding later.
Applying grout involves surface preparation, grout mixing, spreading, joint filling, cleaning excess material, shaping grout lines, and allowing proper curing time. Each step affects the final durability and appearance of the tiled floor.
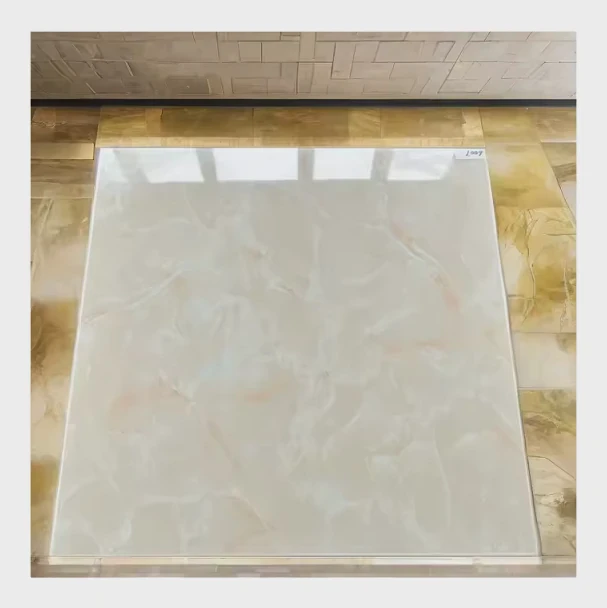
Successful grouting starts long before the grout touches the floor. Proper preparation creates smoother application and better long-term performance.
Step 1: Prepare the Tile Surface
Before grouting begins, the tile surface should be:
- Clean
- Dry
- Dust-free
- Free from adhesive residue
Any leftover mortar inside the joints may weaken grout bonding or create uneven lines.
Installers often vacuum the floor carefully before starting.
Step 2: Select the Correct Grout Type
Different floor projects require different grout materials.
| Grout Type | Features | Best Use |
|---|---|---|
| Sanded grout | Strong and durable | Wide floor joints |
| Unsanded grout | Smooth texture | Narrow joints |
| Epoxy grout | Chemical resistant | Commercial kitchens |
| Polymer-modified grout | Improved flexibility | High-traffic areas |
Sanded grout is very common for floor tiles because floor joints are usually wider than wall tile joints.
Step 3: Mix the Grout Properly
Correct grout consistency is critical.
The mixture should feel similar to thick peanut butter. Grout that is too wet may shrink and crack later. Grout that is too dry becomes difficult to spread evenly.
Most manufacturers recommend:
- Mixing slowly
- Allowing resting time
- Remixing before use
This process helps activate additives evenly.
Step 4: Apply the Grout
The grout is spread diagonally across the tile surface using a grout float.
Diagonal movement helps push grout fully into the joints while reducing the risk of pulling grout back out.
Step 5: Initial Cleaning
After the joints are filled, excess grout should be removed from the tile surface before hardening begins.
This stage requires careful timing. Cleaning too early may remove grout from joints. Waiting too long makes cleaning difficult.
Step 6: Shape the Grout Lines
A damp sponge smooths the grout joints and removes surface haze.
Good grout lines should appear:
- Even
- Compact
- Fully filled
- Consistent in depth
Step 7: Allow Proper Curing
Fresh grout requires time to harden correctly.
Foot traffic should remain limited during curing. Water exposure too early may weaken the grout structure.
One contractor once completed a shopping mall project where cleaning crews entered too soon after grouting. Several grout joints cracked and required expensive repair work before the building opened.
Environmental Conditions Matter
Temperature and humidity affect grout curing speed.
Very hot environments may dry grout too quickly. Extremely cold conditions slow curing and weaken strength development.
Professional installers monitor jobsite conditions carefully during installation.
How Can Grout Be Spread Evenly Across Tiles?
Uneven grout application creates weak joints, rough surfaces, and poor visual results. Many beginners struggle because grout dries quickly during installation.
Grout can be spread evenly by using the correct grout float angle, working in small sections, maintaining steady pressure, and filling joints completely before surface cleaning begins.
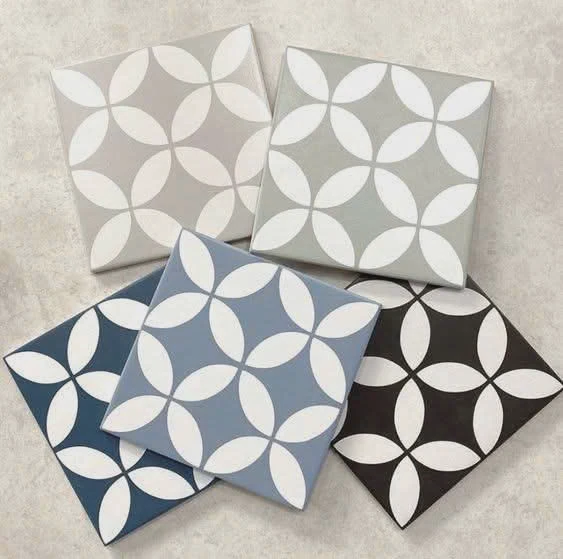
Even grout distribution improves both appearance and floor durability. Consistent joints help prevent moisture penetration and tile edge damage.
Use the Correct Grout Float Technique
The grout float is the main application tool.
Installers usually hold the float at a 45-degree angle while pressing grout into the joints.
This method helps:
- Push grout deeply into gaps
- Remove trapped air
- Reduce empty spaces
- Improve bonding strength
Work in Small Sections
Large floor areas should not be grouted all at once.
Most professionals divide floors into manageable sections because grout begins drying quickly.
Smaller sections provide:
- Better cleaning control
- More consistent joints
- Reduced haze formation
- Easier correction of mistakes
Apply Firm and Consistent Pressure
Weak pressure leaves shallow joints. Excessive pressure may remove too much grout.
Balanced pressure creates:
- Full joint filling
- Smooth surfaces
- Better compaction
Consistency matters more than speed during this stage.
Spread Diagonally Across Joints
Diagonal spreading prevents the float edge from digging directly into grout lines.
Straight-line movement often pulls grout back out of joints.
Check Joint Depth Frequently
Incomplete joints may later crack or collect dirt.
Professional installers inspect joints regularly during application to ensure proper filling depth.
Avoid Excess Water During Cleaning
Too much water weakens grout consistency and may create color variation.
Common cleaning mistakes include:
- Overwet sponges
- Excessive wiping
- Aggressive scrubbing
- Early washing
A lightly damp sponge usually works best.
Uniform Color Requires Consistent Mixing
Different water ratios may create uneven grout shades across the floor.
For large projects, installers often mix multiple grout bags together first to improve color consistency.
Lighting Helps Spot Problems Early
Good lighting reveals:
- Uneven joints
- Surface haze
- Low spots
- Missed gaps
Many commercial installers use temporary work lights during grouting for better visibility.
One hotel renovation project experienced noticeable grout shade differences between rooms because separate workers mixed grout inconsistently. After that project, the contractor standardized water measurements for all grout mixing onsite.
Why Remove Excess Grout Before It Dries?
Many people underestimate how difficult dried grout becomes to remove. Delayed cleaning often damages tile surfaces and increases labor costs.
Excess grout should be removed before drying because hardened residue becomes difficult to clean, may scratch tile surfaces, create haze, and weaken the final appearance of the floor installation.
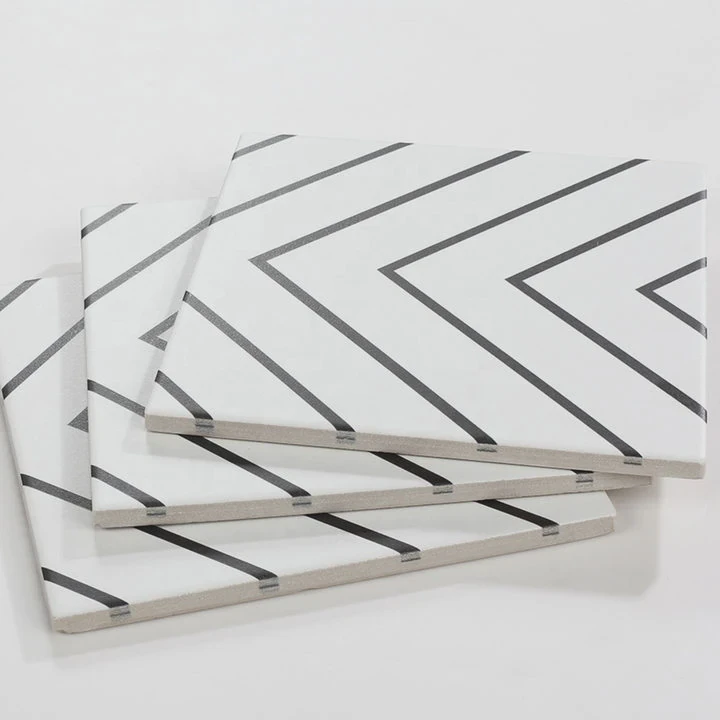
Timing is extremely important during grout cleanup. Good installers balance proper joint filling with controlled surface cleaning.
Fresh Grout Is Easier to Clean
Wet grout wipes away relatively easily. Once hardened, removal may require strong chemicals or mechanical scraping.
This creates risks such as:
- Tile scratching
- Surface dullness
- Joint damage
- Increased labor time
Grout Haze Is a Common Problem
Thin grout film often remains after surface cleaning.
If ignored, grout haze may dry into a cloudy layer that reduces tile shine.
Dark-colored tiles usually show haze more clearly than light-colored surfaces.
Proper Timing Improves Final Appearance
Cleaning too early removes grout from joints. Cleaning too late leaves hardened residue.
Most installers wait until grout begins firming slightly before starting sponge cleanup.
Use Clean Water Frequently
Dirty cleaning water spreads grout residue instead of removing it.
Professional installers often change rinse water many times during large projects.
Different Tile Surfaces Require Different Care
Textured tiles trap grout more easily than polished surfaces.
Textured Tile Challenges
- Grout sticks inside grooves
- Cleaning takes longer
- More sponge passes required
Polished Tile Challenges
- Surface scratching risk
- Haze becomes more visible
Because of this, cleaning methods should match the tile finish.
Epoxy Grout Requires Faster Cleaning
Epoxy grout hardens faster and becomes more difficult to remove once cured.
Many installers use special epoxy cleaning solutions during installation.
Delayed Cleaning Increases Repair Costs
In severe cases, hardened grout may require:
- Acid washing
- Mechanical polishing
- Tile replacement
- Regrouting
These repairs increase project cost significantly.
A commercial restaurant project once delayed grout cleanup overnight because of scheduling pressure. The hardened epoxy haze later required expensive machine polishing across the entire dining area.
Final Buffing Improves Appearance
After the grout fully cures, microfiber cloths or dry towels help remove any remaining haze and improve tile shine.
This final step creates a cleaner professional finish.
Which Tools Are Essential for Grouting Floors?
Many grouting problems happen because low-quality or incorrect tools make installation harder and less consistent.
Essential floor grouting tools include grout floats, mixing buckets, grout sponges, margin trowels, cleaning cloths, tile spacers, and protective safety equipment. Good tools improve installation speed, consistency, and final grout quality.
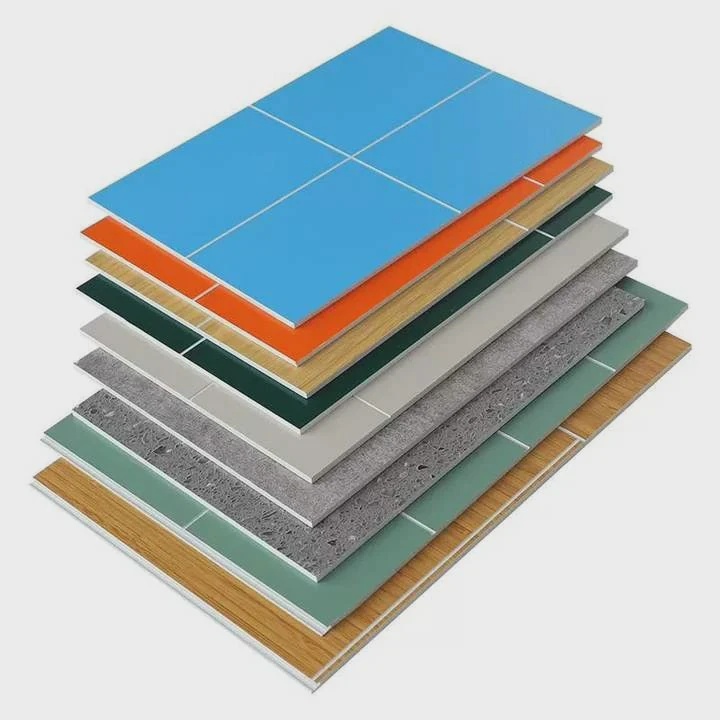
Professional tile installers invest heavily in proper grouting tools because tool quality directly affects productivity and finish quality.
Main Grouting Tools
| Tool | Purpose |
|---|---|
| Grout float | Spread and compact grout |
| Mixing bucket | Prepare grout mixture |
| Margin trowel | Hand mixing and scooping |
| Grout sponge | Shape joints and clean tiles |
| Tile spacers | Maintain joint consistency |
| Microfiber cloth | Final haze removal |
| Knee pads | Comfort during floor work |
| Rubber gloves | Protect hands |
Each tool serves a specific role during installation.
Grout Floats Are Critical
Rubber grout floats help press grout deeply into joints.
There are different float types:
- Soft rubber floats for delicate tiles
- Hard rubber floats for rough surfaces
- Epoxy floats for epoxy grout systems
Using the wrong float may scratch tile surfaces or reduce joint compaction.
Good Sponges Improve Finish Quality
Professional grout sponges absorb water evenly and shape joints smoothly.
Cheap sponges often:
- Tear quickly
- Leave debris
- Remove too much grout
- Create uneven lines
Mixing Tools Affect Consistency
Consistent grout mixing improves color and strength.
Large commercial projects often use low-speed electric mixers to reduce air bubbles and improve batch uniformity.
Safety Equipment Matters
Tile installation involves prolonged kneeling, dust exposure, and chemical contact.
Useful safety equipment includes:
- Knee pads
- Dust masks
- Gloves
- Safety glasses
Comfortable installers usually produce better-quality work over long projects.
Tile Spacers Improve Accuracy
Spacers maintain uniform grout joint width across the floor.
Uneven spacing creates visual inconsistency and weak installation appearance.
Cleaning Cloths Complete the Finish
Microfiber cloths remove final haze without scratching polished surfaces.
This finishing step becomes especially important for glossy porcelain and polished tiles.
Tool Maintenance Improves Performance
Dirty or damaged tools reduce installation quality.
Professional installers clean tools regularly during work to avoid hardened grout buildup.
One experienced installer once explained that replacing worn grout floats improved joint consistency immediately across a large apartment project. Small tool details often affect final results more than beginners expect.
Conclusion
Proper floor grouting requires careful preparation, even grout spreading, timely cleaning, and the right installation tools. Strong grout joints improve floor durability, moisture protection, and overall appearance. Consistent technique and quality materials help create long-lasting tile installations for both residential and commercial spaces.



