How to Install Backsplash Tile Sheets?
- Sinotiles
- 2026-07-16
Installing a backsplash can completely change the look of a kitchen or bathroom. Many homeowners worry that tile sheets are difficult to install, but the process is much simpler when you follow the right steps.
To install backsplash tile sheets, prepare the wall, measure and plan the layout, apply the correct adhesive, press the mesh-backed sheets into place, align the joints carefully, and finish with grout and sealant. Careful preparation creates a professional-looking result.
A successful backsplash is not only about choosing beautiful tiles. Proper planning, accurate alignment, and the right installation materials all work together to create a clean, durable finish that will last for many years.
What Steps Are Involved in Installing Tile Sheets?
Many installation problems begin before the first tile touches the wall. Good preparation saves time and prevents expensive mistakes later.
Installing tile sheets involves cleaning the wall, planning the layout, applying adhesive, setting the sheets, checking alignment, cutting edge pieces, grouting the joints, and allowing everything to cure properly before use.
Mesh-backed tile sheets make installation much faster than placing individual tiles. However, every step still requires attention to detail.
Step 1: Prepare the Surface
The wall should be:
- Clean
- Dry
- Flat
- Free from grease
- Free from loose paint
Kitchen walls often collect cooking grease. Wash the surface thoroughly before beginning.
If the wall has large holes or uneven spots, repair them first.
Step 2: Measure the Area
Careful measuring helps reduce waste.
Measure:
- Width
- Height
- Outlet locations
- Cabinet spacing
Mark center lines using a level.
Starting from the center often creates a more balanced appearance.
Step 3: Dry Fit the Tile Sheets
Before opening the adhesive, place several sheets on the wall.
Dry fitting helps identify:
- Cut locations
- Pattern alignment
- Border sizes
- Outlet openings
Making adjustments now is much easier than after adhesive has been applied.
Step 4: Apply Adhesive
Spread adhesive with the recommended notched trowel.
Work on small sections.
Large areas may dry before the tile is installed.
Step 5: Install the Sheets
Press each sheet firmly into the adhesive.
Use a grout float to apply even pressure across the entire surface.
This helps every tile contact the adhesive equally.
Step 6: Cut Around Obstacles
Electrical outlets, switches, and cabinet corners often require trimming.
Depending on the tile material, use:
- Tile nippers
- Wet saw
- Glass cutter
- Diamond blade
Always wear eye protection while cutting.
Step 7: Grout the Tiles
Allow the adhesive to cure according to the manufacturer’s instructions.
Apply grout using a rubber float.
Clean excess grout with a damp sponge before it hardens.
Step 8: Final Cleaning
After the grout cures, polish the tile surface with a soft cloth.
Apply sealer if required by the tile or grout manufacturer.
Following each step carefully reduces installation errors and produces a backsplash with clean lines and long-lasting performance.
How Can You Align Sheets for a Seamless Look?
Even beautiful tiles can look uneven if the sheet joints are visible. Proper alignment is what separates a professional installation from an average one.
To create a seamless backsplash, carefully align every sheet before pressing it into the adhesive. Maintain consistent grout joints, adjust individual tiles when needed, and check alignment frequently with a level and straightedge.
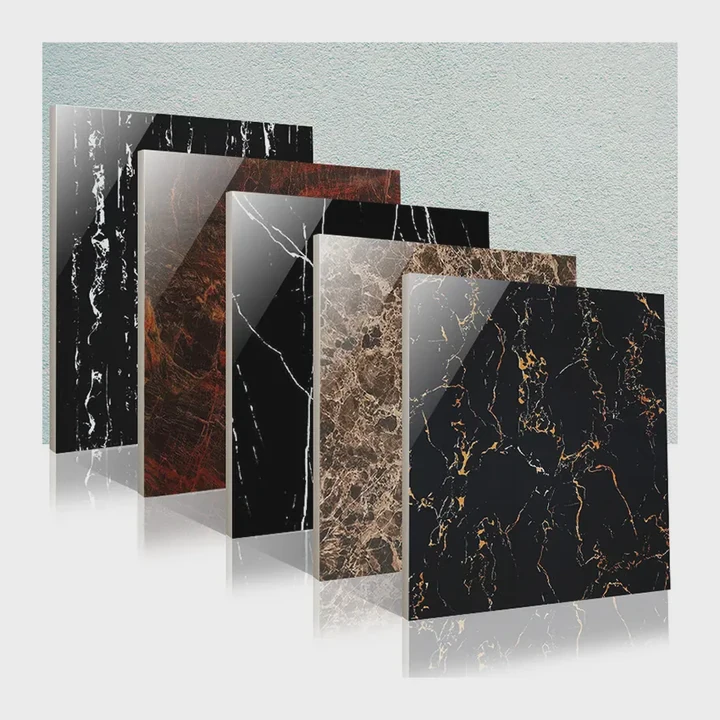
Mesh-backed sheets simplify installation, but they still require careful positioning.
Start with Reference Lines
Use a level to draw:
- Horizontal guide line
- Vertical center line
These reference lines help keep every row straight.
Without guide lines, small errors quickly become noticeable.
Match the Grout Joints
The spaces between sheets should match the spaces within each sheet.
If the joint between sheets becomes wider or narrower, the finished backsplash will reveal the sheet pattern.
Take time to adjust each sheet before the adhesive begins to set.
Separate Individual Tiles if Needed
One advantage of mesh-backed sheets is flexibility.
If necessary, remove one or two tiles from the mesh and reposition them by hand.
This simple adjustment can hide sheet boundaries almost completely.
Frequently Check Your Work
Use:
- Spirit level
- Straightedge
- Tile spacers
Do not assume the previous sheet is perfectly aligned.
Verify each new sheet before continuing.
Common Alignment Mistakes
| Mistake | Result | Solution |
|---|---|---|
| Uneven sheet spacing | Visible seams | Match grout joints carefully |
| Crooked first row | Entire layout shifts | Use level guide lines |
| Rushing installation | Misaligned pattern | Install one sheet at a time |
| Ignoring small gaps | Uneven appearance | Adjust tiles before adhesive sets |
Lighting also affects how joints appear. Under-cabinet lighting often highlights uneven spacing that might not be visible during installation.
Stand back every few rows and inspect the backsplash from different angles. This wider view makes it easier to spot alignment issues before the adhesive cures.
Patience is the key to achieving a seamless finish. Spending a few extra minutes adjusting each sheet creates a backsplash that looks like it was installed tile by tile.
Why Use Mesh-Backed Tile Sheets for Backsplash?
Many mosaic designs contain dozens of small pieces. Installing every tile individually would take a great deal of time. Mesh-backed sheets solve this problem.
Mesh-backed tile sheets hold multiple tiles together in a flexible grid, making installation faster, improving spacing consistency, reducing labor, and simplifying complex mosaic designs without sacrificing appearance.
Mesh backing has become the standard for many mosaic backsplash products.
Faster Installation
Instead of placing one tile at a time, each sheet installs many tiles simultaneously.
This saves considerable installation time.
Large kitchen backsplashes can often be completed in a single day.
Better Spacing
Manufacturers attach tiles to the mesh with consistent spacing.
This creates:
- Uniform grout joints
- Balanced patterns
- Faster layout
- Cleaner appearance
Only minor adjustments are usually required during installation.
Flexible Around Corners
The mesh bends slightly.
This flexibility helps installers work around:
- Corners
- Curved surfaces
- Small wall adjustments
Individual tiles can also be removed easily where precise cuts are required.
Suitable for Many Tile Materials
Mesh-backed sheets are available in many materials, including:
- Ceramic
- Porcelain
- Glass
- Marble
- Natural stone
- Metal combinations
This wide selection gives homeowners many design options.
Advantages Compared with Individual Tiles
| Feature | Mesh-Backed Sheets | Individual Tiles |
|---|---|---|
| Installation Speed | Fast | Slow |
| Pattern Consistency | Excellent | Depends on installer |
| Labor Required | Lower | Higher |
| Layout Accuracy | Easier | More difficult |
| Best Use | Mosaic backsplash | Large format tile |
Another benefit is reduced installation fatigue. Handling one sheet instead of many small tiles allows installers to work more efficiently while maintaining accuracy.
For homeowners attempting their first backsplash project, mesh-backed sheets provide an excellent balance between professional appearance and manageable installation difficulty.
Which Adhesives Work Best for Sheet Tiles?
Choosing the correct adhesive is just as important as selecting the tile itself. The wrong product may lead to poor bonding, loose tiles, or premature failure.
High-quality polymer-modified thin-set mortar is the preferred adhesive for most sheet tiles. Ready-mixed tile mastics can also work for certain indoor backsplash applications, depending on the tile material and manufacturer recommendations.
Always follow the adhesive manufacturer’s instructions as well as the tile supplier’s recommendations.
Polymer-Modified Thin-Set Mortar
Thin-set mortar offers excellent bonding strength.
It is commonly recommended for:
- Ceramic mosaics
- Porcelain mosaics
- Natural stone
- Glass tiles when approved
It also provides strong long-term durability.
Ready-Mixed Tile Mastic
Mastic is convenient because it comes ready to use.
It works well for:
- Dry interior walls
- Kitchen backsplashes
- Small renovation projects
However, it is generally not recommended for constantly wet environments.
White vs. Gray Adhesive
The adhesive color matters.
White adhesive is preferred for:
- Glass tiles
- Light-colored stone
- White grout
Gray adhesive may show through translucent glass mosaics.
Selecting the Proper Trowel
The trowel controls adhesive thickness.
Common sizes include:
- 3⁄16-inch V-notch
- 1⁄4-inch square notch
- Small mosaic notch
Using excessive adhesive may squeeze mortar into the grout joints, making cleanup more difficult.
Helpful Installation Tips
- Mix thin-set according to instructions.
- Do not spread more adhesive than can be covered within the working time.
- Press sheets evenly with a grout float.
- Check for full adhesive coverage occasionally by lifting one sheet.
- Remove excess adhesive before grouting.
Allow adequate curing time before applying grout. Rushing this stage may disturb the tile alignment and weaken the bond.
A quality adhesive, combined with careful installation, ensures that the backsplash remains securely attached while maintaining its appearance through years of everyday kitchen use.
Conclusion
Installing backsplash tile sheets becomes much easier with careful preparation, accurate alignment, mesh-backed mosaics, and the right adhesive. By following each installation step patiently, homeowners can create a clean, durable, and professional-looking backsplash that enhances both the beauty and value of the space.