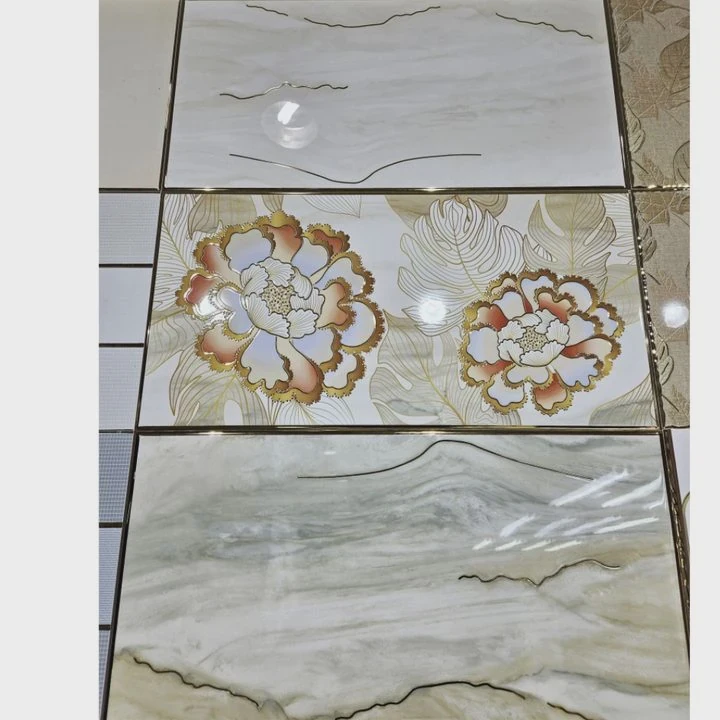
How to Install Tile Edge Trim?
- Sinotiles
- 2026-07-16

Unfinished tile edges can make even the most beautiful tile installation look incomplete. Poor edge protection may also lead to chipped corners and costly repairs over time.
Installing tile edge trim involves selecting the right trim material, positioning it correctly before laying the tile, embedding it into the tile adhesive, and aligning the tiles carefully. Tile edge trim protects exposed edges while creating a clean, professional finish.
Whether you are installing porcelain tiles in a bathroom, ceramic wall tiles in a kitchen, or large-format tiles in a commercial project, edge trim is an important finishing detail. In this guide, I will explain the purpose of tile edge trim, how to install it properly, why it improves tile installations, and which trim materials are available.
What Is the Purpose of Tile Edge Trim?
Many people focus on choosing beautiful tiles but overlook how the exposed edges will look after installation. Without proper finishing, even premium tiles can appear unfinished.
Tile edge trim protects exposed tile edges from damage, creates a neat transition, improves safety, and enhances the overall appearance of tiled surfaces. It is widely used in both residential and commercial projects.
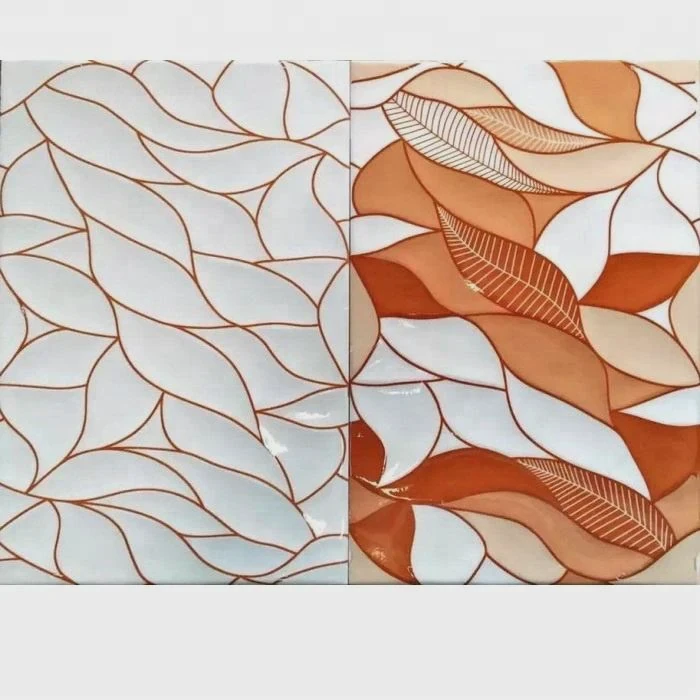
Tile edge trim is much more than a decorative accessory. It serves both practical and visual purposes throughout the life of the installation.
Protect Tile Edges
Porcelain and ceramic tiles are durable, but exposed corners remain vulnerable.
Without protection, tile edges can become damaged by:
- Furniture movement
- Dropped tools
- Daily foot traffic
- Cleaning equipment
- Accidental impacts
Edge trim forms a protective barrier that helps reduce chipping and cracking.
Create a Professional Finish
Raw tile edges often look incomplete.
Trim creates a smooth border around:
- Shower walls
- Kitchen backsplashes
- Bathroom niches
- Feature walls
- Stair edges
This simple detail gives the installation a clean, finished appearance.
Improve Safety
Sharp tile edges may present a safety risk, especially in busy homes and commercial spaces.
Rounded or beveled trim profiles reduce sharp corners and make finished edges safer to touch.
This is particularly useful in:
- Family homes
- Hotels
- Schools
- Healthcare facilities
- Retail stores
Cover Expansion Gaps
Certain tile layouts require small movement gaps near walls or adjoining surfaces.
Tile trim helps conceal these spaces while maintaining a neat appearance.
It also supports long-term performance by allowing slight movement caused by temperature changes.
Enhance Interior Design
Modern tile trims are available in many colors and finishes.
Popular choices include:
- Matte black
- Brushed stainless steel
- Satin aluminum
- Gold finish
- White PVC
Matching the trim to fixtures, hardware, or tile colors creates a more coordinated design.
Key Benefits of Tile Edge Trim
| Benefit | Why It Matters |
|---|---|
| Edge Protection | Reduces chipping and damage |
| Finished Appearance | Creates clean borders |
| Improved Safety | Covers sharp tile edges |
| Design Enhancement | Complements interior style |
| Longer Tile Life | Protects vulnerable corners |
Although tile edge trim is a relatively small component, it has a significant impact on both durability and aesthetics.
How Do You Install Edge Trim Correctly?
Even high-quality trim will not perform well if it is installed incorrectly. Careful preparation and accurate positioning make all the difference.
Install tile edge trim by measuring carefully, cutting the trim accurately, embedding the anchoring leg into fresh tile adhesive, aligning the tiles against the trim, and checking the installation with a level before the adhesive cures.
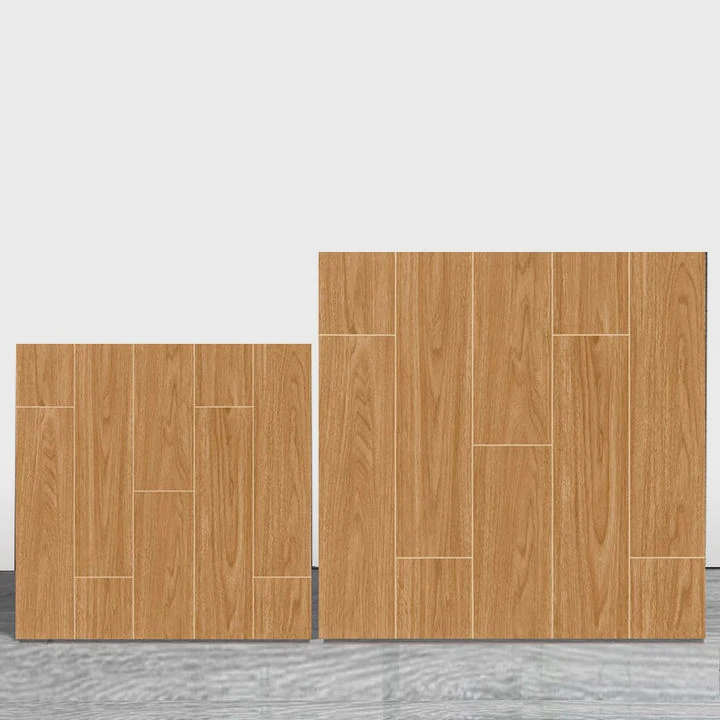
A successful installation begins long before the first tile is placed.
Measure the Installation Area
Start by measuring every exposed tile edge.
Common installation locations include:
- Shower corners
- Outside wall corners
- Kitchen backsplashes
- Countertop edges
- Window surrounds
Accurate measurements help reduce material waste.
Cut the Trim to Size
After measuring, cut the trim to the required length.
Depending on the material, suitable tools include:
- Hacksaw
- Miter saw
- Metal-cutting blade
- PVC cutter
For outside corners, miter cuts often produce a cleaner appearance.
Apply Tile Adhesive
Spread tile adhesive evenly with a notched trowel.
The perforated anchoring leg of the trim should be pressed firmly into the fresh adhesive.
This creates a secure mechanical bond between the trim and the tile installation.
Position the Tiles
Install each tile so that its edge sits neatly against the trim profile.
Use tile spacers to maintain even grout joints.
Avoid forcing tiles tightly against the trim, as slight spacing allows for grout and proper alignment.
Check Alignment Frequently
During installation, use a spirit level to verify that both the trim and the tile surface remain straight.
Making small adjustments while the adhesive is still workable is much easier than correcting problems later.
Finish with Grouting
After the adhesive has cured, grout the joints as usual.
Clean excess grout promptly to prevent residue from drying on the trim surface.
A clean finish highlights both the tile and the trim profile.
Why Use Trim for Tile Finishing?
Some people wonder whether tile trim is really necessary. While it may seem optional, it provides important long-term benefits.
Tile trim improves the appearance of tiled surfaces, protects exposed edges, simplifies maintenance, increases durability, and creates smooth transitions between tiles and other building materials.
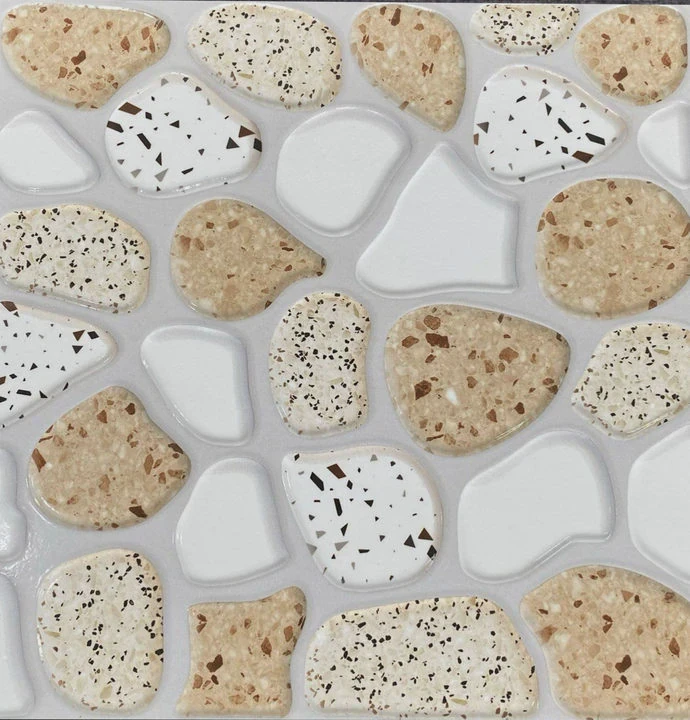
Professional tile installations almost always include edge trim because it improves both function and appearance.
Protect Against Daily Wear
Exposed tile edges receive constant impact.
Examples include:
- Vacuum cleaners
- Chairs
- Cleaning equipment
- Shopping carts in commercial buildings
- Suitcases in hotels
Trim absorbs much of this contact and reduces the risk of chipped corners.
Simplify Cleaning
Finished edges collect less dirt than rough tile edges.
Smooth trim profiles are easier to wipe clean, making them ideal for:
- Kitchens
- Bathrooms
- Restaurants
- Healthcare environments
Good hygiene becomes easier to maintain.
Improve Visual Consistency
Tile trim frames the tiled surface and creates a clear finishing line.
This helps maintain consistent details around:
- Niches
- Window frames
- Shelving
- Feature walls
- Accent panels
The result is a more refined overall design.
Connect Different Materials
Tile installations often meet other finishes.
Examples include:
- Painted drywall
- Hardwood flooring
- Vinyl flooring
- Stone countertops
- Glass panels
Trim creates a smooth transition while protecting the tile edge.
Reduce Future Repairs
Replacing chipped tiles after installation can be difficult and expensive.
Installing trim during the original project costs much less than repairing damaged edges later.
Advantages at a Glance
| Advantage | Long-Term Benefit |
|---|---|
| Edge Protection | Fewer chipped tiles |
| Easy Cleaning | Less dirt buildup |
| Better Appearance | Professional finish |
| Material Transition | Cleaner connections |
| Lower Maintenance | Reduced repair costs |
Although trim represents a small portion of the overall project budget, it contributes greatly to the durability and finished quality of the installation.
Which Materials Are Available for Tile Trims?
Choosing the right trim material is just as important as selecting the right tile. Each material offers different strengths, finishes, and applications.
Tile trims are commonly made from aluminum, stainless steel, PVC, brass, and ceramic. The best material depends on the installation environment, design style, budget, and expected level of wear.
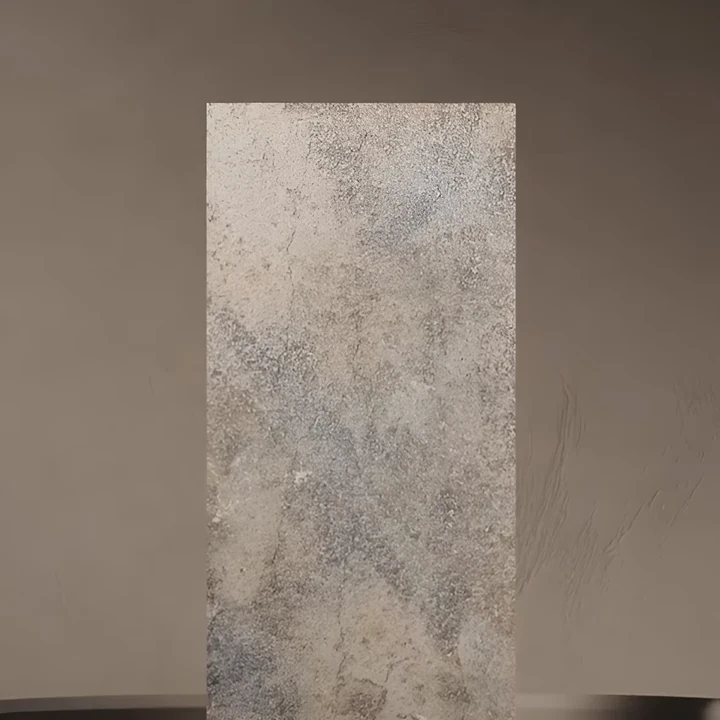
Manufacturers now offer a wide variety of trim materials to match different architectural styles and performance requirements.
Aluminum Tile Trim
Aluminum is one of the most popular choices.
Its advantages include:
- Lightweight
- Corrosion resistant
- Affordable
- Easy to cut
- Available in many finishes
It works well in bathrooms, kitchens, and most indoor residential applications.
Stainless Steel Tile Trim
Stainless steel offers exceptional durability.
It is commonly used in:
- Hotels
- Hospitals
- Commercial kitchens
- Shopping centers
- Public buildings
Its resistance to corrosion and heavy wear makes it ideal for demanding environments.
PVC Tile Trim
PVC trim is a practical and economical option.
Benefits include:
- Moisture resistance
- Lightweight construction
- Simple installation
- Wide color selection
- Cost-effective pricing
It is often used for residential wall tile installations where impact is limited.
Brass Tile Trim
Brass provides a decorative appearance with a premium feel.
Many designers choose brass for:
- Luxury bathrooms
- Boutique hotels
- High-end kitchens
- Feature walls
Its warm metallic finish pairs well with natural stone and marble-look porcelain tiles.
Ceramic Tile Trim
Some tile collections include matching ceramic trim pieces.
These create a seamless appearance because the trim and field tile share the same color and finish.
However, ceramic trims generally offer less impact resistance than metal profiles.
Material Comparison
| Material | Best Application | Durability | Appearance |
|---|---|---|---|
| Aluminum | Residential walls and floors | High | Modern |
| Stainless Steel | Commercial projects | Very High | Premium |
| PVC | Budget-friendly residential use | Moderate | Simple |
| Brass | Luxury interiors | High | Elegant |
| Ceramic | Matching tile collections | Moderate | Seamless |
When selecting tile trim, consider more than just appearance. Think about moisture exposure, cleaning requirements, foot traffic, and the overall design of the project. A well-chosen trim profile not only protects the installation but also complements the tile, creating a polished finish that lasts for many years.
Conclusion
Tile edge trim is a simple yet essential part of any professional tile installation. By selecting the right trim material, installing it correctly, and matching it to the design of the space, you can protect exposed tile edges, improve safety, and achieve a clean, durable, and attractive finish that enhances both residential and commercial projects. “`