How to Install Backsplash Tile?
- Sinotiles
- 2026-07-21
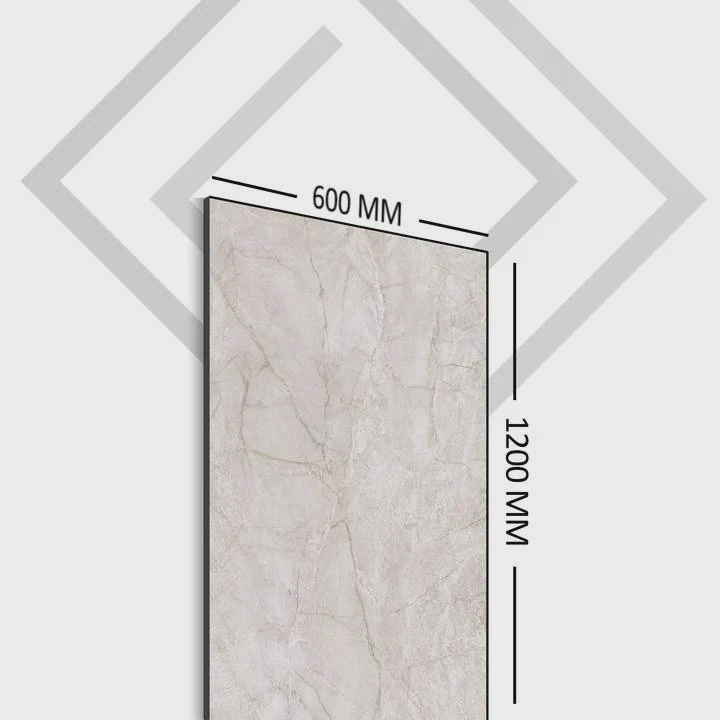
A beautiful backsplash can completely change the look of a kitchen or bathroom. Yet many homeowners worry about uneven tiles, poor alignment, or grout problems before they even begin.
Installing backsplash tile involves preparing the wall, planning the layout, applying the right adhesive, cutting tiles accurately, setting the tiles evenly, grouting the joints, and sealing the grout when needed. Careful preparation produces the best-looking and longest-lasting results.
Many people think backsplash installation is only about sticking tiles to a wall. In reality, success depends on proper planning before the first tile is installed. The layout, adhesive, tile cuts, and grout all work together to create a clean and professional finish. Once each step is understood, the installation becomes much easier and more predictable.
What Layout Works Best for Backsplash Installation?
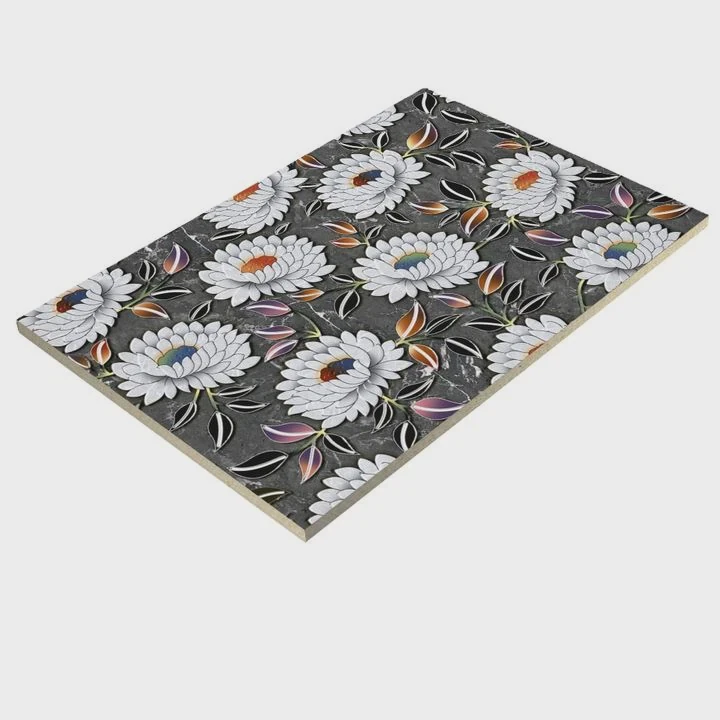
Starting without a layout plan often leads to uneven tile cuts, poor alignment, and a finished backsplash that looks unbalanced. Spending time on the layout before installation helps avoid these common mistakes.
The best backsplash layout is one that creates balanced tile cuts, keeps important visual lines centered, and minimizes small pieces around cabinets, outlets, and corners. A centered layout usually delivers the most professional appearance.
Before opening the adhesive, I always spend time planning the layout. A few extra minutes at this stage can prevent hours of correction later.
Start From the Most Visible Area
The eye naturally focuses on the area behind the sink or cooktop. This location should become the visual center whenever possible.
Instead of beginning from one end of the wall, I prefer finding the center point and working outward. This keeps tile cuts on both sides similar in size.
If the backsplash covers several walls, I also consider how the pattern continues around inside corners.
Dry Lay the Tiles First
Dry laying means placing tiles on the countertop without adhesive.
This simple step helps identify potential issues before installation begins.
I can easily see:
- Where small cuts may appear
- How grout joints line up
- Whether the pattern remains balanced
- If decorative accents fit properly
Changing the layout at this stage is much easier than after adhesive has been applied.
Choose the Right Pattern
Different tile shapes create different visual effects.
| Layout Pattern | Best For |
|---|---|
| Straight Stack | Modern kitchens and clean designs |
| Brick (Running Bond) | Classic and timeless appearance |
| Herringbone | Decorative feature walls |
| Vertical Stack | Contemporary interiors |
| Diagonal Layout | Small spaces needing visual interest |
Each pattern requires different planning. Herringbone, for example, creates more waste because of additional cuts.
Keep Grout Lines Consistent
Even spacing creates a clean finish.
Tile spacers help maintain equal grout joints across the entire backsplash.
Without spacers, small differences become very noticeable once the grout is applied.
Check the First Row Carefully
The first row controls every row above it.
If the countertop is perfectly level, installation can begin directly above it.
If it is not level, a temporary ledger board creates a perfectly straight starting line.
This keeps every following row aligned.
Think About Future Maintenance
Simple layouts often make future repairs easier.
If one tile becomes damaged years later, replacing it is much simpler when the pattern is straightforward and the grout joints remain consistent.
Good planning creates both a better appearance and easier maintenance over the life of the backsplash.
Which Adhesives Are Suitable for Backsplash Tiles?
The wrong adhesive can cause tiles to slip during installation or loosen after years of daily use. Choosing the proper product helps ensure a strong bond and long-lasting performance.
Thin-set mortar, premixed mastic, and specialized tile adhesives are commonly used for backsplash installation. The best choice depends on the tile material, wall condition, and installation location.
Many people assume all tile adhesives work the same way. In practice, each product performs differently.
Premixed Mastic
Premixed mastic is popular for many kitchen backsplashes.
It is ready to use directly from the container.
Advantages include:
- Easy application
- Good initial grab
- Ideal for dry interior walls
- No mixing required
However, mastic should not be used in areas with constant moisture, such as inside showers.
Thin-Set Mortar
Thin-set mortar creates a stronger bond than mastic.
It is commonly recommended for:
- Porcelain tile
- Large-format tile
- Natural stone
- Glass tile when approved by the manufacturer
Thin-set usually comes as a powder that must be mixed with water or a latex additive.
Although preparation takes longer, it provides excellent durability.
Adhesive Selection by Tile Type
| Tile Material | Recommended Adhesive |
|---|---|
| Ceramic | Premixed mastic or thin-set |
| Porcelain | Polymer-modified thin-set |
| Glass | White glass tile thin-set |
| Natural stone | White thin-set mortar |
| Mosaic sheets | Mastic or thin-set depending on material |
Always follow the tile manufacturer’s recommendations because some specialty products require specific adhesives.
Applying Adhesive Correctly
The trowel notch size affects adhesive coverage.
Small backsplash tiles often use a smaller notched trowel than large floor tiles.
Holding the trowel at a consistent angle creates even ridges.
Each tile should be pressed firmly while moving it slightly back and forth. This helps collapse the adhesive ridges and improves contact.
Avoid Installing Too Quickly
Only spread adhesive over an area that can be tiled before a skin forms.
If the adhesive begins drying before the tile is installed, the bond becomes much weaker.
Working in small sections keeps the installation manageable and improves quality.
Check Bond Coverage
Occasionally removing one tile helps confirm proper adhesive coverage.
The back of the tile should show good contact with the adhesive.
If coverage is poor, adjusting the trowel size or installation technique may be necessary.
Good adhesion is one of the most important factors affecting the long-term performance of any backsplash.
How to Cut Tiles for Outlets and Corners?
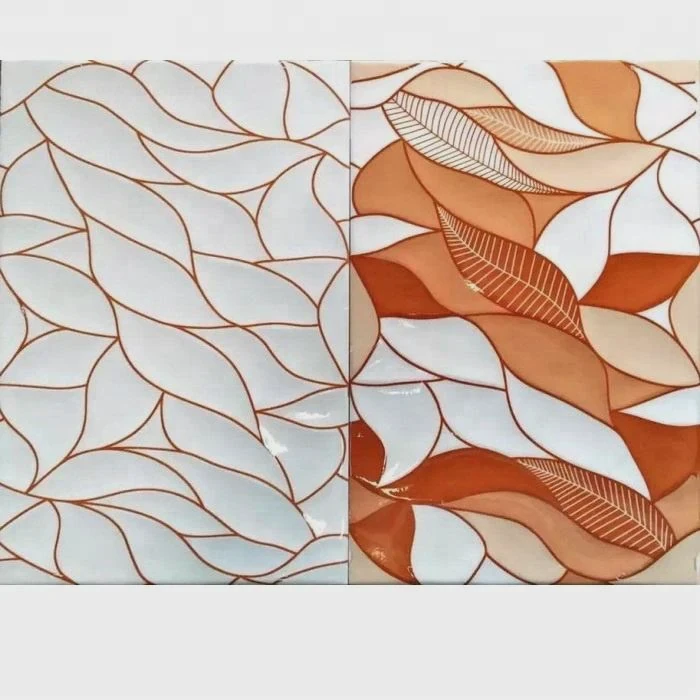
Even a perfectly planned backsplash can look unfinished if the tile cuts are rough or inaccurate. Clean cuts around outlets and corners help create a professional appearance.
Tiles for outlets and corners should be carefully measured, marked, and cut using the proper tools. A wet saw, tile cutter, angle grinder, or tile nippers may be used depending on the tile material and cut type.
Accurate measuring is much more important than cutting quickly.
I always measure each opening twice before making the first cut.
Measuring Electrical Outlets
Electrical outlets require careful planning.
The tile should fit closely around the outlet while allowing enough space for the cover plate to hide the edges.
The basic process includes:
- Measure the outlet position.
- Transfer the measurements to the tile.
- Double-check all dimensions.
- Cut slowly.
- Test the fit before applying adhesive.
Small mistakes become difficult to hide once the tile is installed.
Cutting Straight Lines
Manual tile cutters work well for many ceramic tiles.
For porcelain, a wet saw usually provides cleaner edges.
The blade should remain sharp to reduce chipping.
Moving the tile steadily through the blade creates smoother cuts than forcing it quickly.
Inside and Outside Corners
Corners often require several small adjustments.
Instead of trying to achieve a perfect fit immediately, I prefer making small trimming cuts until the tile fits correctly.
Expansion space should remain in the corner because walls naturally move slightly over time.
This joint is later filled with flexible caulk rather than grout.
Cutting Small Notches
Some outlet cuts require removing only a small section of tile.
An angle grinder with a diamond blade can handle these cuts.
Tile nippers also work well for trimming tiny pieces after the main cut.
Patience produces cleaner results than trying to remove too much material at once.
Safety During Cutting
Tile cutting creates sharp edges and dust.
Safety equipment should always include:
- Safety glasses
- Hearing protection
- Dust mask when appropriate
- Gloves for handling cut edges
Wet saws reduce airborne dust and usually create cleaner cuts.
Test Every Piece
Before applying adhesive, every cut tile should be placed in its final position.
Testing first allows small adjustments while the tile remains easy to handle.
This extra step reduces installation mistakes and keeps grout joints consistent across the backsplash.
Should Backsplash Grout Be Sealed Afterward?
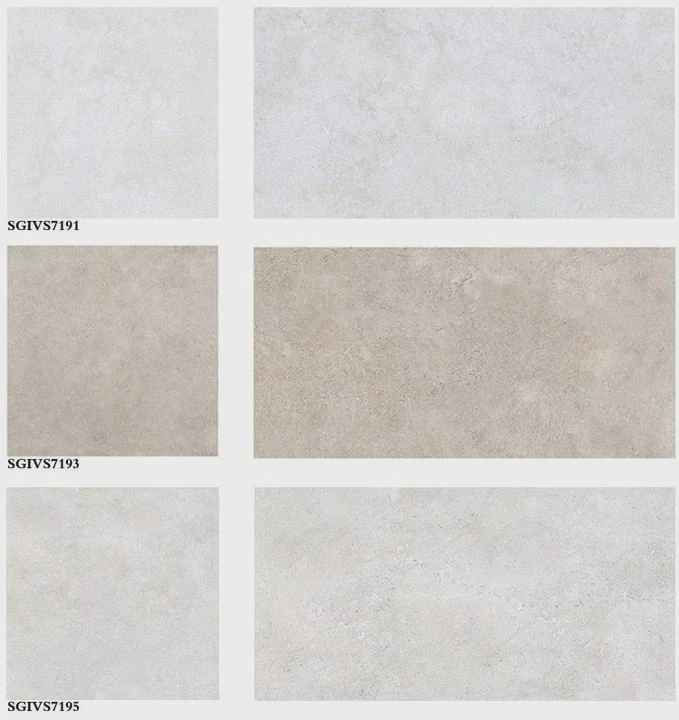
Fresh grout gives a backsplash a finished appearance, but grout remains one of the most porous parts of the entire installation. Without proper protection, stains and moisture can gradually reduce its appearance.
Yes, most cement-based backsplash grout should be sealed after curing. Grout sealer helps resist stains, moisture, grease, and everyday dirt. Epoxy grout usually does not require sealing because it is naturally stain resistant.
Many homeowners skip sealing because the backsplash does not receive as much water as a shower.
However, kitchens expose grout to grease, cooking oils, food splashes, and regular cleaning.
Why Grout Needs Protection
Cement grout contains tiny pores.
These pores absorb:
- Water
- Cooking oil
- Coffee
- Tomato sauce
- Wine
- Food stains
A penetrating sealer fills many of these pores while still allowing the grout to breathe.
This makes cleaning much easier.
When to Apply Sealer
Fresh grout must cure before sealing.
Most manufacturers recommend waiting between 48 and 72 hours, although some products require longer curing times.
Applying sealer too early can trap moisture inside the grout.
Always follow the manufacturer’s instructions.
Types of Grout
Not every grout needs sealing.
| Grout Type | Sealing Needed? |
|---|---|
| Cement grout | Yes |
| Sanded grout | Yes |
| Unsanded grout | Yes |
| Epoxy grout | Usually No |
Knowing the grout type before purchasing sealer avoids unnecessary work.
Applying the Sealer
Application is simple but requires patience.
A small brush, roller, or applicator bottle works well.
Only the grout joints should receive the sealer whenever possible.
Excess sealer should be wiped from the tile surface before it dries.
After curing, the backsplash is ready for normal use.
Long-Term Maintenance
Grout sealer gradually wears away.
High-use kitchen backsplashes may benefit from resealing every few years, depending on cleaning habits and the product used.
Regular cleaning with mild cleaners also helps extend the life of both the grout and the sealer.
Avoid harsh acidic cleaners because they can damage cement grout over time.
A Small Step That Adds Long-Term Value
Sealing takes very little time compared with the entire installation process.
Yet this final step helps preserve the appearance of the backsplash, reduces cleaning effort, and extends the life of the grout.
For many homeowners, it is one of the easiest ways to protect the finished project.
Conclusion
Installing backsplash tile successfully starts with careful planning and continues through every stage of the project. A balanced layout, the correct adhesive, accurate tile cuts, proper grouting, and sealing cement-based grout all contribute to a backsplash that looks professional, performs well, and remains attractive for many years.