How to lay 12x24 tile on a patio?
- Sinotiles
- 2026-07-28
Many homeowners choose 12x24 tiles for patios because they create a modern look with fewer grout lines. However, outdoor tile installation can fail when the base, spacing, or drainage is not prepared correctly.
Laying 12x24 patio tiles requires a strong foundation, suitable mortar, accurate spacing, and proper water control. A professional installation process helps large tiles stay stable and beautiful for many years.
Large format tiles are popular because they make outdoor spaces look cleaner and more spacious. In my experience working with ceramic and porcelain tile customers, many people focus on the tile design but underestimate the importance of installation details.
Outdoor areas face different challenges than indoor spaces. Temperature changes, rain, moisture, and ground movement can affect tile performance. A good installation plan must consider these conditions before the first tile is placed.
What base preparation is needed for patio tiling?
A strong base is the most important part of patio tile installation. Without proper preparation, even high-quality 12x24 tiles can crack, move, or become uneven over time.
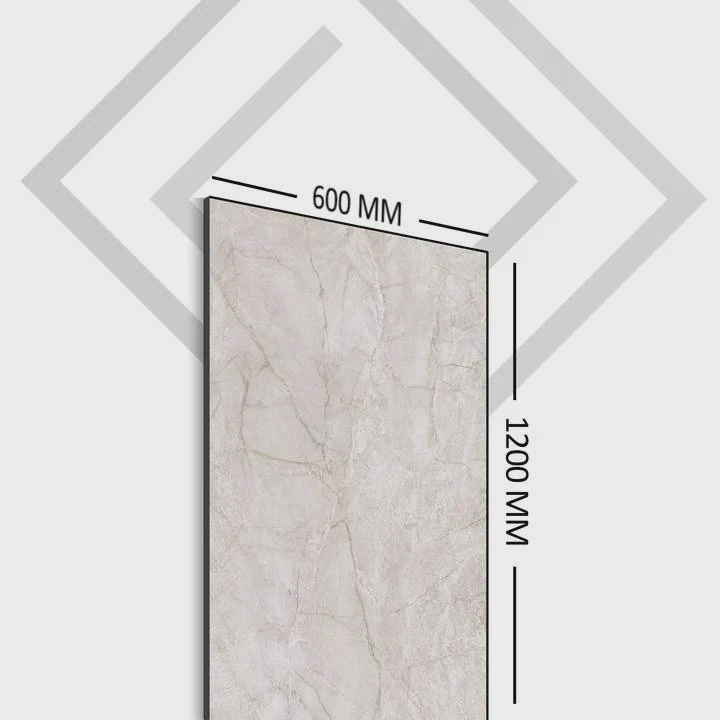
The base supports the entire tile surface. It helps distribute weight and reduces movement caused by soil changes. Outdoor patios need more support than indoor floors because they experience weather conditions and heavier stress.
Before installing tiles, the ground must be checked and prepared carefully. A weak or uneven base creates problems that are difficult to fix after installation.
Main steps for patio base preparation
| Step | Purpose | Important point |
|---|---|---|
| Remove old surface | Creates a clean working area | Remove unstable materials |
| Level the ground | Prevents uneven tile placement | Check slope and height |
| Add base material | Provides support | Use compacted gravel or suitable base |
| Install concrete or stable layer | Creates strong foundation | Must be properly cured |
The first step is removing loose soil, grass, old concrete, or damaged surfaces. The installation area should be clean and stable before adding new materials.
Why a stable foundation matters
Large tiles have a bigger surface area than smaller tiles. This means they need more support underneath. If one section of a large tile has no support, pressure can create cracks.
For outdoor patios, installers often use a concrete slab or a properly prepared base system. The exact method depends on the location, climate, and tile type.
A good base should have:
- Strong load support
- Flat surface
- Correct slope
- Good water control
- Low movement risk
The slope is especially important. A patio should not be completely flat because water needs a path to move away. A small slope helps prevent water from staying under the tiles.
Preparing for long-term performance
When I discuss outdoor tile projects with customers, I often explain that the tile is only one part of the system. The foundation, adhesive, grout, and drainage all work together.
A beautiful 12x24 tile cannot perform well on a poor base. This is why experienced installers spend more time preparing the surface than many homeowners expect.
For commercial outdoor projects, such as hotel gardens or restaurant patios, base preparation becomes even more important. These areas receive more people and need stronger performance.
A professional approach may require more time at the beginning, but it reduces repair costs later. A stable base allows the patio to maintain its appearance and function for many years.
How do you space 12x24 tiles evenly outdoors?
Spacing 12x24 tiles evenly outdoors requires careful planning, accurate measurements, and the right tile spacers. Large tiles can show alignment mistakes easily because their long edges create clear visual lines.
Many people think tile spacing is only about appearance. However, grout joints also help manage small movements caused by temperature changes and moisture.
Outdoor tile surfaces expand and contract with weather conditions. Proper spacing gives the installation enough flexibility.
Common spacing choices for patio tiles
| Tile size | Common outdoor grout spacing |
|---|---|
| 12x24 tile | 1⁄8 inch to 3⁄8 inch |
| Large format tile | Often wider spacing |
| Natural stone tile | Depends on size variation |
The correct spacing depends on tile quality, installation method, and design preference. Rectified tiles with precise edges can usually use smaller grout lines. Tiles with natural variations may need wider spacing.
Steps for even tile spacing
- Measure the patio area.
- Create a layout plan.
- Mark guide lines.
- Use tile spacers or leveling systems.
- Check alignment during installation.
A layout plan helps avoid small pieces at the edges. Starting from the center area often creates a more balanced appearance.
Why leveling systems help
Large format tiles are heavier and wider. Even small height differences between tiles can create uneven edges. This problem is called lippage.
A tile leveling system helps keep nearby tiles at the same height during installation.
The system usually includes:
- Leveling clips
- Wedges
- Adjustment tools
These tools are useful for professional results, especially with 12x24 tiles.
Outdoor design considerations
The direction of tile placement also affects the appearance of the patio. Installing tiles along the length of the space can make an area look longer. A pattern such as a running bond can create a different visual effect.
However, some layouts require careful planning. For example, large offset patterns can increase the risk of uneven edges between tiles.
In my communication with international buyers, I often notice that design expectations are very high for large format tiles. Customers like the clean appearance, but they also need installation guidance.
Good tile spacing creates more than a beautiful surface. It also supports durability. A well-planned patio looks professional and performs better under outdoor conditions.
Which mortar is best for large patio tiles?
The best mortar for 12x24 patio tiles is usually a high-quality outdoor-rated thin-set mortar designed for large format tiles. The mortar must provide strong bonding and full support under the tile.
Large tiles need better coverage than small tiles because they have more surface area. Poor mortar coverage can create empty spaces under the tile, which may lead to cracks or movement.
Types of mortar for outdoor tile installation
| Mortar type | Features | Suitable use |
|---|---|---|
| Standard thin-set | Basic tile bonding | Small and simple projects |
| Modified thin-set | Stronger bonding and flexibility | Most outdoor tile projects |
| Large format tile mortar | Better support and coverage | 12x24 and larger tiles |
For outdoor patios, modified thin-set mortar is often preferred because it provides stronger adhesion and better resistance to movement.
Why mortar coverage matters
A common installation mistake is applying too little mortar. Large tiles need proper coverage across the back surface.
The mortar should create strong contact between the tile and the base. This reduces weak areas and improves long-term stability.
Professional installers often use a back-buttering method for large tiles. This means applying mortar to both the floor and the back of the tile.
Important mortar factors
When selecting mortar, consider:
- Outdoor use rating
- Tile size
- Weather conditions
- Surface material
- Installation location
The correct mortar also depends on whether the patio uses concrete, stone, or another base.
In colder climates, freeze and thaw cycles create extra stress. Water can enter small spaces and expand when frozen. A suitable mortar system helps reduce these risks.
Installation quality matters
Even the best mortar cannot solve poor installation methods. Mixing instructions, working time, and surface preparation all affect the final result.
From a supplier perspective, I always believe that product quality and installation knowledge must work together. A premium tile needs a professional installation system to achieve the expected performance.
For overseas buyers purchasing outdoor tiles, installation guidance can also reduce customer complaints. Clear technical information helps installers achieve better results in different markets.
Does drainage affect patio tile installation success?
Drainage has a major effect on patio tile installation success. Poor drainage can cause water buildup, movement, cracks, and surface damage over time.
Outdoor patios are exposed to rain and moisture. If water cannot leave the area properly, it can collect below the tiles and weaken the installation.
A successful patio design must control water before it becomes a problem.
How drainage affects tile performance
| Drainage problem | Possible result |
|---|---|
| Standing water | Stains and surface damage |
| Water under tiles | Bond failure |
| Poor slope | Moisture problems |
| Freeze damage | Cracks and movement |
A patio should have a small slope that directs water away from buildings and important areas. This design helps keep the tile system dry.
Common drainage solutions
Good drainage may include:
- Proper surface slope
- Drain channels
- Permeable systems
- Correct base preparation
The drainage method depends on the patio design and local weather conditions.
For example, areas with heavy rainfall need stronger water management than dry regions. Cold climates also require attention because trapped water can freeze and expand.
Why outdoor planning matters
Many installation problems are not caused by the tile itself. They happen because the complete outdoor system was not planned correctly.
The tile, mortar, base, grout, and drainage must work together. Each part affects the performance of the entire patio.
In my work with ceramic and porcelain tile products, I often remind customers that outdoor installation is a complete project. Choosing a beautiful 12x24 tile is only the beginning.
A successful patio combines design, technical planning, and proper construction. When these elements are handled correctly, large format tiles can create an attractive outdoor space with strong durability.
For homeowners and project buyers, investing time in preparation creates better results. A carefully installed patio can remain comfortable, safe, and visually appealing for many years.
Conclusion
Laying 12x24 patio tiles requires a strong base, accurate spacing, suitable mortar, and effective drainage. Careful preparation helps large outdoor tiles stay durable and attractive for long-term use.