How to Lay Peel and Stick Tile?
- Sinotiles
- 2026-07-28
Many homeowners want a quick way to update floors, walls, or backsplashes without a long renovation process. Poor installation can make peel and stick tiles lift, shift, or look uneven.
Laying peel and stick tile is simple when I prepare the surface correctly, create accurate alignment, and follow the right installation steps. A careful process helps the tiles stay flat and attractive.
Peel and stick tiles are popular because they are affordable, easy to install, and suitable for many DIY projects. However, the adhesive layer needs a clean and stable surface to work well. The final result depends more on preparation and accuracy than on installation speed.
What surface prep is required for peel and stick tile?
Many installation problems start before the first tile is placed. Dust, moisture, and uneven surfaces can reduce the strength of the adhesive.
Peel and stick tiles need a clean, dry, smooth, and flat surface before installation. Proper preparation helps the adhesive bond better and prevents tiles from moving later.
Before I install peel and stick tile, I inspect the surface carefully. Different surfaces create different challenges. A painted wall, concrete floor, plywood, or existing tile surface may need different preparation steps.
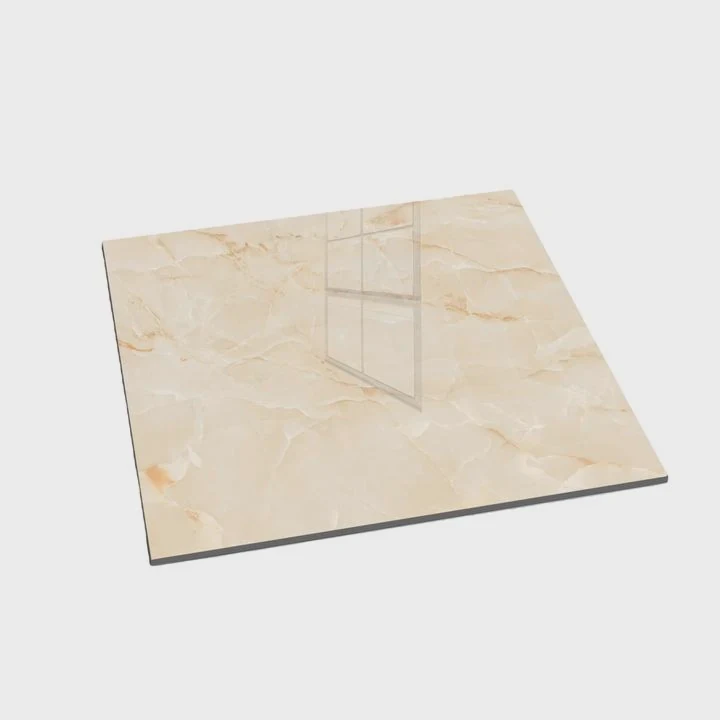
Basic surface preparation steps
- Remove dust and dirt from the surface.
- Clean grease and oil marks.
- Repair cracks or holes.
- Make sure the surface is completely dry.
- Remove loose paint or damaged materials.
- Check that the surface is level.
A clean surface is the first requirement because adhesive cannot attach properly when dirt creates a barrier.
Surface preparation guide
| Surface Type | Preparation Needed | Installation Difficulty |
|---|---|---|
| Painted drywall | Clean and repair damage | Easy |
| Concrete floor | Remove dust and level uneven areas | Medium |
| Existing ceramic tile | Clean grout lines and remove grease | Medium |
| Wood surface | Make sure it is smooth and stable | Medium |
The surface texture also matters. Peel and stick tiles work best on smooth surfaces. Rough walls or uneven floors can create gaps under the tile.
Why flat surfaces are important
A peel and stick tile has a thin structure. It does not hide major surface problems like thick traditional tiles with mortar can. Small bumps may create pressure points that affect the adhesive.
I also avoid installing peel and stick tiles on wet surfaces. Moisture can weaken the adhesive and create bubbles or lifting edges.
For wall installations, I make sure the paint is fully cured. Fresh paint may look dry but still contain moisture. Waiting before installation helps create a stronger bond.
Tools that help with preparation
| Tool | Purpose |
|---|---|
| Microfiber cloth | Removes dust and small particles |
| Cleaner | Removes grease and stains |
| Sandpaper | Smooths rough areas |
| Level tool | Checks surface accuracy |
| Utility knife | Helps prepare edges |
Good preparation takes extra time, but it prevents expensive mistakes. A few minutes spent cleaning and checking the surface can greatly improve the final result.
How do you align peel and stick tiles evenly?
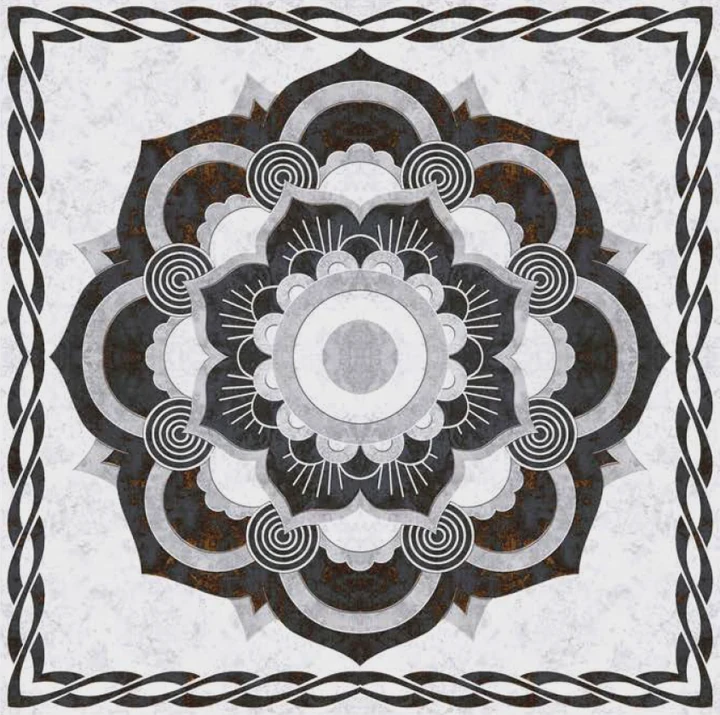
Uneven tile lines are one of the most common problems in DIY tile projects. Even small alignment mistakes can become obvious when many tiles are placed together.
I align peel and stick tiles evenly by creating guide lines, measuring carefully, and installing tiles slowly from a planned starting point.
Many people start installing tiles directly from one corner. This method can create uneven cuts at the edges. A better approach is planning the layout before removing the adhesive backing.
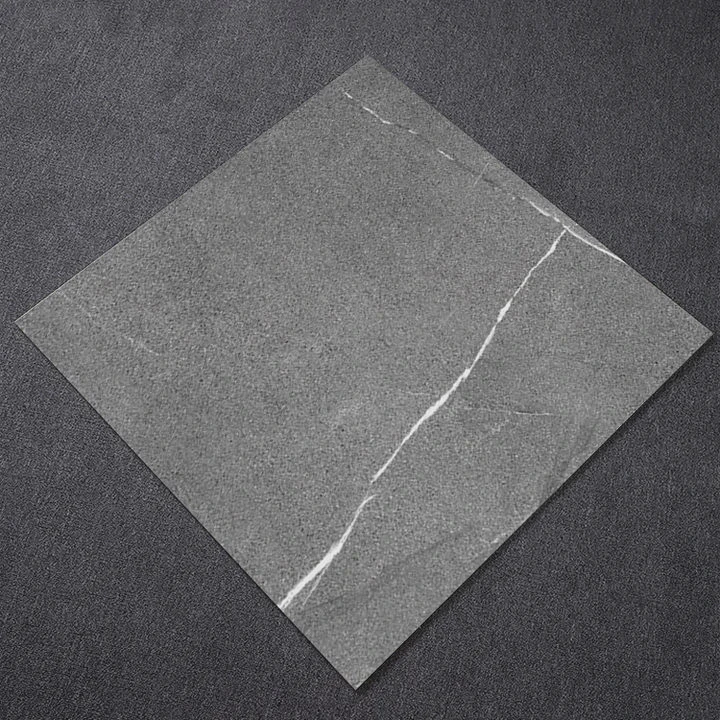
Steps for even tile alignment
- Measure the installation area.
- Find the center point.
- Mark straight guide lines.
- Test the tile arrangement.
- Install tiles along the guides.
- Check spacing regularly.
Planning helps create a balanced appearance. The first row affects every row after it, so accuracy at the beginning is important.
Common alignment problems
| Problem | Cause | Solution |
|---|---|---|
| Crooked rows | No guide lines | Use a level and marking lines |
| Uneven gaps | Rushing installation | Check every tile position |
| Small edge pieces | Poor planning | Adjust starting position |
| Pattern mismatch | Ignoring tile design | Arrange before sticking |
I usually place tiles loosely first without removing the backing. This allows me to see the final pattern and make changes before the adhesive touches the surface.
How to maintain straight lines
A level tool is one of the most useful tools for this project. Walls and floors may look straight but can have small differences.
I also press each tile carefully after placement. If a tile moves slightly, I adjust it immediately. After strong pressure is applied, moving the tile becomes more difficult.
For patterned peel and stick tiles, alignment requires more attention. A small mistake can interrupt the design. I match patterns before focusing on speed.
Cutting edge tiles correctly
Most projects need some cutting around corners and edges. I measure each piece twice before cutting.
A clean cut improves the professional appearance of the installation. Uneven cuts can make the entire project look unfinished.
I also keep extra tiles available. Mistakes happen during cutting, and having replacement pieces saves time.
The key to even alignment is patience. Peel and stick tiles are easy to install, but they still need careful planning.
Are peel and stick tiles suitable for bathrooms?
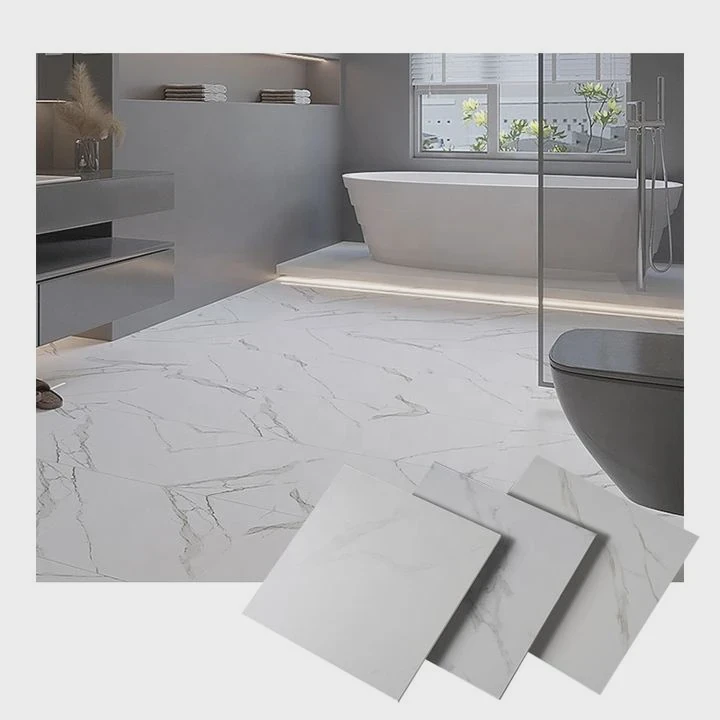
Bathrooms create a special challenge because they contain moisture, steam, and temperature changes. Not every peel and stick tile product can handle these conditions.
Peel and stick tiles can work in bathrooms when I choose moisture-resistant products and install them on properly prepared dry surfaces. They are usually better for low-moisture areas than constantly wet zones.
The bathroom location matters. A backsplash area near a sink has different requirements than a shower wall that receives direct water.
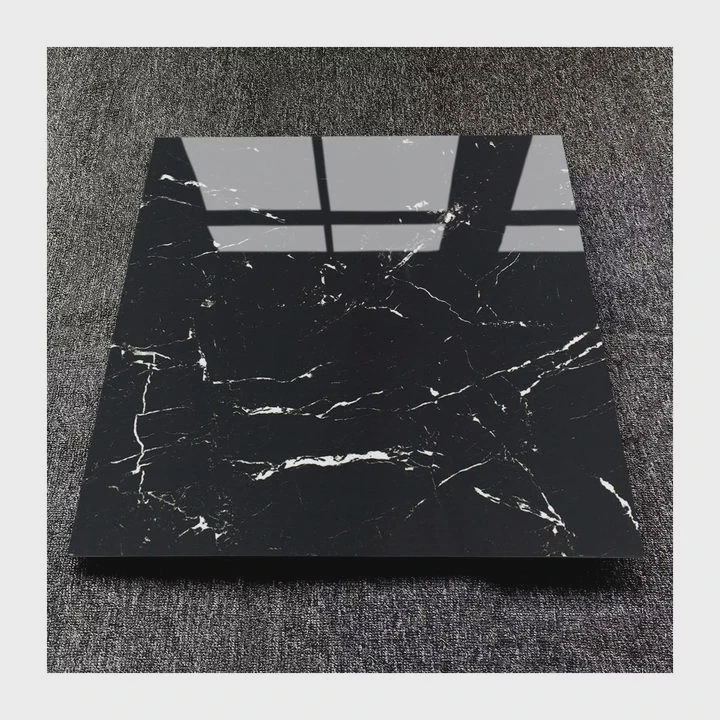
Bathroom areas and suitability
| Bathroom Area | Suitable? | Notes |
|---|---|---|
| Vanity backsplash | Usually yes | Lower moisture exposure |
| Bathroom wall | Depends on product | Needs strong adhesive |
| Shower area | Often not recommended | Constant water can cause problems |
| Bathroom floor | Depends on tile quality | Requires durable material |
Before installing bathroom peel and stick tile, I check the product instructions. Some tiles are designed only for dry areas.
Moisture concerns
Water can reach tile edges and weaken the adhesive. When moisture enters behind the tile, it can create lifting or mold problems.
I pay special attention to seams and corners. These areas often collect moisture first.
Some homeowners add extra protection with sealants, but not every peel and stick tile is compatible with sealing products. The product instructions should always guide the decision.
Choosing better bathroom peel and stick tiles
A good bathroom option usually has:
- Water-resistant surface
- Strong adhesive backing
- Durable material
- Easy-to-clean finish
I also avoid installing these tiles over damaged walls. Moisture problems behind the surface can affect any new installation.
Peel and stick tiles can be a useful bathroom upgrade, but they are not a replacement for traditional waterproof tile systems in high-moisture areas.
The best results come from matching the product with the location.
Do peel and stick tiles require additional adhesive?
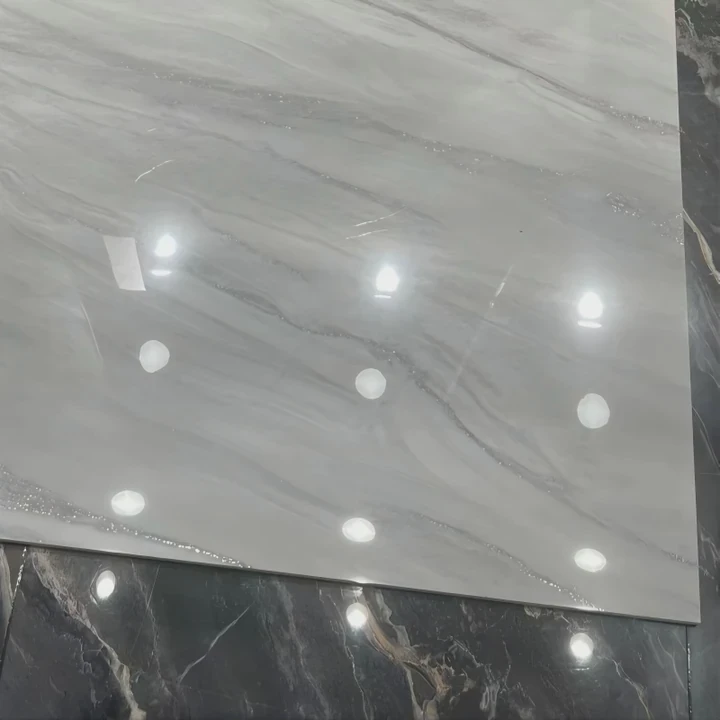
Many people wonder if extra glue is needed because they want stronger results. However, adding more adhesive is not always the best choice.
Most peel and stick tiles do not require additional adhesive because they already include a factory-applied adhesive layer. Extra adhesive is only needed in certain situations.
The built-in adhesive is designed for normal installation conditions. Adding another adhesive layer may create uneven surfaces or make future removal difficult.
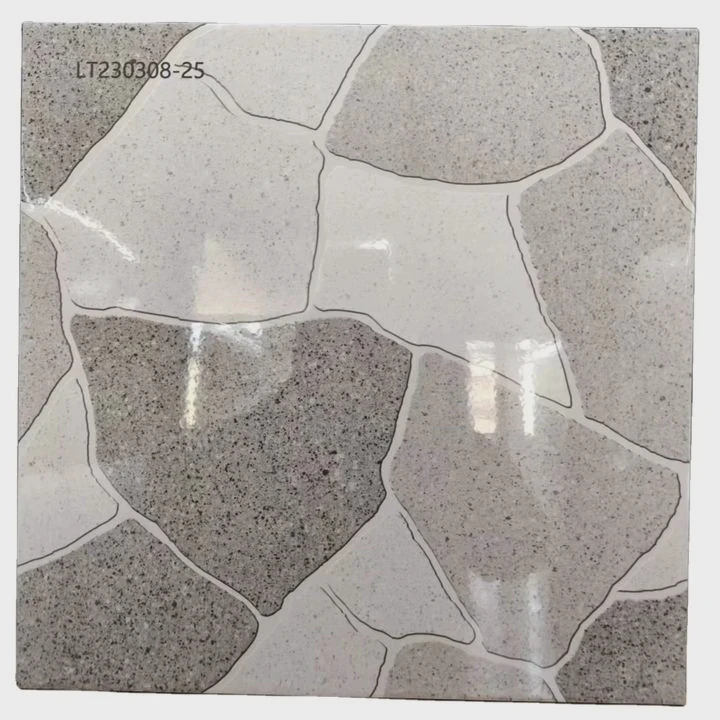
When extra adhesive may help
| Situation | Need Additional Adhesive? | Reason |
|---|---|---|
| Clean smooth surface | No | Built-in adhesive is enough |
| Slightly difficult surface | Maybe | Extra support may improve bonding |
| High-temperature area | Depends | Heat can affect adhesive |
| Heavy-use floor | Product dependent | May need stronger installation |
I first focus on preparation instead of adding more glue. A clean, smooth surface usually improves adhesion more than extra adhesive.
Problems caused by too much adhesive
Additional glue can create several issues:
- Uneven tile height
- Messy installation
- Difficult tile replacement
- Longer drying time
The goal is a strong connection between the tile and surface. More adhesive does not always mean better performance.
Improving adhesive performance
I often use pressure after installation. Pressing the tile firmly helps the adhesive contact the surface.
Temperature also matters. Very cold conditions can reduce adhesive strength. Installing tiles in a comfortable indoor environment usually creates better results.
Some products recommend using a roller after installation. This helps remove air pockets and improves contact.
The correct installation method depends on the tile brand, material, and location. I always check the manufacturer’s instructions before making changes.
Peel and stick tiles are designed to make installation easier. Using them correctly usually provides the best balance between convenience and durability.
Conclusion
Peel and stick tile installation works well when I prepare surfaces, plan alignment, and choose the right location. Careful steps help create a clean, durable, and attractive result.