How to Lay Subway Tile in Shower?
- Sinotiles
- 2026-07-09
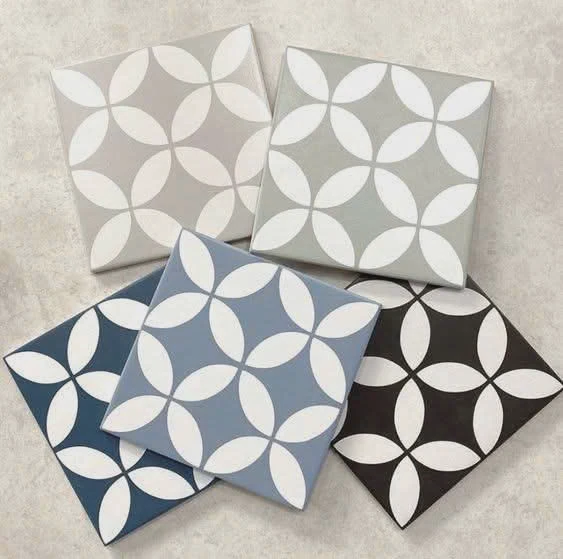
Many shower tile projects start with great expectations. Yet uneven grout lines, poor waterproofing, and layout mistakes can quickly turn a beautiful design into a costly problem.
Laying subway tile in a shower requires proper layout planning, consistent alignment, reliable waterproofing, and correct tile spacing. When these elements work together, the finished shower looks professional and performs well for many years.
Subway tiles remain one of the most popular choices for showers because they are timeless, versatile, and suitable for both traditional and modern spaces. However, achieving a clean result requires much more than simply attaching tiles to the wall.
What Layout Patterns Work for Subway Tiles?
Many people assume subway tiles can only be installed in a simple brick pattern. In reality, several layout options can dramatically change the appearance of a shower.
Popular subway tile layouts include running bond, stacked, vertical stacked, herringbone, and diagonal patterns. The best choice depends on the shower size, design style, and desired visual effect.
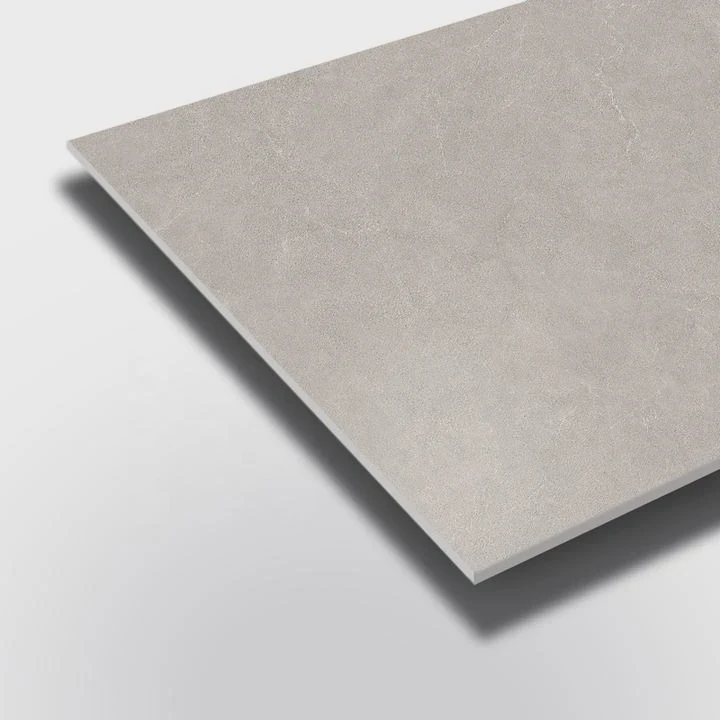
The layout pattern affects not only the appearance of the shower but also installation complexity and material waste.
Running Bond Pattern
The running bond pattern is the most common subway tile layout.
Features include:
- Offset grout joints
- Traditional appearance
- Timeless design
- Easy installation
Most installations use a 50% offset, although smaller offsets are also popular.
Stacked Pattern
A stacked layout aligns all grout joints vertically and horizontally.
Benefits include:
- Clean appearance
- Contemporary style
- Geometric symmetry
- Easy visual organization
This layout works especially well in modern bathrooms.
Vertical Stacked Pattern
Instead of placing tiles horizontally, the tiles are rotated vertically.
Advantages include:
- Creates visual height
- Modern appearance
- Unique design effect
- Strong vertical lines
This option is often used in smaller showers to create the illusion of a taller space.
Herringbone Pattern
The herringbone layout creates a distinctive decorative appearance.
Characteristics include:
- Dynamic movement
- Premium appearance
- Decorative focal point
- Strong visual interest
However, installation is more complex and generates more waste.
Diagonal Layout
Some designers install subway tiles at a 45-degree angle.
Benefits include:
- Unique visual impact
- Enhanced movement
- Distinctive style
This pattern often requires more cutting than standard layouts.
Pattern Comparison
| Pattern | Installation Difficulty | Visual Style |
|---|---|---|
| Running bond | Easy | Classic |
| Stacked | Easy | Modern |
| Vertical stacked | Moderate | Contemporary |
| Herringbone | Advanced | Decorative |
| Diagonal | Moderate | Unique |
Choosing the Right Pattern
Several factors influence pattern selection.
Consider:
- Shower size
- Tile dimensions
- Design style
- Budget
- Installation skill level
A large shower may accommodate bold patterns, while smaller spaces often benefit from simpler layouts.
Why Layout Matters
The layout becomes one of the most visible design features in a shower. Even with premium materials, a poor layout can weaken the overall appearance.
Careful planning before installation helps ensure balanced grout lines, consistent cuts, and a finished design that complements the rest of the bathroom.
How Can Alignment Be Maintained Consistently?
Even high-quality subway tiles can look unprofessional if alignment is inconsistent. Crooked grout joints and uneven rows are among the most common installation mistakes.
Consistent alignment is achieved through careful layout planning, reference lines, tile spacers, leveling systems, and regular checks throughout installation.
Alignment affects both appearance and installation quality. Because subway tiles create strong horizontal and vertical lines, even small errors become noticeable.
Establish Reference Lines
Reference lines create the foundation for accurate installation.
Common methods include:
- Laser levels
- Chalk lines
- Spirit levels
- Layout grids
These guides help maintain consistency across the entire wall.
Start with a Level Base
Many shower floors are intentionally sloped toward the drain.
For this reason, installers often begin with a temporary ledger board rather than starting directly from the floor.
Benefits include:
- Straight first row
- Better alignment
- Improved visual consistency
After upper rows are installed, the bottom row can be fitted precisely.
Use Tile Spacers
Tile spacers help maintain equal joint widths.
Common spacer sizes include:
- 1.5 mm
- 2 mm
- 3 mm
Consistent spacing contributes to a professional finish.
Check Alignment Frequently
Alignment should be verified throughout the installation process.
Important checks include:
- Horizontal level
- Vertical plumb
- Grout joint consistency
- Corner transitions
Small corrections are easier than major repairs later.
Use Tile Leveling Systems
Large-format subway tiles can sometimes create lippage.
Leveling systems help:
- Maintain flat surfaces
- Reduce uneven edges
- Improve installation quality
These systems are especially useful with longer tile formats.
Common Alignment Tools
| Tool | Purpose |
|---|---|
| Laser level | Straight reference lines |
| Spirit level | Horizontal verification |
| Tile spacers | Joint consistency |
| Chalk line | Layout guidance |
| Leveling clips | Flat tile surface |
Avoid Rushing the Installation
Many alignment problems occur when installers work too quickly.
Common mistakes include:
- Ignoring reference lines
- Skipping measurements
- Uneven mortar application
- Inconsistent spacing
Patience often produces better results than speed.
Managing Corners Properly
Corners require special attention.
Installers should ensure:
- Matching grout lines
- Balanced cuts
- Consistent spacing
Well-aligned corners contribute significantly to the overall appearance.
Why Alignment Influences Quality
People naturally notice straight lines. Crooked grout joints immediately attract attention and make the entire installation appear less professional.
Consistent alignment creates visual order and allows the beauty of the subway tile design to stand out rather than highlighting installation errors.
Why Is Waterproofing Critical in Showers?
Many shower failures are not caused by the tiles themselves. Instead, problems often develop because water reaches the structure behind the tiles.
Waterproofing is critical because tiles and grout are not completely waterproof. A proper waterproofing system protects walls, prevents mold growth, and increases the lifespan of the shower installation.
A shower experiences constant exposure to water and humidity. Without adequate waterproofing, moisture can slowly damage surrounding materials.
Tiles Are Not a Waterproof Barrier
Many people believe tile surfaces completely block water.
In reality:
- Grout absorbs moisture
- Tiny gaps allow water movement
- Surface joints can develop cracks
Waterproofing must exist beneath the tile layer.
Prevent Structural Damage
Moisture intrusion can affect:
- Drywall
- Cement boards
- Wood framing
- Insulation
Long-term exposure often leads to costly repairs.
Reduce Mold and Mildew Risks
Moist environments encourage biological growth.
Common issues include:
- Mold development
- Mildew staining
- Odor problems
- Indoor air quality concerns
A waterproofing system helps control moisture at its source.
Common Waterproofing Systems
Several waterproofing solutions are widely used.
| Waterproofing Method | Typical Application |
|---|---|
| Liquid membrane | Walls and niches |
| Sheet membrane | Full shower systems |
| Waterproof boards | Shower substrates |
| Waterproof tape | Joint reinforcement |
Each system offers specific advantages depending on project requirements.
Key Areas Requiring Waterproofing
Certain shower locations require extra attention.
These include:
- Corners
- Niches
- Bench seats
- Pipe penetrations
- Wall-to-floor transitions
These areas experience higher risk of water infiltration.
Waterproofing Installation Steps
A typical process includes:
- Prepare the substrate.
- Seal joints and corners.
- Apply membrane system.
- Allow curing time.
- Verify complete coverage.
Skipping any step can compromise performance.
Common Waterproofing Mistakes
Several errors frequently occur.
| Mistake | Potential Consequence |
|---|---|
| Incomplete coverage | Water intrusion |
| Poor corner treatment | Leakage |
| Damaged membrane | System failure |
| No curing time | Reduced effectiveness |
| Improper overlap | Weak protection |
Most shower failures originate from one of these issues.
Long-Term Benefits of Waterproofing
A properly waterproofed shower offers:
- Better durability
- Lower maintenance costs
- Reduced repair risk
- Improved hygiene
The cost of waterproofing is usually small compared to the cost of repairing water damage.
Why Waterproofing Should Never Be Ignored
Some parts of a shower remain hidden after installation. Waterproofing is one of them.
Although invisible, it is one of the most important components of the entire system. A beautiful tile installation can fail quickly without reliable moisture protection behind the surface.
Which Spacing Techniques Improve Appearance?
Many people focus on tile color and pattern while overlooking grout joint spacing. Yet spacing has a major impact on the final appearance of a shower.
Consistent spacing improves appearance by creating uniform grout lines, balanced proportions, and visual harmony throughout the installation. Proper spacer selection and layout planning are essential.
Grout joints influence how the eye perceives the entire tiled surface.
Select Appropriate Joint Widths
Joint size depends on several factors.
These include:
- Tile dimensions
- Tile calibration
- Design style
- Installation location
Subway tiles commonly use narrow grout joints for a clean appearance.
Maintain Consistency
Consistency is more important than the exact joint width.
Benefits include:
- Cleaner appearance
- Better symmetry
- Professional finish
Uneven spacing often becomes highly visible after grouting.
Use Quality Tile Spacers
Tile spacers help achieve uniform results.
Common options include:
- Cross spacers
- T spacers
- Horseshoe spacers
- Wedge spacers
The correct spacer depends on the layout pattern and tile size.
Consider Grout Color
Grout color affects the visual impact of spacing.
Matching Grout
Creates a seamless appearance.
Contrasting Grout
Highlights the tile pattern and joint lines.
Both approaches can be effective depending on the design goal.
Plan Spacing at Edges
Edge cuts should remain balanced.
Installers often adjust layouts to avoid:
- Tiny edge pieces
- Uneven margins
- Awkward transitions
Balanced cuts improve overall symmetry.
Spacing Recommendations
| Tile Application | Common Joint Width |
|---|---|
| Modern stacked layout | 1.5-2 mm |
| Running bond layout | 2-3 mm |
| Rustic appearance | 3-5 mm |
| Handmade-look tiles | 3-6 mm |
Actual requirements may vary depending on tile specifications.
Avoid Common Spacing Errors
Several mistakes frequently affect appearance.
These include:
- Inconsistent spacers
- Uneven mortar thickness
- Ignoring tile size variations
- Poor alignment checks
Each issue can disrupt the finished look.
How Spacing Affects Design
Spacing changes how the entire wall is perceived.
Narrow joints often create:
- Contemporary appearance
- Smooth visual flow
- Minimalist design
Wider joints often create:
- Strong pattern definition
- Traditional appearance
- Decorative character
The chosen spacing should support the overall design concept.
Why Proper Spacing Creates Professional Results
Well-spaced subway tiles appear organized and intentional. Consistent grout lines guide the eye smoothly across the installation and enhance the beauty of the tile pattern.
Although grout joints may seem like a minor detail, they play a major role in determining whether a shower looks average or professionally finished.
Conclusion
Laying subway tile in a shower requires thoughtful layout selection, precise alignment, reliable waterproofing, and consistent spacing techniques. When each element is handled correctly, subway tiles create a durable, attractive, and timeless shower design that performs beautifully for years.
- Pre: How Much Tile for Tub Surround?
- Next: Sorry!