How Much Tile for Tub Surround?
- Sinotiles
- 2026-07-09
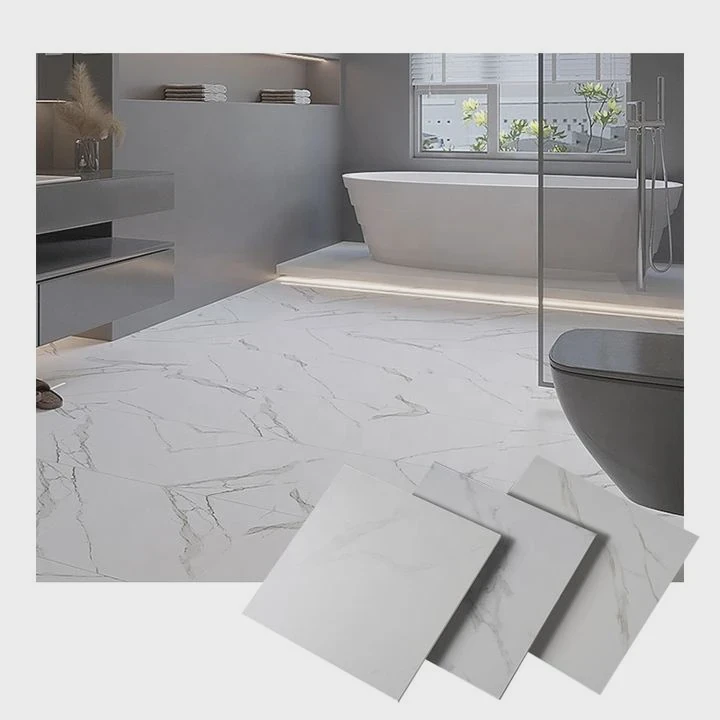
Many homeowners start a tub surround project without ordering enough tile. This mistake often leads to delays, extra shipping costs, and frustration when matching the same tile later becomes difficult.
To determine how much tile is needed for a tub surround, measure the height and width of each wall, calculate the total square footage, and add 10% to 15% extra for waste, cuts, and future repairs.
A tub surround may appear straightforward, but several factors influence the final tile quantity. Wall dimensions, tile size, layout pattern, and waste allowance all affect the estimate. Understanding these factors can help avoid costly mistakes and ensure a smooth installation process.
What Measurements Are Needed for Estimation?
A tile estimate is only as accurate as the measurements collected at the beginning. Missing even one wall section can result in a significant shortage of materials.
The most important measurements for a tub surround estimate are the width and height of the back wall, both side walls, and any additional tiled areas such as niches, shelves, or decorative sections.
Before calculating square footage, every tiled surface should be identified and measured separately.
Standard Tub Surround Components
A typical tub surround usually includes:
- One back wall
- Two side walls
- Optional recessed niche
- Decorative accent strips
- Optional tiled ceiling
Each area contributes to the total tile requirement.
Measuring the Back Wall
The back wall is normally the largest tiled surface.
Record:
- Width
- Height
- Any openings or interruptions
Many standard bathtubs are approximately 60 inches long, but wall heights can vary greatly depending on the design.
Measuring Side Walls
The side walls should always be measured independently.
Even if the bathroom appears symmetrical, actual dimensions may vary slightly due to framing differences or wall irregularities.
Measuring Niches and Shelves
Modern bathrooms often include recessed niches for shampoo and soap storage.
A niche requires tile for:
- Back panel
- Left side
- Right side
- Top
- Bottom
Many people forget these surfaces when estimating tile.
Common Measurements to Record
| Surface | Measurement Required |
|---|---|
| Back Wall | Width x Height |
| Left Wall | Width x Height |
| Right Wall | Width x Height |
| Niche Back | Width x Height |
| Niche Sides | Width x Height |
| Decorative Areas | Width x Height |
Keeping all measurements organized helps prevent errors later.
Why Accurate Measurements Matter
A small measuring mistake may seem insignificant, but it can affect the final tile order.
Problems caused by inaccurate measurements include:
- Material shortages
- Project delays
- Extra shipping expenses
- Potential color differences between batches
Taking careful measurements at the start saves time and money throughout the project.
Creating a Simple Measurement Plan
Many professionals sketch the tub surround and label each wall with dimensions.
This simple approach makes calculations easier and reduces the risk of overlooking an important area.
How Can Area Be Calculated Accurately?
Many tile estimation mistakes happen during the calculation stage. Fortunately, the process is simple when each wall is calculated separately.
To calculate tub surround area accurately, multiply the width by the height of each wall section, then add all wall areas together to determine the total square footage.

Accurate calculations provide the foundation for ordering the correct amount of tile.
Basic Formula
The standard formula is:
Area = Width x Height
Every wall section should be calculated individually before combining the totals.
Example Tub Surround Calculation
Assume the following measurements:
- Back wall: 60” x 84”
- Left wall: 30” x 84”
- Right wall: 30” x 84”
Convert inches to feet before calculating square footage.
| Wall | Width (ft) | Height (ft) | Area (sq ft) |
|---|---|---|---|
| Back Wall | 5 | 7 | 35 |
| Left Wall | 2.5 | 7 | 17.5 |
| Right Wall | 2.5 | 7 | 17.5 |
Total Square Footage
Add the individual wall areas:
35 + 17.5 + 17.5 = 70 square feet
This becomes the base tile coverage requirement.
Accounting for Niches
If a niche measures 12 inches by 24 inches, the niche surfaces must be added to the total area.
Many installers underestimate the impact of niches because they require tile on multiple surfaces.
Consider Decorative Features
Additional tiled elements may include:
- Accent bands
- Border tiles
- Built-in shelves
- Feature walls
Each should be measured and added separately.
Verify Measurements Twice
Before ordering tile, review:
- Wall dimensions
- Unit conversions
- Area calculations
- Additional features
A few minutes spent checking numbers can prevent major issues later.
Digital Estimation Tools
Many contractors use spreadsheets or estimation software.
These tools can reduce calculation errors, but accurate measurements remain essential.
Understanding Tile Coverage
Tile is typically sold by square footage.
For example:
| Tile Carton | Coverage |
|---|---|
| Box A | 15 sq ft |
| Box B | 16 sq ft |
| Box C | 18 sq ft |
Knowing the total square footage makes it easier to determine how many cartons are needed.
Why Include Extra Tiles for Waste?
Many first-time installers purchase only the exact amount of tile required by the area calculation. Unfortunately, no tile installation is completely waste-free.
Extra tiles should be included because cuts, breakage, layout adjustments, and future repairs all increase the amount of tile needed beyond the calculated square footage.
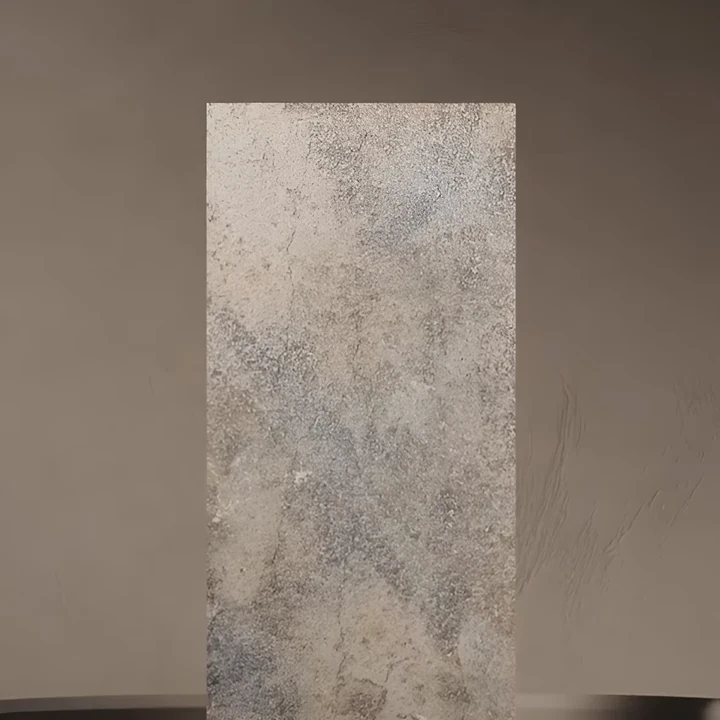
Waste is a normal and expected part of every tile installation.
Common Sources of Tile Waste
Several factors contribute to material loss:
- Edge cuts
- Corner cuts
- Plumbing penetrations
- Tile breakage
- Installation mistakes
Even experienced installers account for waste in every estimate.
Recommended Waste Percentages
The amount of extra tile depends on the installation pattern.
| Layout Pattern | Recommended Extra Tile |
|---|---|
| Straight Lay | 10% |
| Running Bond | 10%-12% |
| Diagonal Layout | 15% |
| Herringbone Pattern | 15%-20% |
| Complex Custom Layout | 20%+ |
More complicated patterns generally require more cuts and create more waste.
Example Waste Calculation
Suppose the tub surround requires 70 square feet of tile.
Adding 10% waste:
70 x 1.10 = 77 square feet
Adding 15% waste:
70 x 1.15 = 80.5 square feet
The final order should be rounded up to the nearest full carton.
Future Repairs Are Important
Extra tile is useful long after installation is complete.
Manufacturers may:
- Discontinue products
- Change colors
- Update finishes
- Modify production methods
Having spare tile available makes future repairs much easier.
Large-Format Tile Considerations
Large-format tiles often generate additional waste because of cuts around:
- Faucets
- Shower valves
- Niches
- Corners
Some cut pieces cannot be reused elsewhere.
The Cost of Underordering
Ordering too little tile often results in:
- Project delays
- Additional freight charges
- Potential color variation
- Scheduling complications
A modest surplus is usually far less expensive than running short.
A Practical Rule
For most tub surround projects, adding 10% to 15% extra tile provides a reasonable safety margin while keeping costs under control.
Which Tile Sizes Impact Total Quantity?
Tile size does not change the square footage of the walls, but it does affect how many individual tiles are required and how much waste is generated.
Tile size impacts total quantity because different tile dimensions cover different amounts of area and create different cutting requirements during installation.
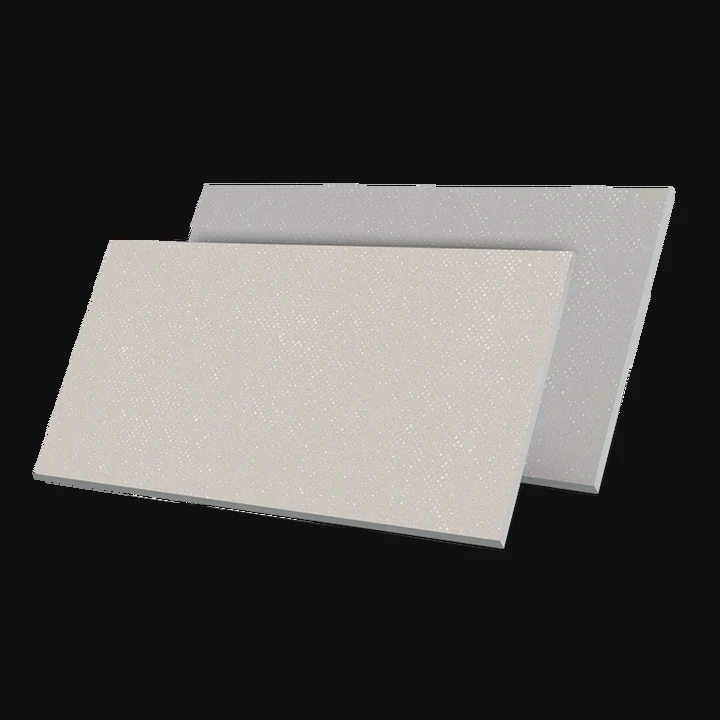
Choosing the right tile size affects both material planning and installation efficiency.
Small Tiles Require More Pieces
A 70-square-foot tub surround may require hundreds of small tiles but only a few dozen large-format tiles.
The total coverage remains the same, but the number of pieces changes significantly.
Example Tile Quantities
| Tile Size | Approximate Pieces Needed for 70 sq ft |
|---|---|
| 4” x 4” | 630 |
| 6” x 6” | 280 |
| 12” x 24” | 35 |
| 24” x 48” | 18 |
Actual quantities vary depending on grout spacing and waste allowance.
Advantages of Large-Format Tiles
Large-format tiles have become increasingly popular because they provide:
- Fewer grout joints
- Cleaner appearance
- Easier maintenance
- Modern design style
Many homeowners choose large tiles specifically for these benefits.
Large Tiles Can Increase Cutting Waste
Although large tiles reduce grout lines, they may require more cutting around fixtures and corners.
Areas that often require cuts include:
- Niches
- Plumbing penetrations
- Window openings
- Tub edges
Some offcuts cannot be reused.
Tile Orientation Matters
A 12x24 tile can be installed in several ways:
- Horizontal layout
- Vertical layout
- Running bond pattern
- Stack bond pattern
Each layout influences cutting patterns and waste percentages.
Packaging Differences
Tile cartons vary by size and manufacturer.
| Tile Size | Typical Carton Coverage |
|---|---|
| 300x600mm | 15-18 sq ft |
| 600x600mm | 15-17 sq ft |
| 600x1200mm | 12-16 sq ft |
| 750x1500mm | 10-14 sq ft |
Understanding carton coverage helps convert square footage into the number of boxes required.
Selecting the Best Tile Size
The ideal tile size depends on:
- Bathroom design
- Installation budget
- Maintenance preferences
- Desired visual effect
Large-format porcelain tiles remain a popular option because they create a spacious and modern appearance.
Balancing Quantity and Waste
The goal is not simply to reduce the number of tiles. The goal is to select a tile size that delivers the desired look while maintaining efficient material usage.
Conclusion
Estimating tile for a tub surround begins with accurate measurements of every tiled surface. After calculating the total square footage, add 10% to 15% extra tile for waste, cuts, and future repairs. Tile size, layout pattern, and special features such as niches all influence the final quantity, making careful planning essential for a successful installation.