How to measure floor for tile?
- Sinotiles
- 2026-08-04
Measuring a floor for tile can feel simple, but small mistakes can create extra costs and delays. Wrong numbers may cause missing tiles, uneven layouts, or wasted materials.
To measure a floor for tile, I need to find the total floor area, calculate tile coverage, and add extra tiles for cuts and future repairs.
Before ordering tiles, I always check the room shape, measure each section, and record the numbers clearly. A careful measurement process helps create a smoother tile installation plan and avoids common problems during the project.
What measurements are needed to calculate tile area?
A tile project starts with basic floor measurements. Many people only measure length and width, but accurate planning needs more details. A small error in one measurement can become a large problem when buying many tiles.
The main measurements needed are floor length, floor width, tile size, and the total area of the installation space.
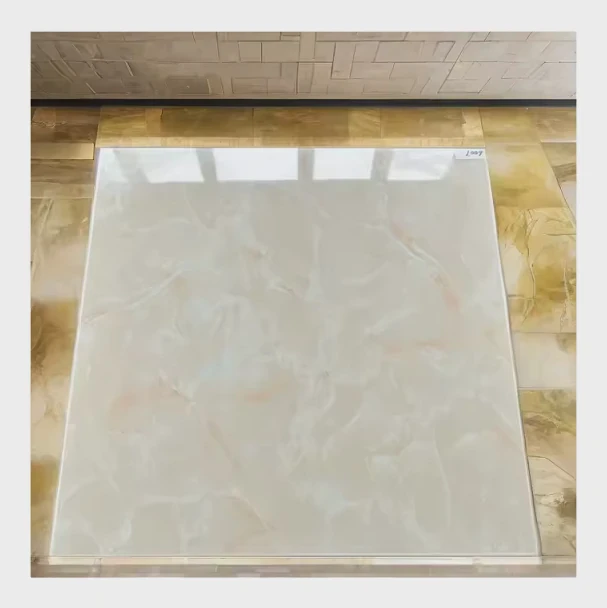
When I calculate tile area, I first divide the floor into simple sections. A normal square or rectangle room is easy because I only need the length and width. I multiply these two numbers to get the floor area. For example, a room that is 5 meters long and 4 meters wide has an area of 20 square meters.
However, tile calculation also depends on the tile size. A large tile covers more space, while a small tile requires more pieces and more grout lines. I need to know the exact tile dimensions before making a purchase decision.
Basic measurements for tile planning
The following table shows the common measurements needed during the process.
| Measurement | Why it matters | Example |
|---|---|---|
| Floor length | Shows one side of the room size | 5 meters |
| Floor width | Shows the other side of the room size | 4 meters |
| Tile length and width | Helps calculate tile quantity | 600mm x 600mm |
| Door and fixed areas | Removes spaces that do not need tiles | Cabinets or built-in furniture |
I also measure areas that may affect installation. Some rooms have columns, stairs, cabinets, or built-in structures. These areas may reduce the tile requirement, but I still check them carefully because tile cuts around these areas need planning.
Another important point is measurement accuracy. I do not depend on one quick measurement. I usually measure each wall more than once because older buildings may not have perfectly straight walls. Even a few centimeters of difference can change the final tile layout.
Understanding tile coverage
Tile coverage means how much floor one tile or one box of tiles can cover. Manufacturers normally provide this information, but I still check it with my own calculation.
For example, if one tile is 600mm x 600mm, the coverage is:
0.6m x 0.6m = 0.36 square meters.
If the floor area is 20 square meters:
20 ÷ 0.36 = about 56 tiles.
This number is only a starting point. The final quantity depends on the room shape, cutting needs, and waste factor.
Good measurement creates a strong foundation for the entire tile project. It helps control cost, reduce material problems, and make installation easier.
How can irregular floor spaces be measured accurately?
Irregular rooms create more challenges because simple length and width calculations may not work. Many homes and commercial spaces have corners, curves, different sections, or unusual layouts that require a more careful approach.
Irregular floor spaces can be measured accurately by dividing the area into smaller shapes, calculating each part, and adding the results together.
When I measure an unusual floor, I avoid treating the entire space as one complicated shape. Instead, I break it into smaller rectangles, squares, or triangles. This method makes the calculation easier and reduces mistakes.
Breaking complex spaces into simple areas
For example, an L-shaped room can become two rectangles. I measure each rectangle separately and then add the two areas together.
| Floor section | Measurement method | Calculation |
|---|---|---|
| Rectangle area | Length x width | 6m x 3m |
| Triangle corner | Base x height ÷ 2 | 2m x 1m ÷ 2 |
| Total floor | Add all sections | Section A + Section B |
This method works well because most irregular spaces are made from smaller simple shapes. I can create a basic drawing of the floor and write measurements directly on the sketch. This visual record helps prevent confusion later.
Measuring curved or difficult areas
Some floors include curved walls or rounded corners. These areas are harder because standard formulas may not provide perfect results. In these cases, I often create smaller measurement sections and use approximate calculations. I also add extra material because cutting around curves usually creates more waste.
Technology can also help with difficult spaces. Digital measuring tools and floor planning apps can create faster measurements and clearer layouts. However, I still check important dimensions manually because every installation project has different conditions.
Another useful method is measuring from several reference points. Instead of only measuring the outside edges, I check distances between walls, doors, and fixed objects. This gives a better understanding of the actual installation area.
Why careful measurement matters for irregular floors
An irregular floor can create problems if measurements are too simple. Tiles may not align correctly, patterns may look uneven, and the installer may need more cutting work. A good measurement plan helps decide where full tiles should start and where cut tiles should be placed.
The goal is not only to know the floor size. The goal is to understand how tiles will fit into the real space. Accurate measurement connects the design plan with the installation result.
Why include waste factor in tile calculations?
Many tile buyers calculate only the exact floor area, but this approach often creates problems. Tiles can break, need cutting, or become unavailable later. A waste factor protects the project from these risks.
A waste factor should be included because extra tiles cover cutting loss, damage, installation mistakes, and future repair needs.
When I calculate tile quantity, I never order only the exact amount. Even with accurate measurements, some tiles will not be used as complete pieces. Corners, edges, and obstacles require cutting, and some cut pieces cannot be reused.
Common waste factors
The correct waste percentage depends on the project type and floor design.
| Installation type | Recommended waste factor |
|---|---|
| Simple square room | 5% to 10% |
| Normal residential floor | 10% |
| Diagonal tile pattern | 15% or more |
| Complex commercial design | 15% to 20% |
A simple room with straight tile lines usually needs less extra material. A room with diagonal patterns, many corners, or expensive custom designs usually needs more.
Reasons tiles become wasted
There are several common reasons for tile waste:
- Tiles need cutting around walls and objects.
- Some tiles may crack during transportation.
- Some pieces may not match the final layout.
- Future repairs may require the same tile model.
The future repair point is especially important. Tile styles change over time, and the original product may disappear from the market. Keeping extra tiles allows easier replacement years later.
Balancing cost and safety
Some people worry that buying extra tiles increases costs. However, buying too few tiles can create bigger problems. A second order may have different colors or production batches. The new tiles may not perfectly match the original ones.
A reasonable waste factor is a practical balance. It gives enough protection without creating unnecessary inventory.
In my experience, tile calculation is not only a math task. It is also a planning task. The waste factor creates flexibility and helps the installation process move forward without interruptions.
Which tools help measure floors efficiently?
The right tools make floor measurement faster and more accurate. Traditional tools are still useful, but modern technology can improve efficiency, especially for large or complex spaces.
Helpful floor measurement tools include tape measures, laser distance meters, digital apps, and drawing tools that organize floor data.

The basic tape measure remains one of the most common tools. It is affordable and works well for small rooms. However, it requires careful handling because incorrect positioning can create inaccurate results.
A laser distance meter is another useful option. It can measure long distances quickly and reduce human error. This tool is especially helpful for large rooms, warehouses, and commercial spaces.
Comparison of common measurement tools
| Tool | Advantage | Best use case |
|---|---|---|
| Tape measure | Simple and low cost | Small rooms |
| Laser distance meter | Fast and accurate | Large spaces |
| Floor planning app | Organizes layouts | Complex projects |
| Digital drawing software | Creates detailed plans | Professional design work |
I also find that a notebook or digital record system is important. Measurements are only useful when they are organized clearly. I usually record every wall length, section size, and special area before starting calculations.
Using digital tools with traditional methods
Digital tools can save time, but they should support basic measurement skills rather than replace them. A good workflow combines both methods.
For example, I can use a laser meter to collect measurements quickly. Then I can create a simple floor drawing and check the numbers manually. This process reduces mistakes and creates a reliable record.
For professional projects, 3D scanning tools and advanced design software can provide even more detailed information. These tools help visualize tile patterns, estimate material needs, and plan installation steps before work begins.
The best tool depends on the project size and complexity. A small bathroom may only need a tape measure and calculator. A large commercial floor may need digital systems and professional planning.
Good tools do not replace careful thinking. They simply help create better measurements and better decisions.
Conclusion
Measuring a floor for tile requires accurate dimensions, smart planning, and enough extra material. By checking the area, understanding the room shape, adding waste factor, and using proper tools, I can create a reliable tile plan with fewer problems.
- Pre: How to remove tile paint?
- Next: Sorry!