How to remove a tile floor from concrete?
- Sinotiles
- 2026-07-25

Removing a tile floor from concrete can create dust, noise, and hidden problems. Many people start demolition without a clear plan and damage the surface below.
The best way to remove a tile floor from concrete is to use the right tools, control the demolition process, and protect the concrete base. Careful removal makes the next flooring installation easier and reduces repair work.
I have learned that tile removal is not only about breaking tiles. The real challenge is controlling the force and protecting the concrete underneath. A good removal process saves time and creates a cleaner foundation for the next project.
Which tools are best for concrete tile removal?
Choosing the right tools can change the entire tile removal process. The wrong tools can slow down the work and increase the risk of damaging the concrete surface.

The best tools for concrete tile removal include a hammer, chisel, floor scraper, demolition hammer, and dust control equipment. The right tool depends on the tile type, adhesive strength, and project size.
When I prepare for a tile removal job, I first check the floor condition. Some tiles break easily, while others are strongly attached with cement-based adhesive. The tool choice should match the difficulty of the project.
Common tools for tile floor removal
| Tool | Main Function | Best Situation |
|---|---|---|
| Hammer and chisel | Manual tile breaking | Small areas and careful removal |
| Demolition hammer | Fast tile and adhesive removal | Large rooms and strong bonding |
| Floor scraper | Removing leftover material | Cleaning the concrete surface |
| Pry bar | Lifting loose tiles | Starting removal points |
| Vacuum system | Dust control | Indoor demolition work |
A hammer and chisel are basic tools that work well for small bathrooms, kitchens, or repair areas. They provide good control because the user can apply force slowly. However, they require more physical effort and take more time.
A demolition hammer is useful for larger projects. It can remove tiles and adhesive much faster than manual tools. However, too much force can damage the concrete. I always use controlled pressure instead of trying to remove everything as quickly as possible.
The floor scraper is an important tool after the main tiles are removed. Many people focus only on breaking tiles but forget that adhesive residue can affect the next flooring material. A clean concrete surface creates better results later.
Factors that affect tool selection
| Project Condition | Recommended Tool Choice |
|---|---|
| Small repair area | Hammer, chisel, hand scraper |
| Large living space | Electric demolition hammer |
| Strong adhesive layer | Heavy-duty scraper |
| Indoor work | Tools with dust control |
The condition of the concrete also matters. Older concrete may have cracks or weak areas. In these cases, aggressive tools may create more problems. I usually test a small section first before starting full demolition.
Good tools do more than make the work faster. They also help control the quality of the final surface. A careful approach reduces unnecessary damage and makes the next construction step smoother.
How to remove adhesive after tile removal?
Removing tiles is only the first step. After the tiles are gone, the concrete floor usually has a layer of adhesive that needs proper cleaning.
The best way to remove tile adhesive from concrete is to soften, scrape, and grind the remaining material until the surface becomes clean and level. The method depends on adhesive thickness and floor condition.
After tile removal, I always inspect the concrete carefully. Some areas may have thick adhesive pieces, while other areas may only have a thin layer. Each situation needs a different method.
Steps for adhesive removal
- Remove large adhesive pieces with a scraper.
- Use a suitable power tool for strong areas.
- Clean dust and loose particles.
- Check the concrete level.
- Repair damaged sections before new flooring.
A floor scraper is usually the first choice for leftover adhesive. It can remove loose material without creating too much damage. For stronger adhesive, a grinding machine may be needed.
Grinding can create a smooth concrete surface, but it also creates a lot of dust. Proper dust control is important, especially in indoor spaces. I always consider the working environment before choosing this method.
The adhesive type also affects the removal process. Some old installations use strong cement-based materials. These can become very hard over time. Modern adhesives may have different properties and may require different removal methods.
Adhesive removal methods comparison
| Method | Advantage | Limitation |
|---|---|---|
| Manual scraping | Low cost and good control | Slow for large areas |
| Power scraping | Faster removal | Requires equipment |
| Concrete grinding | Creates smooth surface | Produces dust |
| Chemical remover | Helps with some adhesives | Needs careful handling |
The goal is not always to remove every small mark. The goal is to create a stable surface for the next floor installation. Small stains may not matter if the surface is flat and strong.
I also check moisture after adhesive removal. Concrete can hold moisture, and some new flooring materials need a dry surface. This step helps prevent future problems after renovation.
A clean concrete base improves the quality of the next project. Whether the new surface is tile, vinyl, wood, or another material, proper preparation creates better performance.
Can concrete be damaged during removal?
Concrete is strong, but it is not impossible to damage. During tile removal, excessive force, incorrect tools, or poor technique can create cracks and surface problems.
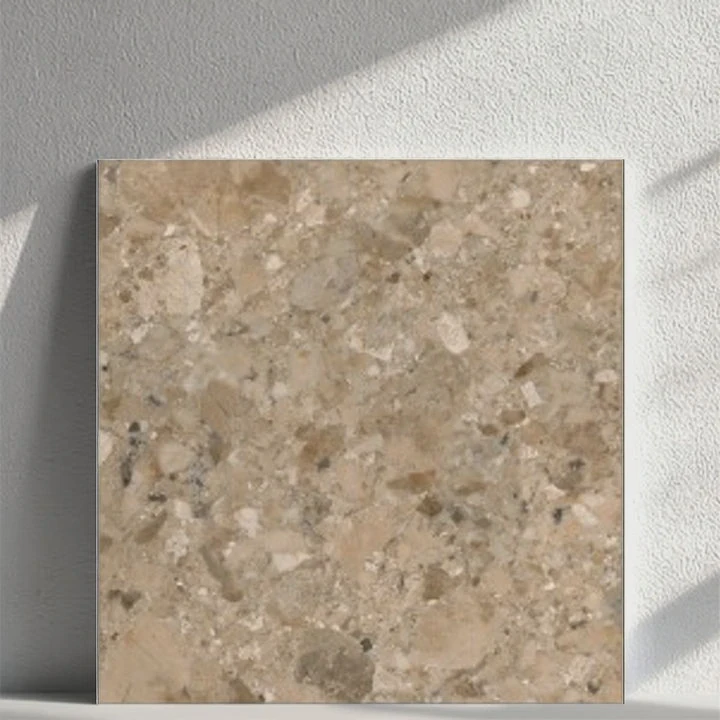
Concrete can be damaged during tile removal if the demolition process uses too much impact or does not consider the condition of the slab. Careful tool use and proper methods help protect the concrete foundation.
When I remove tile from concrete, I remember that the goal is not to destroy everything. The goal is to separate the tile layer while keeping the base structure usable.
Common types of concrete damage
- Surface cracks
- Deep chips
- Uneven areas
- Broken edges
- Weak concrete sections
One common mistake is using a powerful demolition tool at the wrong angle. The force can travel into the concrete instead of only breaking the tile layer. This can create unnecessary damage.
The age of the concrete also changes the risk level. Older concrete may already have small cracks or weak areas. Before demolition, I check the floor condition and adjust the working method.
Ways to protect concrete during removal
| Protection Method | Benefit |
|---|---|
| Start from a small test area | Shows floor condition |
| Use correct tool angle | Reduces unnecessary impact |
| Control demolition speed | Prevents deep damage |
| Remove adhesive carefully | Keeps surface more level |
The thickness of the tile and adhesive layer also matters. Some installations have very strong bonding, which requires more effort. However, stronger force is not always the best solution.
A patient removal process usually creates better results. I prefer controlled steps because repairing damaged concrete can take more time than careful demolition.
If the concrete receives small surface damage, repairs are often possible. However, deep structural cracks may require professional evaluation. Understanding the difference helps avoid unnecessary repair costs.
The final concrete surface should be stable, clean, and ready for the next stage. Good demolition creates a strong starting point for future flooring work.
What safety gear is required for demolition?
Tile floor removal creates risks from sharp tile pieces, flying particles, dust, and loud noise. Proper safety equipment is necessary for every demolition project.

The required safety gear for tile demolition includes safety glasses, gloves, dust protection, hearing protection, and strong work boots. These items reduce common injuries during the removal process.
When I plan demolition work, safety preparation comes before tool operation. A small accident can stop the entire project and create unnecessary problems.
Essential safety equipment
| Safety Gear | Purpose |
|---|---|
| Safety glasses | Protect eyes from flying pieces |
| Gloves | Protect hands from sharp edges |
| Dust mask or respirator | Reduce dust inhalation |
| Hearing protection | Reduce noise damage |
| Work boots | Protect feet from heavy debris |
Safety glasses are one of the most important items. Broken tile pieces can move quickly during demolition. Eye protection helps prevent serious injuries.
Dust control is also very important. Tile removal can release fine particles from tile, adhesive, and concrete. Breathing protection helps reduce exposure to these materials.
I also recommend keeping the working area organized. Loose debris can create slipping risks. A clean workspace makes movement easier and improves control when using tools.
Additional safety practices
- Keep children and pets away from the area.
- Open windows when possible.
- Remove furniture before demolition.
- Store tools safely when not in use.
- Take regular breaks during long projects.
Demolition work can be physically demanding. Fatigue can reduce attention and increase mistakes. I find that working at a steady pace creates better results than rushing.
Safety equipment does not make the job slower. It helps the project continue without unexpected problems. Good preparation protects both the worker and the final quality of the renovation.
Conclusion
Removing tile from concrete requires the right tools, careful methods, and strong safety habits. A controlled process protects the concrete and creates a better surface for new flooring installation.