How to Measure Shower for Tile?
- Sinotiles
- 2026-07-25
Measuring a shower for tile can feel confusing when small mistakes create big material problems. Many homeowners order too little tile or spend extra money because their measurements are not complete.
To measure a shower for tile, I need to calculate every wall area, floor area, tile size, and extra material needed for cuts and future repairs. Accurate measurements help create a smooth installation plan.
Before buying shower tiles, I always recommend taking careful measurements first. A good measurement process saves time, reduces waste, and helps achieve a better final design.
What Areas Should Be Included in Measurements?
Measuring a shower for tile requires more than checking the wall size. Every surface that will receive tile needs to be included, such as shower walls, shower floors, niches, benches, and special design areas.
Many people only measure the main wall sections and forget smaller areas. These missing measurements can create problems when ordering materials.
When I prepare a shower tile measurement plan, I always divide the shower into different sections. This method makes the calculation easier and reduces the chance of missing important spaces.
Main areas to measure before tile installation
| Shower Area | Measurement Needed | Why It Matters |
|---|---|---|
| Back wall | Width x Height | Usually the largest tile surface |
| Side walls | Width x Height | Completes wall coverage |
| Shower floor | Length x Width | Determines floor tile quantity |
| Niches | Inside dimensions | Requires additional cuts |
| Benches | Top and side surfaces | Adds extra tile needs |
The first step is measuring the shower walls. I measure each wall separately because shower walls are not always the same size. A corner shower may have two walls, while a larger shower area may include three or more tiled surfaces.
For each wall, I measure the width and height. Then I multiply these two numbers to find the wall area. After measuring all walls, I add the numbers together to get the total wall area.
The shower floor requires a different approach. Floor tiles usually need to provide good water drainage, so accurate measurements are important. A small mistake can affect the tile layout around the drain.
Built-in features also need attention. Shower niches are common in modern bathrooms, but they create extra edges and corners. These areas need additional tile pieces and more careful cutting.
Benches, shelves, and decorative sections should also be measured. Even small areas can require several tile pieces because of cuts and pattern matching.
Another important point is the tile installation height. Some showers use full-height tile from floor to ceiling, while others only cover part of the wall. The final tile height changes the total material requirement.
I also check whether trim pieces, edge profiles, or decorative borders are included in the design. These items may not require large tile quantities, but they affect the final measurement and layout.
A complete measurement includes every visible tiled surface. Taking time during this stage creates a stronger foundation for the entire shower renovation.
How to Calculate Tile Quantity Accurately?
Calculating tile quantity accurately requires converting shower measurements into total tile coverage. After finding the total surface area, I compare it with the coverage of each tile box.
The basic idea is simple: calculate the area that needs tile, then divide it by the area covered by one tile or one box.

When I calculate tile quantity, I always focus on accuracy because ordering the wrong amount can create delays. Too little tile may stop the project, while too much tile increases unnecessary costs.
Basic tile quantity calculation steps
| Step | Calculation Method | Purpose |
|---|---|---|
| 1 | Measure length and height | Find surface dimensions |
| 2 | Multiply measurements | Calculate square footage |
| 3 | Add all tiled areas | Find total coverage needed |
| 4 | Divide by tile coverage | Determine tile quantity |
| 5 | Add extra material | Prepare for cuts and damage |
The first step is finding the total area. For example, if a shower wall is 60 inches wide and 96 inches high, I multiply these measurements to find the square inches. Then I convert the number into square feet.
After calculating every wall and floor section, I add them together. This gives the total tile area needed for the shower.
The next step is checking tile packaging information. Tile boxes usually show how many square feet one box covers. I divide the total shower area by the coverage of one box to find the number of boxes required.
The tile size also affects the calculation. Larger tiles cover more area with fewer pieces, but they may create more cutting challenges. Smaller tiles cover less area per piece but can provide more flexibility around corners and drains.
The installation pattern can also change the amount of tile needed. A simple straight layout usually requires fewer cuts. A diagonal or complex pattern normally requires more material because more pieces need trimming.
Example measurement process
Imagine a shower with:
- Three tiled walls
- One tiled floor
- One shower niche
I measure every section separately and add the areas together. Then I compare the total number with the tile box coverage. After that, I include extra material for cutting and future repairs.
I also suggest buying tiles from the same production batch when possible. Different batches may have small color or texture differences. Having extra tiles from the original batch can help with future maintenance.
Accurate calculation is not only about mathematics. It also requires understanding the installation process. Tile placement, cutting requirements, and design choices all influence the final quantity.
Should You Include Waste Factor in Estimates?
Yes, I should always include a waste factor when estimating shower tile quantity. Tile waste happens during cutting, transportation, handling, and future repairs.
Even with careful measurements, every shower project needs extra tile because not every piece can be installed perfectly.
When I estimate tile needs, I never calculate only the exact surface area. A perfect calculation may still fail because real installation conditions are different from a simple measurement.
Common waste factors for shower tile projects
| Project Type | Recommended Extra Tile |
|---|---|
| Simple straight layout | 10% extra |
| Multiple cuts and corners | 15% extra |
| Diagonal patterns | 15%-20% extra |
| Complex designs | 20% or more |
The main reason for waste is cutting. Tiles often need to be adjusted around corners, plumbing fixtures, drains, niches, and wall edges. The removed pieces cannot always be reused.
Another reason is accidental damage. During installation, some tiles may crack while cutting or moving. Having extra materials prevents work delays.
The tile pattern also changes the waste amount. A simple grid layout allows installers to use more full tiles. A diagonal layout creates more small cut pieces, which increases waste.
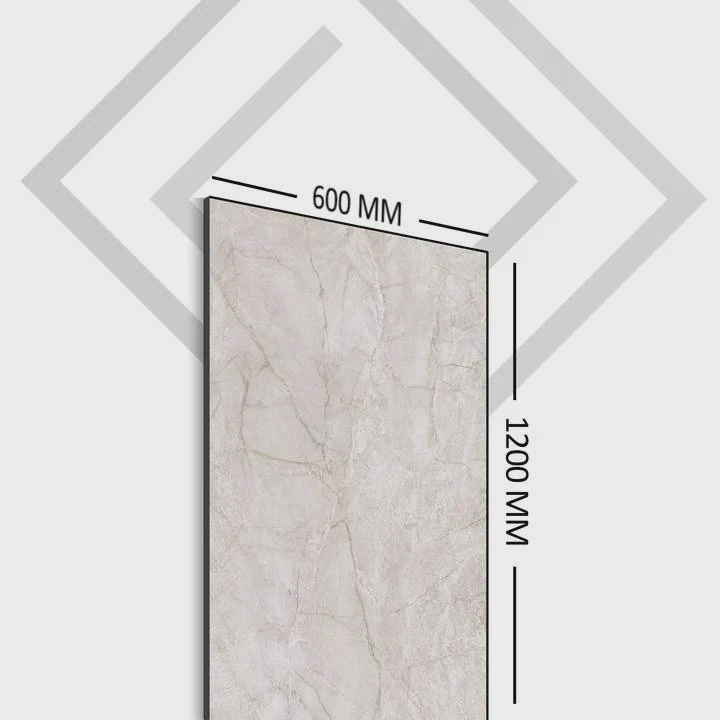
Large format tiles require special attention. Tiles like 600x1200mm or larger can create a modern appearance, but cutting mistakes can be more expensive because each damaged piece represents more material loss.
I also consider future repairs when buying tiles. Bathrooms experience moisture, temperature changes, and daily use. If a tile becomes damaged years later, finding the same style may be difficult.
Keeping extra tiles from the original project creates a simple repair solution. This is especially important for unique colors, handmade designs, or limited production styles.
The waste factor is not wasted money. It is a practical investment that protects the project from unexpected problems.
Can Layout Affect Measurement Accuracy?
Yes, tile layout can directly affect measurement accuracy. The same shower size may require different tile quantities depending on the chosen design pattern.
A simple layout usually creates less waste, while complex layouts require more careful planning and extra materials.
When I help plan a shower tile project, I always consider the layout before finalizing measurements. Tile direction, pattern, and starting points can change how many tiles are needed.
Common tile layouts and their effects
Straight stack layout
A straight layout places tiles in even rows and columns. This design is easier to measure because most cuts happen at the edges.
It usually creates less waste and works well with many tile sizes. It is a popular choice for simple modern bathrooms.
Brick pattern layout
A brick pattern shifts each row compared with the row above. This creates a classic appearance but requires more planning.
The installer needs to consider how the pattern ends at corners and edges. More cutting may be required compared with a straight layout.
Diagonal layout
A diagonal layout places tiles at an angle. This style can make a small shower appear larger, but it creates more waste.
The corner pieces usually need more cutting, so the material estimate should include a higher waste factor.
Large format layout
Large tiles create fewer grout lines and a clean appearance. However, they require accurate wall measurements because alignment mistakes are easier to notice.
The wall condition also becomes more important because large tiles need flatter surfaces.
Layout planning also affects where the installation starts. If the installer wants a centered design, the measurements need to consider equal cuts on both sides.
Without planning, one side of the shower may end with a very small tile piece. This can make the final appearance look unbalanced.
A good layout combines accurate measurements with visual planning. I believe measuring should happen after deciding the tile style and installation pattern because design choices directly affect material needs.
Taking time to plan the layout before ordering tile helps avoid expensive changes later. It creates a cleaner installation and improves the final shower appearance.
Conclusion
Measuring a shower for tile requires careful planning of walls, floors, tile quantity, waste, and layout. Accurate measurements help control costs, reduce mistakes, and create a successful tile installation.