How to remove tile ceiling?
- Sinotiles
- 2026-07-24
Removing a tile ceiling may look like a simple renovation task, but mistakes can create safety risks and extra repair costs. Many people damage the ceiling structure because they remove tiles without a proper plan.
To remove a tile ceiling safely, I need to prepare the right tools, protect the working area, and carefully remove each tile without harming the ceiling frame. A careful process helps reduce damage and keeps the project under control.
When I talk with customers about renovation and building materials, I often see that ceiling removal is not only about taking tiles down. The real challenge is protecting people, controlling dust, and keeping the original structure in good condition. A correct method can make the whole process faster and safer.
What safety steps are needed before removal?
Safety preparation is the first step before removing any tile ceiling. A ceiling may contain dust, old materials, wiring, insulation, or hidden problems that are not visible from the room.
Before starting the work, I always recommend checking the ceiling condition and preparing protective equipment. A good plan can prevent injuries and reduce unexpected problems.
Protect yourself before starting
Ceiling work creates dust and falling materials. Even a small tile can cause injury when it drops from above.
Basic protection includes:
- Safety glasses to protect eyes from dust and small pieces
- Gloves to protect hands from sharp edges
- A dust mask to reduce breathing problems
- Long sleeves to protect skin
- Stable shoes to improve balance
Check the ceiling type first
Different ceiling systems require different removal methods. Some ceilings use suspended frames, while others are directly attached to the structure.
Before removal, I need to identify:
| Check Point | Why It Matters |
|---|---|
| Ceiling type | Determines removal method |
| Tile material | Affects safety and tools |
| Age of ceiling | Older materials may need extra care |
| Hidden wiring | Prevents electrical accidents |
| Water damage | Shows possible structure problems |
Some older buildings may have ceiling materials that require professional testing before removal. If the material condition is unknown, rushing into removal can create unnecessary risks.
Prepare the working area
The room should be cleared before removing ceiling tiles. Furniture, electronics, and valuable items should be covered or moved away.
I usually suggest preparing the area with:
- Plastic sheets for dust control
- Containers for removed tiles
- Good lighting for visibility
- A stable ladder or platform
A clean workspace makes movement easier. It also reduces the chance of stepping on broken tiles or tools.
Turn off power when necessary
Many ceiling systems include lights, cables, or other electrical equipment. Before working near these areas, the power should be turned off if needed.
Electrical safety is important because ceiling work often happens close to hidden systems. A small mistake can create serious damage.
A safe removal process always starts before the first tile is removed. Good preparation protects both the worker and the building.
Which tools work best for ceiling tiles?
The right tools can make ceiling tile removal easier and reduce damage. Different ceiling systems need different equipment, but some basic tools are useful for most projects.

When I explain removal methods to buyers and contractors, I often focus on using simple tools correctly. The goal is not to use more tools. The goal is to use the right tools.
Common tools for ceiling tile removal
The following tools are often used:
| Tool | Main Purpose |
|---|---|
| Utility knife | Cuts edges and seal materials |
| Putty knife | Separates tiles from surfaces |
| Pry bar | Helps remove difficult pieces |
| Screwdriver | Removes fasteners |
| Ladder | Provides safe working height |
| Vacuum cleaner | Controls dust after removal |
Using a utility knife correctly
A utility knife is useful when tiles have sealed edges or attached materials. A clean cut can reduce damage around the tile.
However, the blade should be handled carefully. A sharp tool can easily slip when working above shoulder height.
Using a putty knife for gentle removal
A putty knife is one of the most useful tools for ceiling tile projects. It allows gradual separation between the tile and the supporting surface.
The advantage is control. Instead of pulling with strong force, I can slowly loosen the connection.
When a pry bar is needed
Some ceiling tiles are difficult to remove because they have strong attachments. A small pry bar can help in these situations.
However, too much force can damage the frame or nearby ceiling areas. The tool should support the process, not replace careful work.
Choosing tools based on ceiling type
Different ceilings need different approaches.
Suspended ceiling systems
Suspended ceilings usually have removable tiles placed inside a metal grid. These tiles can often be lifted and removed by hand.
Attached ceiling tiles
Some tiles are glued or fixed directly to the ceiling. These require more careful separation because the base surface can be damaged.
Tool preparation improves efficiency
A well-prepared tool set saves time. Stopping work repeatedly to find equipment increases the chance of mistakes.
Before starting, I recommend preparing:
- All hand tools
- Safety equipment
- Waste containers
- Cleaning materials
- Replacement materials if needed
A simple preparation process can improve both safety and working speed.
How to prevent debris from falling dangerously?
Falling debris is one of the biggest concerns during ceiling tile removal. Even lightweight materials can create problems when they fall from above.
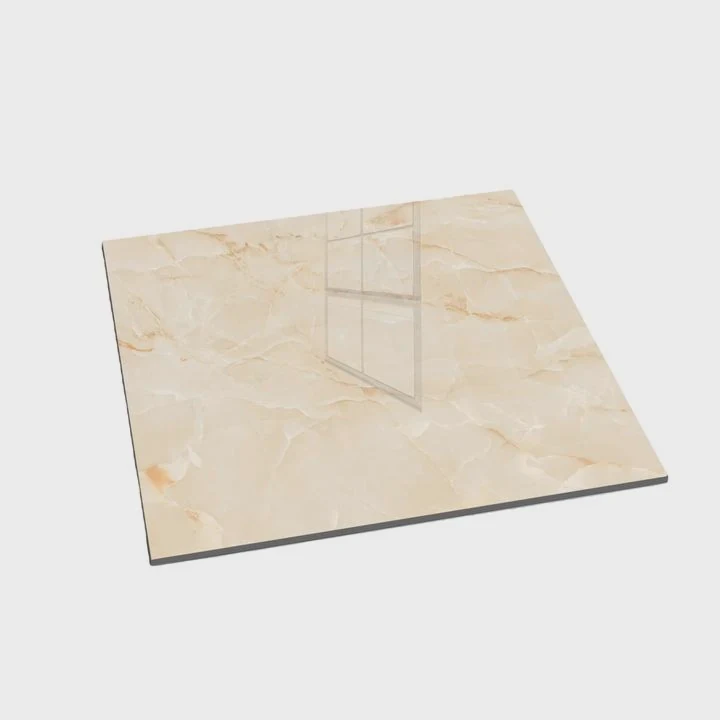
A controlled removal process is important because the goal is not only removing tiles. The goal is removing them without creating danger.
Remove tiles one by one
One common mistake is removing many tiles quickly. This can cause multiple pieces to fall at the same time.
A safer method is:
- Remove one tile
- Place it in a safe area
- Check the surrounding structure
- Continue with the next tile
This approach takes more time but creates better control.
Protect people below the work area
Nobody should stand directly under the working area during removal. Falling materials can cause injuries.
For larger projects, the area should be marked clearly. Workers should know where they can safely move.
Use protective coverings
Covering the floor and furniture helps manage debris.
| Protection Method | Benefit |
|---|---|
| Plastic sheets | Reduce dust spread |
| Drop cloths | Protect floors |
| Waste containers | Control removed materials |
| Barriers | Keep people away |
Control dust during removal
Ceiling materials often create dust when they break or separate. Dust can spread throughout the building.
Good dust control methods include:
- Removing tiles slowly
- Using ventilation carefully
- Cleaning small areas regularly
- Avoiding unnecessary breaking
Do not force damaged tiles
Old ceiling tiles may become weak over time. Pulling too hard can break them into smaller pieces.
When a tile does not move easily, I check the attachment point first. Understanding the connection is safer than using extra force.
Plan the removal direction
The removal order matters. Starting from an edge or accessible area usually provides better control.
A planned direction helps prevent sudden movement and makes it easier to monitor the ceiling condition.
Safe removal is about control. Small steps usually create better results than fast and aggressive actions.
Can ceiling structure be damaged during removal?
Yes, ceiling structure can be damaged during removal if the process is not handled carefully. Many problems happen because people focus only on removing tiles and ignore the supporting system.
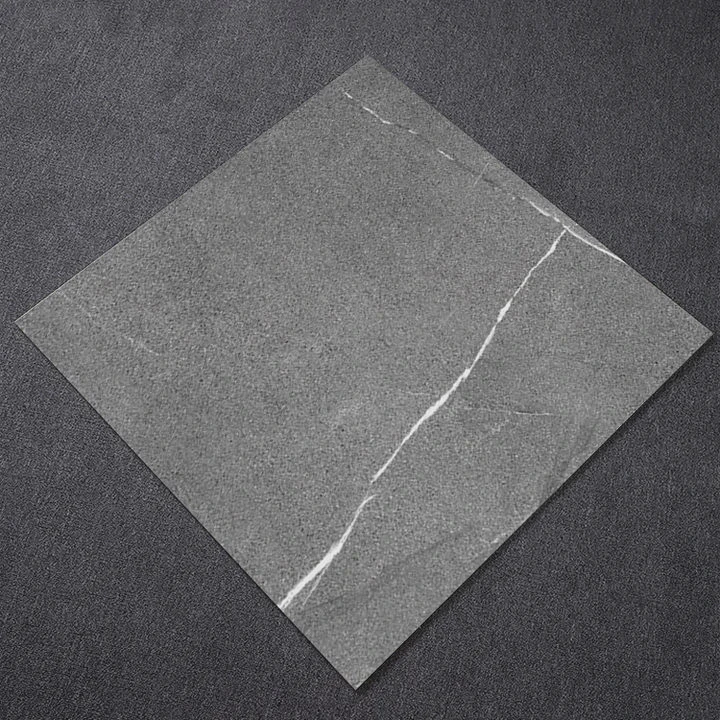
The ceiling system often includes important parts such as frames, supports, insulation, lighting connections, and the original ceiling surface.
Common types of damage
Damaged support frames
Suspended ceilings depend on metal grids. Pulling tiles incorrectly can bend or break these components.
A damaged frame may create alignment problems when installing new tiles.
Surface damage
Directly attached tiles can remove paint, plaster, or surface layers when they are pulled away.
This can increase repair work after removal.
Electrical problems
Ceiling areas often contain lighting systems and cables. Careless movement can affect electrical connections.
How to reduce structural damage
A careful inspection helps prevent problems.
Before removal, I check:
- How tiles are attached
- Where support points are located
- Whether there are hidden systems
- Whether the ceiling shows damage
| Risk | Prevention Method |
|---|---|
| Frame damage | Remove tiles carefully |
| Surface damage | Separate attachments slowly |
| Electrical issues | Check hidden wiring |
| Dust problems | Use protection methods |
When professional help may be better
Some projects are simple, but others require experienced workers. Large commercial buildings, old structures, or damaged ceilings may need professional evaluation.
A professional approach can help identify hidden risks before they become expensive repairs.
Planning the next ceiling installation
Many people remove old ceiling tiles because they want a new design. The removal process should consider the next step.
For example:
- Will the frame be reused?
- Will new tiles have the same size?
- Does the structure need repair?
- Does the room need insulation improvement?
Good planning avoids repeated work.
Why careful removal matters
A ceiling is more than a decorative surface. It is part of the building system. Careless removal can create problems that continue after the tiles are gone.
A careful process protects the structure and prepares the space for future improvements.
Conclusion
Removing a tile ceiling requires planning, safety protection, and careful handling. The right tools and methods help prevent injuries, control debris, and protect the ceiling structure.