
How to Replace Floor Tile?
- Sinotiles
- 2026-08-28

A cracked floor tile can make an otherwise good floor look neglected. A rushed repair can also damage nearby tiles and make the problem much larger.
To replace a floor tile, remove the grout around the damaged tile, break and lift the tile carefully, clean the old adhesive, prepare the base, fit a matching replacement tile, apply suitable mortar, and finish with matching grout. Careful removal and accurate height control help the repair blend into the existing floor.
Replacing one or several floor tiles is much easier than rebuilding an entire floor, but small repairs require precision. The new tile must match the surrounding size, color, joint width, and surface height. The substrate also needs to remain strong and flat. I normally treat removal, fitting, bonding, and grouting as separate stages. This keeps one small problem from turning into several new ones.
What Steps Are Required to Remove Damaged Tiles?
Removing a broken tile looks simple, but careless hammering can chip the neighboring tiles. Hidden pipes, heating systems, and waterproofing can also make aggressive removal risky.
Start by removing the grout around the damaged tile to separate it from neighboring tiles. Protect the surrounding surface, then break the damaged tile from its center and remove small pieces gradually. After the tile is gone, carefully remove old adhesive and inspect the substrate before installing the replacement.
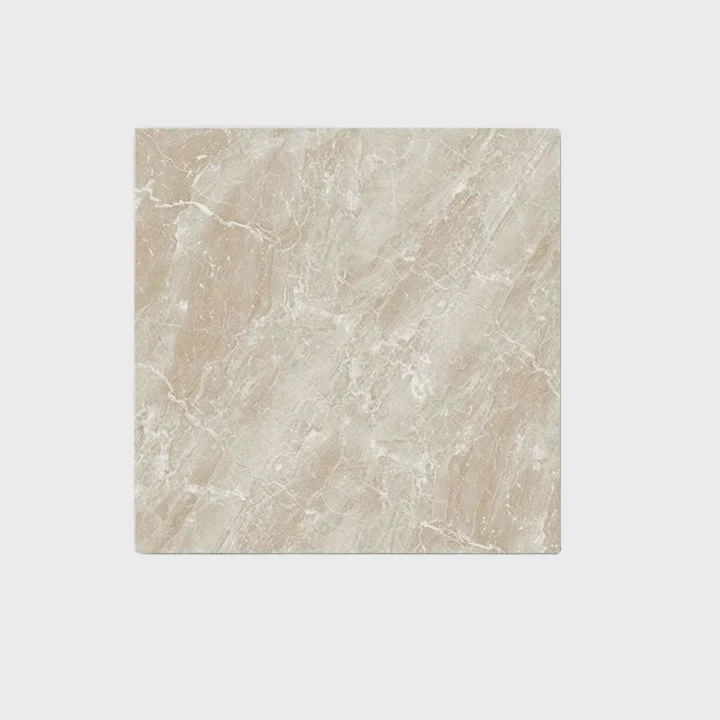
The removal stage needs more patience than force. The goal is not simply to destroy the old tile. The real goal is to remove it without damaging the surrounding floor or the base underneath.
I prefer to work from the center toward the edges. This gives the broken material somewhere to move and reduces pressure against the neighboring tiles.
Check the Area Before Starting
The damaged tile should first be inspected. A simple impact crack may only affect one tile. Several cracked tiles in the same area can point to a larger problem below the surface.
The surrounding tiles should also be checked for movement or hollow areas. A replacement tile may fail again if the substrate is moving.
Special care is needed when the floor contains electric heating, water heating pipes, waterproofing membranes, or other hidden systems. Deep drilling or aggressive chiseling can damage these parts.
Remove the Grout Around the Tile
The grout joint connects the damaged tile visually and physically with the surrounding installation. Removing this grout creates a separation line.
A grout saw, oscillating tool with a suitable blade, or another grout removal tool can be used. The tool should stay inside the joint as much as possible.
The neighboring tile edges are important. A hard tool can chip a glazed or polished edge very quickly.
The grout should be removed around the full perimeter of the damaged tile. This makes the next stage easier and lowers the chance of transferring force into adjacent pieces.
Start Breaking From the Center
Once the tile has been isolated, the center provides the safest starting area.
Safety glasses should be worn because ceramic and porcelain fragments can be sharp. Gloves also help protect the hands during cleanup.
A controlled opening can be created near the center of the tile. Small sections can then be removed one by one. I would avoid starting at an edge because the tool can easily slip toward the neighboring tile.
The installer can gradually work outward after enough space has been created.
Remove the Old Adhesive Carefully
Removing the tile is only half of the job. Old mortar or adhesive usually remains on the substrate.
This material needs to be reduced enough to allow the new tile to sit at the correct height. The surrounding tiles provide a useful reference.
The base should not be aggressively damaged just to remove every visual trace of mortar. The objective is a sound, clean, flat surface that can accept the replacement installation.
| Removal Stage | Main Goal | Main Risk |
|---|---|---|
| Inspect the damage | Find possible underlying problems | Missing a moving substrate |
| Remove surrounding grout | Separate the damaged tile | Chipping nearby edges |
| Break from the center | Create a safe removal area | Sending force into other tiles |
| Remove small pieces | Control the demolition | Cutting hands on sharp fragments |
| Clean old mortar | Prepare a flat base | Damaging the substrate |
| Inspect the base | Confirm it is sound | Installing over unresolved damage |
The exposed substrate should be cleaned after the old material has been removed. Dust, loose mortar, and tile fragments can interfere with bonding.
This is also the right time to stop and inspect the original failure. A tile damaged by a dropped object may only need a simple replacement. A tile that cracked because the base moves needs a different response. Installing a new tile without addressing movement can simply reproduce the same crack.
Careful removal may take longer than expected, especially with hard porcelain or strongly bonded mortar. That extra time is useful. A controlled removal protects the rest of the floor and creates a better starting point for the replacement.
How Can New Tiles Be Fitted Accurately?
A replacement tile can have the correct color and still look wrong if it sits too high, too low, or too close to the neighboring tiles.
Fit a new floor tile accurately by checking its actual dimensions, dry-fitting it in the opening, matching the existing grout-joint width, and comparing its surface height with surrounding tiles. Apply the correct amount of mortar and adjust the tile while the mortar is workable until its edges align with the existing floor.
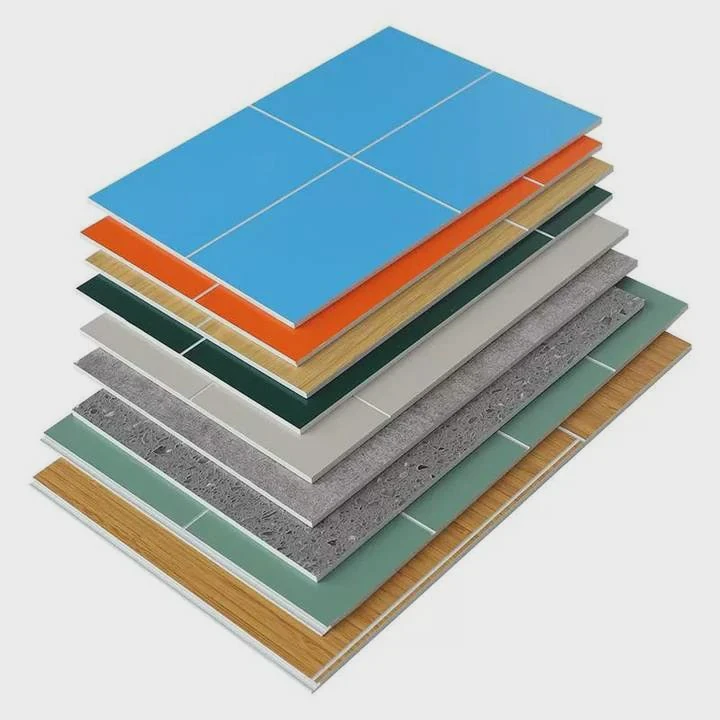
Accurate fitting starts before mortar is mixed. A replacement tile should first be placed into the opening without adhesive. This simple dry fit reveals size, joint, and height problems while they are still easy to correct.
Compare the Replacement With the Original Floor
Two tiles with the same stated dimensions are not always identical. Actual dimensions can vary slightly between manufacturers, product lines, and production batches.
Thickness matters too. A replacement tile that is thinner than the existing floor may require careful adjustment during installation. A thicker tile can be more difficult because there is less space available for the bonding layer.
The surface finish should also be compared. Gloss, texture, edge shape, shade, and pattern can all affect how visible the repair becomes.
If spare tiles from the original installation are available, they are usually the best starting point.
Dry-Fit the Tile First
The tile should sit inside the opening with enough room for grout joints around all sides.
It should not be forced tightly between neighboring tiles. A tile that barely fits without mortar may become difficult to position after the bonding material is added.
I would place spacers in the joints during the dry fit. This gives a more realistic view of the final position.
The replacement should also be rotated when the tile has a directional design. Stone-look and wood-look surfaces often look more natural in one orientation than another.
Control the Surface Height
Height is one of the most important parts of a single-tile repair.
A tile that sits above its neighbors creates an obvious edge. A tile that sits too low creates a depression that can collect dirt or water.
A short straightedge or level can be placed across the replacement and neighboring tiles. This quickly shows whether the surfaces are aligned.
The mortar layer should provide proper support while allowing the tile to reach the required height. The installer should not leave large empty spaces under the tile just to make the top appear level.
Check Mortar Coverage
The replacement tile needs good bonding support. The correct mortar should be selected for the tile and substrate.
Mortar can be spread with an appropriate notched trowel. The working area is small, but good trowel technique still matters.
The tile can be lifted once during the test placement to check coverage. This shows whether the mortar is making suitable contact.
The tile should then be placed again and adjusted with gentle pressure. A rubber mallet can be useful in some installations, but heavy impacts should be avoided.
Clean the Joints Before the Mortar Hardens
Mortar that pushes into the grout joints should be removed while it is still workable.
Leaving too much mortar in the joint reduces the space available for grout. It can also show through when the grout color is different from the mortar.
The tile face should also be cleaned before the material cures.
Once the tile is aligned, I would leave it alone for the curing period required by the setting material. Constantly touching or testing the tile can disturb the bond.
Accurate replacement is a process of small checks. Size, joint width, pattern direction, height, and mortar coverage all need attention. When these details match the existing floor, the repair becomes much harder to notice.
Why Is Matching Grout Important for Repairs?
A perfectly matched replacement tile can still stand out when fresh grout has a different color, width, or texture from the existing joints.
Matching grout is important because grout forms visible lines around every floor tile. The replacement grout should be as close as possible to the existing color, joint width, texture, and finish. Existing grout may have changed with age and cleaning, so a small test can help before completing the repair.

Grout may occupy less surface area than tile, but the eye notices grout lines quickly. These lines create a grid across the floor. One bright or dark square around a replacement tile can make the repair obvious.
This is why I would not choose grout based only on the original color name.
Old Grout May Not Match Its Original Color
Floor grout changes over time. Cleaning products, dirt, moisture, sunlight, and normal use can affect its appearance.
A grout originally sold as light gray may look darker after years of foot traffic. A beige grout can also change depending on the room and cleaning routine.
Buying a new bag with the same product name does not always create a perfect visual match.
The existing joint should be cleaned before its color is evaluated. Otherwise, the new grout may be matched to surface dirt rather than the actual grout.
Joint Width Needs to Stay Consistent
Color is only one part of the repair. Joint width also matters.
If the existing floor has narrow joints and the replacement has wide joints, the repair will remain visible even with an excellent color match.
Spacers used during tile installation should reflect the existing joint width. The installer should check all four sides because older installations may not be perfectly uniform.
Texture and Finish Matter
Different grout products can create different surface textures. Some appear very smooth. Others look more sandy or coarse.
The repair should follow the appearance of the existing floor as closely as practical. Grout selection should also be suitable for the joint width, tile, and installation area.
| Grout Factor | What to Match | Why It Matters |
|---|---|---|
| Color | Existing cured grout | Reduces visible contrast |
| Joint width | Surrounding grout lines | Keeps the floor grid consistent |
| Texture | Smooth or coarse appearance | Helps the repair blend in |
| Joint depth | Existing finished profile | Prevents obvious shadows |
| Cleaning method | Suitable method for tile and grout | Helps maintain similar appearance |
| Application | Consistent joint filling | Avoids low or uneven areas |
Test Before Filling Every Joint
A small test is useful when appearance matters.
Grout color can look different when wet and after curing. The installer should not judge the final color only from the freshly mixed material.
A sample can help show how the new material changes after drying.
The grout should also be mixed according to the manufacturer’s instructions. Changing the water ratio can affect consistency and may affect the final appearance.
Clean the Tile Carefully
Grout residue should be removed at the correct time. Excessive water should not be used simply because it makes cleaning feel easier.
Porous, textured, or sensitive tiles can require extra care. The instructions for the tile and grout should guide the cleaning method.
A repaired tile should ideally become part of the original visual pattern. Matching grout supports that goal because it reconnects the replacement with the surrounding floor. The tile gets most of the attention during shopping, but grout often determines whether people notice the repair after the work is finished.
Which Tools Help Achieve Seamless Replacement?
A small tile repair does not require a full professional workshop. Still, using unsuitable tools can chip nearby tiles, create poor cuts, and leave the replacement uneven.
Useful floor tile replacement tools include a grout removal tool, safety glasses, gloves, hammer, controlled chisel, scraper, vacuum, notched trowel, tile spacers, level or straightedge, grout float, sponge, and buckets. A tile cutter or wet saw may also be needed when the replacement tile requires trimming.
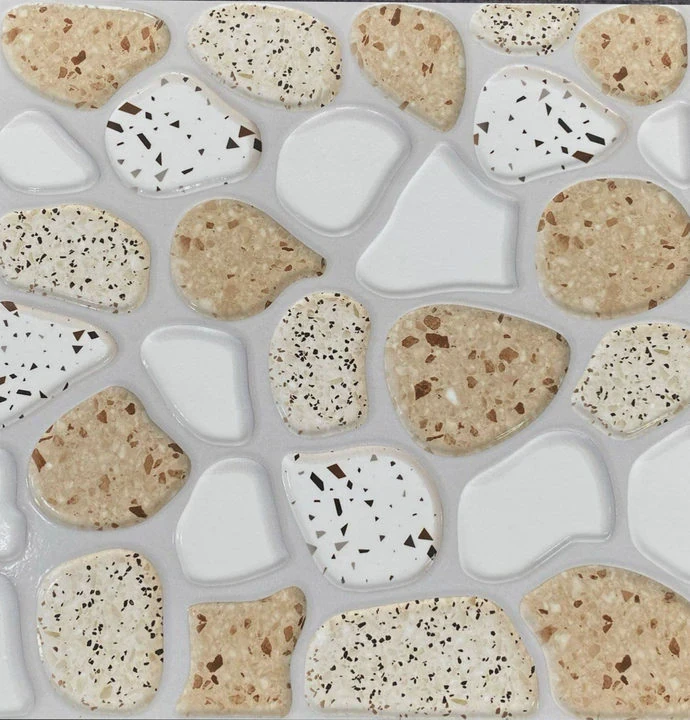
The best tool set depends on the repair. Replacing one standard tile in an open area is different from replacing a tile beside a wall, doorway, cabinet, or pipe.
I divide the tools by the stage of work because this makes preparation easier.
Tools for Grout and Tile Removal
A grout saw is a simple option for removing grout manually. An oscillating multi-tool with a suitable grout blade can make the job faster, but it needs careful control around tile edges.
Safety glasses are essential during demolition. Tile fragments can be extremely sharp.
A small hammer and suitable chisel can help break the damaged tile after a safe opening has been created. The tool should be directed toward the empty center rather than toward the neighboring tile.
A scraper or other suitable removal tool helps clean old adhesive from the base.
A vacuum is also useful. Dust and loose particles should be removed before new mortar is applied.
Tools for Measuring and Fitting
A tape measure can confirm the dimensions of the opening and replacement tile. A straightedge or level checks the final height.
Tile spacers help reproduce the existing joint width.
If the replacement needs cutting, a manual tile cutter may work for a simple straight cut. Hard porcelain, thick material, or complex cuts can require a wet saw or another suitable cutting system.
The cutting method should match the tile rather than being selected only because a certain tool is already available.
Tools for Setting the New Tile
A notched trowel is used to apply the setting material. For a single-tile repair, a smaller tool can make it easier to work inside the opening.
The notch should still be suitable for the tile. The small repair area does not remove the need for proper mortar coverage.
A rubber mallet may help make minor adjustments, but gentle pressure is usually more controlled than heavy striking.
A straightedge placed over the surrounding tiles provides immediate feedback about the replacement height.
Tools for Grouting and Cleaning
A grout float packs material into the repaired joints. A sponge helps shape and clean the grout according to the product instructions.
Clean water and separate buckets make cleanup easier. A microfiber cloth can be useful later if a light haze remains and the grout instructions allow that cleaning method.
The tools do not need to be expensive. They need to be appropriate and easy to control.
I would prepare every required tool before removing the damaged tile. A repair becomes much more difficult when the floor is open and the correct cutter, trowel, or spacer is missing.
It is also useful to have an extra replacement tile when possible. A tile can break during cutting or fitting. Having only one matching piece creates unnecessary pressure and can encourage the installer to accept a poor cut.
A seamless replacement comes from control at every stage. The grout removal tool protects the surrounding edges. The cutting tool controls the tile shape. The trowel supports proper bonding. The straightedge controls height. The spacers control joint width. The grout tools restore the final visual lines.
No single tool makes a repair invisible. The result comes from using several basic tools carefully and checking the replacement against the existing floor throughout the job.
Conclusion
Replacing a floor tile is a manageable repair when each stage is controlled. Careful removal protects neighboring tiles, accurate fitting keeps the new surface level, matching grout helps hide the repair, and suitable tools improve precision. The best result comes from fixing the cause of damage and matching the existing installation closely.





