
How to Do Tile Countertops?
- Sinotiles
- 2026-08-28
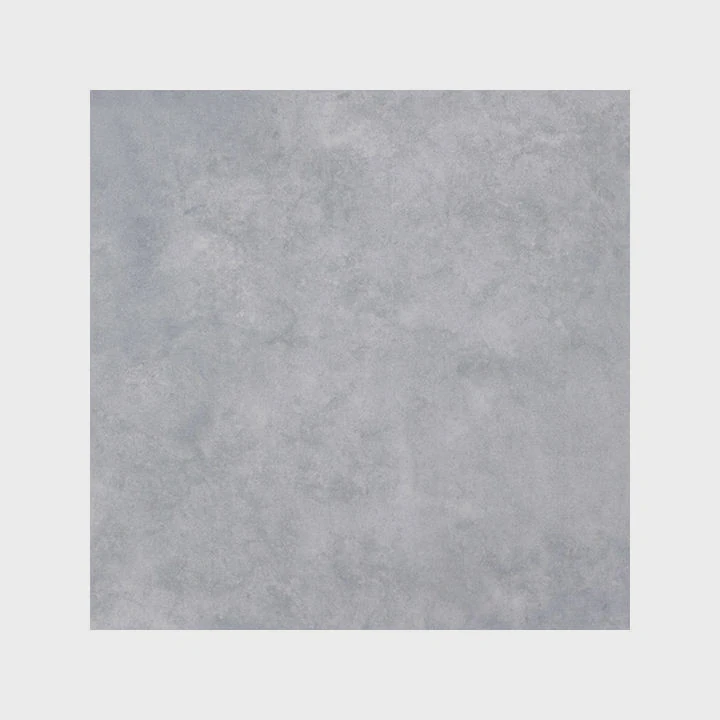
A tile countertop can look great and handle daily use, but poor preparation can cause uneven tiles, cracked grout, loose edges, and water damage.
To do tile countertops, prepare a strong and flat base, plan the tile layout, apply suitable thinset mortar, set the tiles evenly, grout the joints, and seal materials when required. Good waterproofing, proper movement control, and careful edge finishing help the countertop stay durable.
A countertop is more demanding than a simple decorative wall. It faces water, spills, heat, cleaning, impacts, and constant use. I treat the tile, substrate, mortar, grout, edges, and sealing as one complete system. Each part affects the final appearance and service life.
What Materials Are Needed for Tile Countertops?
Buying attractive tiles is only the first step. If the base, mortar, grout, and waterproofing products do not work together, even expensive tiles can develop problems.
A tile countertop normally needs tiles, a rigid substrate, suitable backer board or tile-ready surface, thinset mortar, grout, spacers, waterproofing materials when required, and edge trim. Basic tools include a notched trowel, level, tile cutter, mixing tools, grout float, and measuring equipment.
Start With the Right Countertop Tile
The tile has the greatest visual effect, so I start by selecting a product that can handle countertop use.
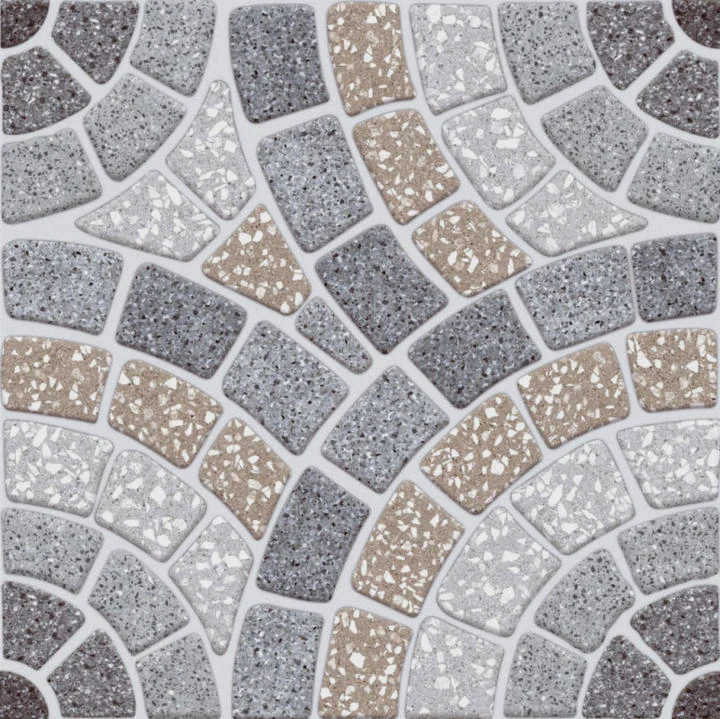
Porcelain tile is a practical option because it is dense, durable, and available in many finishes. Ceramic tile can also work in suitable applications. The exact choice depends on the expected use, tile properties, surface finish, and design.
Tile size affects both appearance and maintenance.
Small tiles create more grout joints. These joints can become part of the design, but they also create more lines that need cleaning. Large-format tiles reduce the number of joints and can give the countertop a cleaner appearance.
Large tiles can also reduce the number of pieces needed across the working surface. Still, they require a flat base and careful installation. A large tile can make an uneven substrate easier to notice.
Build a Strong and Stable Base
A countertop needs a rigid base. The surface should not flex noticeably when weight is placed on it.
Tile and grout are hard materials. They perform best when the structure underneath them is stable. If the countertop base moves, the tile assembly can experience stress. Cracked grout or loose tiles can appear later.
The exact substrate system depends on the construction method. A suitable backer board or another tile-ready substrate may be installed over a structurally sound base.
Water resistance also matters around sinks and other areas where spills are common. A waterproofing or moisture-management layer may be required as part of the selected installation system.
The important point is simple: tile should not be expected to fix a weak base.
Choose the Correct Mortar and Grout
Thinset mortar bonds the tile to the prepared surface. The mortar should match the tile material, tile size, substrate, and installation system.
Porcelain tiles often need a suitable mortar with good adhesion. Large-format tiles may need mortar designed to support large and heavy tile.
Grout fills the joints between tiles. Its color has a major effect on the finished countertop.
| Material | Main Purpose | What I Check |
|---|---|---|
| Countertop tile | Creates the finished surface | Strength, finish, size, cleaning needs |
| Rigid substrate | Supports the tile assembly | Flatness and stability |
| Backer or tile-ready layer | Provides an installation surface | System compatibility |
| Thinset mortar | Bonds tile to the surface | Tile and substrate compatibility |
| Grout | Fills tile joints | Color, joint width, maintenance |
| Waterproofing materials | Manage moisture | Sink and wet-area requirements |
| Edge trim or edge tiles | Finish exposed edges | Appearance and impact resistance |
| Sealant | Handles selected joints and transitions | Flexibility and compatibility |
Prepare the Basic Tools
Good tools make accurate installation easier.
A tape measure, straightedge, square, and level help with planning. A suitable tile cutter or wet saw is needed for cuts. The required cutting method depends on the tile material and thickness.
A notched trowel spreads mortar. Spacers help keep joints consistent. A grout float pushes grout into the joints. Buckets, mixing tools, sponges, and clean water are also needed.
Safety equipment should not be ignored. Tile cutting can create sharp edges and dust. Eye protection and other suitable protective equipment should be used for the chosen cutting process.
I prefer to organize the complete material list before installation begins. Stopping halfway through the work to find another mortar, trim piece, or cutting tool can create unnecessary problems with timing and consistency.
How Can Layout Improve Countertop Appearance?
A strong installation can still look amateur if narrow cuts appear in obvious places or grout lines do not align. Layout planning prevents many of these visual problems before mortar is mixed.
A good tile layout improves countertop appearance by balancing cut tiles, controlling grout lines, and placing full tiles in the most visible areas. Dry-laying tiles before installation also helps identify awkward cuts around sinks, corners, backsplashes, and edges before they become permanent.
Find the Most Visible Areas First
I do not automatically start placing tile from one end of a countertop.
The first step is to look at the countertop as a finished surface. Some areas are much more visible than others. The front edge is usually important. Open ends, islands, peninsulas, sink areas, and backsplash connections can also attract attention.
The layout should make these areas look intentional.
For example, starting with a full tile against one wall may seem easy. But this approach can leave a very narrow strip at the opposite edge. That small cut may be difficult to install and can look unbalanced.
A better approach is often to shift the layout slightly so both sides receive reasonable cuts.
Dry-Lay Tiles Before Setting Them
A dry layout means placing tiles without mortar first.
This simple step can reveal problems that are difficult to see on a drawing. I can check tile proportions, grout joint positions, pattern direction, edge conditions, and cuts before anything becomes permanent.
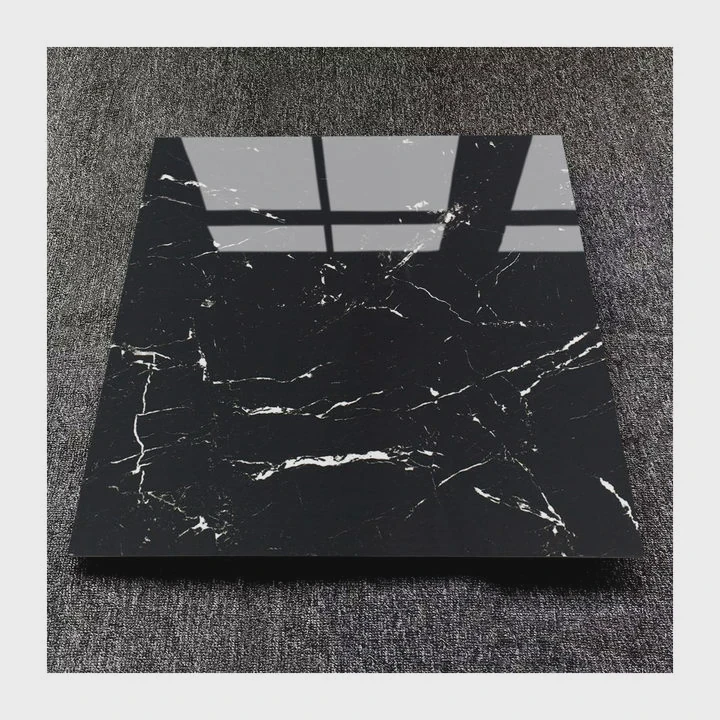
The process becomes even more useful with patterned tiles or products that have strong marble, stone, or wood effects.
Some porcelain tiles have several different faces. Rotating and mixing these pieces before installation can create a more natural surface. Repeating the same graphic next to itself can make an otherwise good countertop look artificial.
Use Grout Lines as Part of the Design
Grout is not only a material used to fill gaps. The joints form visible lines across the countertop.
These lines can either support the design or make it feel busy.
Large-format tiles can reduce the number of grout joints. This often creates a cleaner and more continuous appearance.
Smaller tiles produce more joints. This can work well for traditional or decorative designs, but the joint pattern needs more planning.
The grout color also changes how strongly these lines appear.
A grout color close to the tile color creates a more blended surface. A contrasting grout makes each tile more visible. Neither choice is automatically better. The right option depends on the intended design and practical cleaning needs.
Plan the Sink Before Cutting Tiles
The sink is often one of the most difficult areas of a tiled countertop.
The layout should be planned around it before installation starts. Small cuts around the sink can be difficult to make and may create weak-looking details.
The sink type also changes the work. Different sink designs create different edge and waterproofing conditions.
Measurements need to be accurate. I would rather check the sink dimensions several times than discover a cutting mistake after a tile has already been set.
The same principle applies to faucets, cooktops, electrical fittings, and other openings.
Think About the Front Edge
The front edge is one of the first parts people see when they approach a countertop.
Several finishing methods may be possible. A project can use matching edge pieces, trim profiles, specially finished tiles, or another approved edge detail.
The edge needs to look clean, but appearance is not the only issue. Countertop edges receive impacts from pots, dishes, tools, and daily activity.
A fragile or poorly supported edge can become a failure point.
The following layout choices can make a major difference:
| Layout Decision | Poor Result | Better Approach |
|---|---|---|
| Starting point | Narrow cut at visible end | Balance cuts before setting |
| Grout lines | Random-looking pattern | Keep lines planned and consistent |
| Sink position | Small difficult pieces | Plan cuts around the opening |
| Tile graphics | Repeated patterns together | Mix and rotate faces where suitable |
| Front edge | Unfinished exposed tile | Use a planned edge detail |
| Corners | Misaligned joints | Check alignment during dry layout |
I normally treat layout as part of installation rather than decoration added at the end. Once the mortar starts setting, major changes become difficult. Ten or twenty extra minutes of planning can prevent hours of correction.
Why Is Sealing Essential for Longevity?
Countertops face water, coffee, cooking oils, food, cleaning products, and daily spills. If moisture or stains enter vulnerable materials, the surface can become harder to maintain.
Sealing is important when the selected tile, stone, or grout is porous and requires protection. A suitable sealer can reduce liquid and stain absorption and make maintenance easier. Dense glazed or porcelain tiles may not need surface sealing, so the material manufacturer’s instructions should guide the decision.
Not Every Tile Needs the Same Sealing Treatment
One common mistake is assuming that every tiled countertop should be covered with the same sealer.
The tile material matters.
Many glazed ceramic tiles have a surface that does not need additional sealing. Dense porcelain tiles also have very low water absorption, and their exposed tile surface often does not require a penetrating sealer.
Natural stone can be different. Some stone materials are porous and can absorb liquids more easily.
Grout requirements also vary. Traditional cement-based grout may benefit from a compatible sealer in some installations. Other grout products have different maintenance requirements.
For this reason, I check the tile and grout instructions separately.
Grout Joints Deserve Special Attention
The countertop may contain durable porcelain tile while the grout joints remain the areas that receive the most cleaning attention.
Food, colored drinks, oils, and dirty water can collect around joints if the surface is not maintained.
A suitable sealer can help reduce absorption in materials that require sealing. Still, a sealer does not make grout completely maintenance-free.
Spills should still be cleaned promptly.
The countertop should also be cleaned with products that are suitable for the tile and grout. Very aggressive cleaners can damage some materials or change their appearance.
Sink Areas Need More Than Sealer
The area around the sink receives frequent water exposure.
Sealer alone is not a waterproofing system.
This difference is important. A penetrating sealer may reduce absorption into a porous surface. Waterproofing products below or behind the tile manage water in a different way.
The countertop system should therefore deal with moisture before the tile is installed.
Sink openings, faucet penetrations, seams, transitions, and other vulnerable areas need proper detailing based on the selected installation system.
Flexible sealant can also be required at certain changes of plane, joints, or transitions. Rigid grout should not automatically replace a flexible joint where movement is expected.
Sealing Can Make Maintenance Easier
A countertop is used at close range every day. Small stains that might go unnoticed on a floor can become very visible on a work surface.
A properly selected sealer can give the user more time to clean spills before they penetrate a porous material.
Still, I would never describe sealing as permanent protection.
Sealers can wear over time. Their service life depends on the product, material, cleaning routine, and amount of use.
A countertop may need inspection and resealing according to the sealer manufacturer’s guidance.
The goal is not to create an invisible shield that lasts forever. The goal is to control absorption and make the surface easier to maintain when the materials require it.
Material selection can also reduce maintenance from the beginning. A dense porcelain countertop tile, for example, can offer a practical surface with low water absorption. The grout and joints still need proper attention, but the tile itself can be easier to manage than some porous materials.
Which Installation Tips Ensure Durability?
A countertop may look perfect on installation day but still fail months later. Most long-term problems begin with movement, poor mortar coverage, weak edges, or incorrect joint treatment.
Durable tile countertops need a rigid and flat base, suitable thinset, strong mortar coverage, consistent joints, supported edges, and correct moisture control. Installers should also respect curing times and use flexible sealant where movement is expected instead of relying on rigid grout for every joint.
Make the Base Flat Before Setting Tile
Flatness becomes more important as tile size increases.
A small tile can follow minor surface differences more easily. A large tile is much less forgiving.
If the substrate has high and low areas, the installer may struggle to keep neighboring tile edges at the same height. This problem can create lippage and make the countertop uncomfortable to use.
I prefer to correct significant surface problems before tile setting begins.
Thinset should not be treated as a general product for repairing major substrate defects. Its main job is to bond and support tile within the mortar’s stated application limits.
A straightedge can help identify high and low areas before installation.
Use the Correct Trowel and Mortar Technique
Mortar coverage is one of the most important parts of a durable tile installation.
The installer should use a trowel that is suitable for the tile size and the mortar manufacturer’s requirements. Mortar should be spread evenly.
The trowel ridges should be consistent. The tile should then be pressed into the mortar in a way that promotes good contact.
Large tiles may benefit from applying a thin coat of mortar to the tile back as part of the installation method.
I also check coverage during installation instead of simply assuming that it is good. A tile can be lifted occasionally while the mortar is still fresh. The back shows whether the ridges are collapsing and whether enough contact is being achieved.
Do Not Ignore Open Time
Thinset cannot sit exposed indefinitely.
Once mortar is spread, its surface can begin to form a skin. If tile is placed over mortar that has been open too long, the bond can suffer.
A common mistake is spreading mortar across a very large area to save time.
Working in manageable sections is safer. The installer can spread mortar, comb it, set the tiles, and adjust them while the material remains within its working limits.
Temperature, airflow, humidity, and substrate conditions can affect working behavior.
The mortar instructions should guide the installation.
Protect Countertop Edges
Edges face more direct impacts than the center of the countertop.
A plate, pan, or heavy object can hit the front edge. Poorly supported tile can chip or loosen under repeated impacts.
The edge detail should therefore be planned as a structural detail as well as a design feature.
Edge tiles or profiles need good bonding and support. The transition between the horizontal surface and vertical edge also needs careful alignment.
Corners deserve the same attention because small inaccuracies are easy to see there.
Respect Movement and Flexible Joints
Buildings move slightly. Wood-based structures can move with moisture and load. Different materials can also expand and contract at different rates.
Tile is rigid, so the installation needs ways to deal with expected movement.
Changes of plane and other movement locations may require a suitable flexible sealant instead of rigid grout, depending on the installation system.
Filling every possible joint with hard grout can create stress points.
The correct movement-joint design depends on the project, substrate, countertop size, and installation standards.
Allow Materials to Cure
Fast work does not mean skipping curing time.
Mortar and grout need enough time to develop their intended properties. Putting heavy equipment on a new countertop too early can disturb the installation.
Water exposure should also be controlled during the required curing period.
The product instructions provide the relevant waiting times. Rapid-setting materials can shorten some schedules, but they should still be allowed to cure according to their specifications.
Treat the Countertop as a Complete System
The most durable result comes when every layer works together.
The structure supports the base. The base provides stability. Waterproofing manages moisture where needed. Thinset bonds the tile. Tile provides the working surface. Grout fills the field joints. Flexible materials handle suitable movement areas. Edge details protect exposed sections.
Problems often appear when one of these layers is treated as unimportant.
For example, a premium porcelain tile cannot compensate for a flexible base. Expensive grout cannot fix poor mortar coverage. Sealer cannot replace waterproofing. A strong thinset cannot make an unstable substrate rigid.
I use this simple idea when thinking about countertop installation: every hidden layer should receive as much attention as the visible tile.
A good tile countertop should not only look attractive when the work is finished. It should remain stable during normal cleaning, cooking, water exposure, and daily use. Careful preparation may take more time at the beginning, but it usually makes the final installation easier and more reliable.
Conclusion
A durable tile countertop starts with a stable base and careful layout. Suitable tile, mortar, grout, moisture protection, sealing where required, and strong edge details all matter. Good installation focuses on the complete system, so the finished countertop can stay attractive and practical through years of daily use.





