
How to replace tile in shower floor?
- Sinotiles
- 2026-08-20
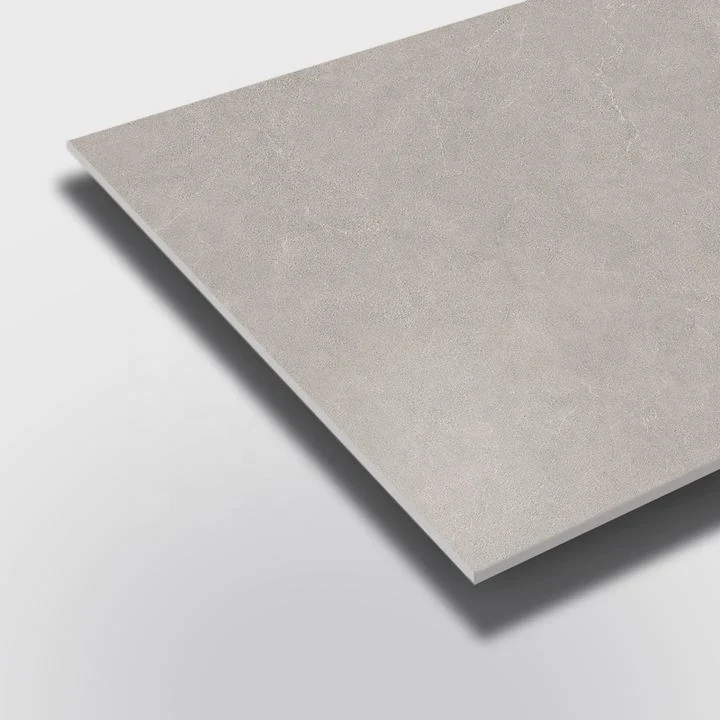
A damaged shower floor tile can create bigger problems over time. Cracks, loose tiles, and water leaks can affect both appearance and building safety. Many homeowners want a clear way to fix the problem.
Replacing shower floor tiles requires careful removal, waterproof protection, correct slope control, and proper installation methods. A successful replacement restores the shower surface while preventing future water damage.
Many people think replacing a shower floor tile is only about removing old tiles and installing new ones. However, shower floors have a special structure because they must control water flow and protect the building from moisture. Understanding each step helps avoid expensive repairs.
What tools are needed for shower floor tile replacement?
The right tools make shower floor tile replacement safer and more accurate. Shower floors usually have small tile pieces, waterproof layers, and special installation requirements, so basic household tools may not be enough.
The main tools needed for shower floor tile replacement include tile removal tools, measuring equipment, waterproofing tools, tile installation tools, and cleaning tools.
Choosing the correct tools depends on the tile condition and the repair area. Small repairs may require fewer tools, while full shower floor replacement needs professional equipment.
Essential tools for replacing shower floor tiles
| Tool | Purpose | Usage Stage |
|---|---|---|
| Grout removal tool | Removes old grout around tiles | Before tile removal |
| Tile chisel and hammer | Removes damaged tiles | Demolition stage |
| Tile cutter | Cuts new tiles into correct sizes | Installation stage |
| Notched trowel | Spreads tile adhesive evenly | Tile fixing |
| Level tool | Checks tile position and slope | Installation control |
| Waterproofing brush | Applies waterproof materials | Waterproof protection |
| Rubber float | Applies grout between tiles | Final finishing |
The first important tool is a grout removal tool. Before removing a damaged tile, the surrounding grout must be removed carefully. This step protects nearby tiles from unnecessary damage.
A tile chisel and hammer help remove old tiles. However, the pressure must be controlled because strong impact can damage the waterproof layer below the tile.
A level tool is also very important. Shower floors must have the correct slope so water can move toward the drain. Even a small mistake can create standing water.
Why professional tools improve results
Using proper tools helps create better accuracy and reduces repair risks. Shower floors are different from normal floors because they work with water every day.
A simple repair requires attention to:
- Tile position
- Drain location
- Waterproof layer condition
- Grout quality
- Surface preparation
A poor repair may look acceptable at first but can create hidden problems later. Water can move behind tiles and damage the structure.
When I review shower tile projects, I always focus on preparation before installation. The quality of the final result depends more on the early steps than only the appearance of the new tile.
Good tools support good workmanship. They help installers create a shower floor that looks attractive and performs well for many years.
How do you maintain waterproofing during replacement?
Waterproofing is the most important part of shower floor tile replacement. Tiles create the visible surface, but the waterproof layer protects the structure underneath.
Maintaining waterproofing during replacement requires careful tile removal, inspection of the waterproof membrane, and correct application of new waterproof materials when needed.

Many tile replacement problems happen because people focus only on the tile surface. They remove old tiles quickly but accidentally damage the waterproof layer below.
A shower floor has several layers that work together:
- Surface tile layer
- Tile adhesive layer
- Waterproof membrane
- Shower base structure
- Drain connection
Each layer has an important function. If the waterproof membrane fails, water can enter the floor structure.
Steps to protect waterproofing
The first step is careful removal. Installers should avoid using too much force when breaking old tiles. The goal is to remove the tile without harming the waterproof system.
The second step is inspection. After removing damaged tiles, the surface below should be checked carefully.
| Waterproof Check | Possible Problem | Recommended Action |
|---|---|---|
| Membrane condition | Cuts or holes | Repair waterproof layer |
| Drain connection | Water leakage risk | Check drain sealing |
| Base surface | Cracks or movement | Repair before tiling |
| Adhesive layer | Poor bonding | Prepare clean surface |
The third step is applying waterproof materials if damage exists. Different shower systems use different waterproof solutions. The repair method should match the original installation.
Common waterproofing mistakes
Many installation mistakes happen because people underestimate water movement.
Common problems include:
- Damaging the membrane during tile removal
- Installing tiles on a wet surface
- Ignoring small cracks
- Using poor waterproof materials
- Failing to test the shower area
A waterproof shower floor is not created only by using waterproof products. It requires correct installation from the base to the final grout layer.
Why waterproof maintenance matters
A shower floor faces water exposure every day. Small installation problems can become serious after months or years.
Water damage can lead to:
- Mold growth
- Loose tiles
- Bad smells
- Structural damage
- Expensive repairs
For this reason, shower floor replacement should always protect the waterproof system first. A beautiful tile surface has little value if water protection fails.
In my experience with tile applications, the best projects always combine good materials with careful installation. Waterproofing is hidden, but it decides the long-term performance of the shower floor.
Why slope is critical in shower floor tiling?
The slope of a shower floor controls how water moves toward the drain. Without the correct slope, water can stay on the surface and create maintenance problems.
A proper shower floor slope is critical because it allows fast drainage, prevents standing water, and protects the shower structure from moisture problems.
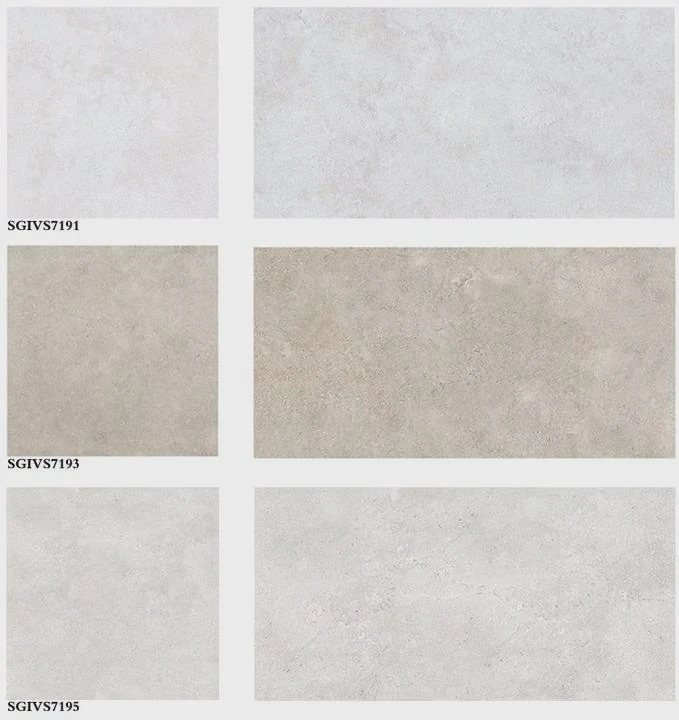
Many people focus on tile design and color but ignore floor slope. However, slope is one of the most important technical parts of shower installation.
A shower floor is not completely flat. It needs a gentle angle that guides water toward the drain.
How shower floor slope works
The slope is usually created during the preparation stage before tile installation. The installer builds the base with a gradual angle from the outside area toward the drain.
A correct slope helps:
- Move water quickly
- Reduce moisture buildup
- Improve cleaning
- Protect waterproof layers
- Increase shower comfort
If the slope is too low, water may collect in corners. If the slope is too steep, the floor may feel uncomfortable and unstable.
Problems caused by incorrect slope
| Slope Problem | Result |
|---|---|
| Too flat | Standing water after shower use |
| Uneven slope | Water collects in specific areas |
| Too steep | Uncomfortable walking surface |
| Wrong drain position | Poor drainage performance |
Standing water creates several issues. It can increase soap residue, create slippery areas, and encourage mold growth.
The correct slope also affects tile selection. Small tiles are often used for shower floors because they can follow curved slopes more easily than large tiles.
Relationship between tile size and slope
Tile size plays an important role in shower floor performance.
Small mosaic tiles provide more grout lines, which can improve grip and help follow the floor angle. Large tiles may look modern but can be more difficult to install correctly on sloped shower floors.
The best choice depends on:
- Shower design
- Drain location
- Floor shape
- Maintenance requirements
- Safety needs
A successful shower floor combines appearance and function. A beautiful tile design must also support proper water movement.
When planning shower floor projects, I always consider the complete system instead of only the tile itself. The tile, slope, drain, and waterproof layer must work together.
A well-designed slope can prevent many future problems. It is a small detail, but it has a major effect on the performance of the entire shower area.
Can you replace tiles without removing the base?
Many homeowners want to replace shower floor tiles without removing the existing base because it seems faster and less expensive. However, this method depends on the condition of the current shower structure.
You can replace shower floor tiles without removing the base when the existing waterproof layer, slope, and shower structure are still in good condition.
Keeping the original base can reduce construction time and avoid unnecessary damage. However, it is not suitable for every situation.
Before deciding on this method, the existing shower floor must be inspected carefully.
Conditions for keeping the existing base
A tile replacement without base removal may work when:
- The waterproof membrane is healthy
- The floor has correct slope
- The drain works properly
- The base has no structural cracks
- Existing problems are only surface-related
If these conditions are met, removing only the tile layer may be enough.
When base removal is necessary
Some situations require complete replacement.
| Situation | Recommended Solution |
|---|---|
| Water leakage under floor | Remove and repair base |
| Broken waterproof layer | Replace waterproof system |
| Incorrect slope | Rebuild shower floor |
| Structural movement | Repair foundation |
A damaged base cannot be fixed only by adding new tiles. New tiles may hide the problem temporarily, but water damage can continue below the surface.
Advantages and disadvantages of keeping the base
Keeping the base has several benefits:
- Lower repair cost
- Shorter construction time
- Less demolition work
- Reduced waste
However, there are also risks:
- Hidden damage may remain
- Waterproof problems may continue
- New tiles may not perform well
The decision should depend on inspection results, not only budget concerns.
A professional evaluation can identify whether the existing structure is strong enough for new tiles. This step can prevent future repair costs.
I believe a good tile replacement project should focus on long-term performance. Saving time during installation is useful, but avoiding future problems is more important.
The best solution is always the one that creates a safe, waterproof, and durable shower floor.
Conclusion
Replacing shower floor tiles requires more than installing new surfaces. Proper tools, waterproof protection, correct slope, and base inspection help create a shower floor that is beautiful, safe, and durable.





