
How to Install Edge Tile Trim?
- Sinotiles
- 2026-08-20
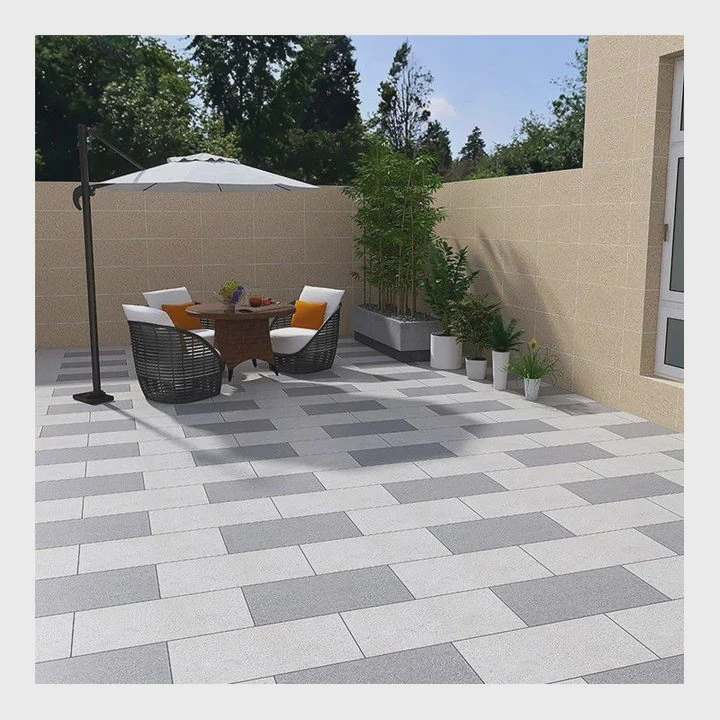
Tile edges often decide whether a project looks professional or unfinished. Many installers focus on the tile surface but forget that exposed edges need protection and clean design.
Edge tile trim is installed by measuring the edge area, cutting the trim pieces correctly, applying adhesive, and placing the trim before or during tile installation. Proper preparation creates a clean and durable finish.
A good tile project is not only about choosing beautiful tiles. The small details around corners, borders, and exposed edges also affect the final appearance. When I work with tile projects, I always pay attention to edge finishing because it can change how people view the whole space. Edge tile trim helps protect tile edges, creates straight lines, and gives the installation a complete look.
What Types of Edge Trims Are Available?
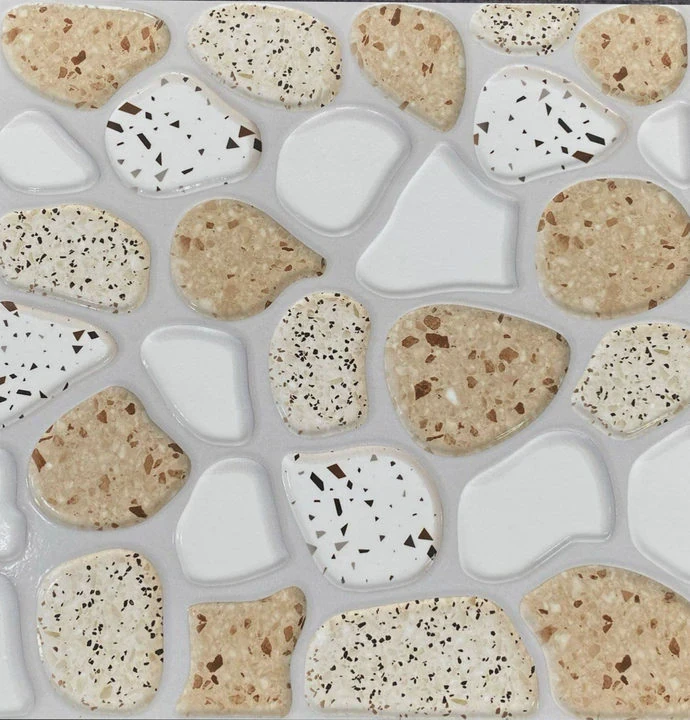
Different edge trims provide different levels of protection and style. The best choice depends on the tile type, installation area, design style, and project requirements.
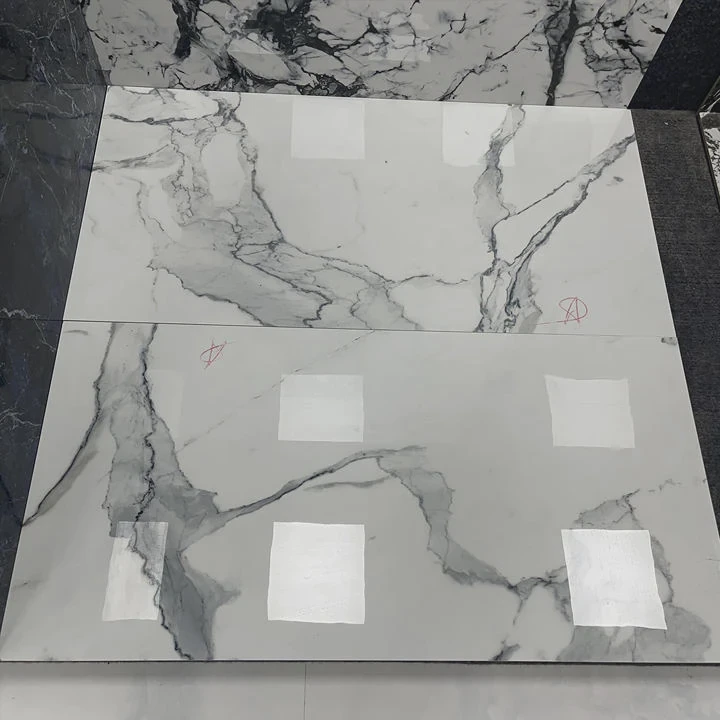
Edge tile trims come in many materials, shapes, and colors. Each type has its own advantages. Choosing the right trim is important because the trim becomes part of the final design.
Common Edge Trim Materials
Aluminum trim is one of the most popular options because it is strong, lightweight, and available in many finishes. It works well with modern tile designs and commercial projects.
PVC trim is another common choice. It is affordable and easy to cut, which makes it suitable for simple home renovation projects. However, it may not offer the same premium appearance as metal trim.
Stainless steel trim provides excellent durability. It is often used in areas that need strong protection, such as kitchens, bathrooms, and high-traffic spaces.
| Trim Material | Main Benefits | Common Uses |
|---|---|---|
| Aluminum | Lightweight, stylish, corrosion resistant | Modern homes and commercial spaces |
| PVC | Low cost, easy installation | DIY projects and temporary designs |
| Stainless steel | Strong and long lasting | Kitchens, bathrooms, high-use areas |
| Brass | Decorative and unique appearance | Luxury interior designs |
Different Trim Shapes Serve Different Purposes
Besides materials, edge trims also have different shapes. L-shaped trims protect straight tile edges. Round trims create softer transitions. Square trims provide a modern and sharp appearance.
The choice depends on the style of the project. A minimalist room may look better with a simple metal trim. A traditional space may need a decorative edge solution.
Matching Trim With Tile Thickness
Tile thickness is another important factor. The trim height should match the tile thickness. If the trim is too low, the tile edge may remain exposed. If it is too high, the surface may look uneven.
Before buying trim, I recommend checking the exact tile thickness. This small step prevents installation problems later.
Choosing edge trim is not only a technical decision. It is also a design decision. The right trim can make the tile layout look more complete and professional.
How Do You Cut Trim Pieces Accurately?
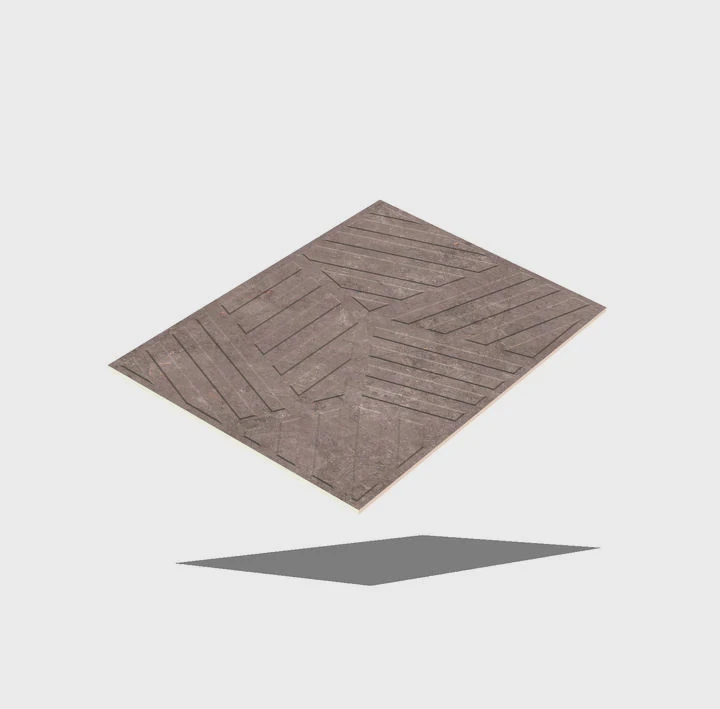
Accurate cutting helps tile trim fit perfectly around corners and edges. Careful measurement and the correct tools create cleaner results.
Cutting edge trim requires patience because small mistakes can create visible gaps. Unlike tile surfaces, trim pieces often sit directly on the border, so inaccurate cuts are easy to notice.
Measure Before Cutting
The first step is always measurement. I usually measure the installation area twice before making any cuts. A small measurement error can waste material and create alignment issues.
The installer should mark the cutting line clearly. A pencil or marker can help create a visible guide.
Use the Correct Cutting Tools
Different trim materials need different tools. PVC trim can often be cut with simple hand tools, while metal trims may require specialized cutting equipment.
The cutting method should match the material.
| Trim Type | Recommended Cutting Method |
|---|---|
| PVC trim | Utility knife or fine saw |
| Aluminum trim | Metal cutting saw or angle grinder |
| Stainless steel trim | Professional metal cutting tools |
| Decorative trim | Careful precision cutting |
Creating Clean Corners
Corners are usually the most difficult part of trim installation. Poor corner cuts can make the entire project look uneven.
For outside corners, installers often cut trim pieces at a 45-degree angle. This creates a smoother connection. Inside corners may require careful adjustment depending on the tile layout.
After cutting, the edges should be checked before installation. A test placement can show whether adjustments are needed.
Avoid Common Cutting Mistakes
Many problems happen because installers rush this stage. Common mistakes include cutting pieces too short, damaging the finish, or ignoring tile thickness.
A good process is simple:
- Measure the area.
- Mark the trim.
- Cut slowly.
- Test the fit.
- Install after confirming alignment.
The cutting process may take extra time, but it reduces waste and improves the final appearance. In tile projects, accuracy often matters more than speed.
Why Is Trim Important for Tile Finishing?

Tile trim improves both protection and appearance. It covers exposed edges, reduces damage risks, and creates a cleaner transition between surfaces.

Many people think tile trim is only a decorative accessory. However, trim has several practical functions that improve the quality of a tile installation.
Trim Protects Tile Edges
Tile edges can be vulnerable, especially ceramic and porcelain tiles with exposed sides. Daily impact can cause chips and cracks.
Trim creates a protective barrier around these areas. This is especially useful on countertops, wall corners, shower areas, and open edges.
Trim Creates a Professional Appearance
A tile surface without proper edge finishing may look incomplete. The exposed tile edge may have a different texture or color from the tile surface.
Trim creates a smooth transition. It helps the project look more organized and professionally completed.
Trim Improves Safety
Sharp tile edges can create safety concerns. This is especially important in homes with children, elderly people, or busy commercial areas.
Rounded or designed trims can reduce sharp corners and create safer surfaces.
Trim Helps With Design Control
Trim also gives designers more options. Different colors and finishes can create contrast or match the overall style.
| Function | Benefit |
|---|---|
| Edge protection | Reduces chips and damage |
| Visual improvement | Creates clean finishing lines |
| Safety improvement | Reduces sharp exposed edges |
| Design flexibility | Adds decorative options |
In my experience, good finishing details often separate average tile work from high-quality tile work. The main tile may attract attention, but the edges influence the overall feeling of the space.
A well-installed trim shows attention to detail. It helps the tile installation stay attractive and functional for many years.
Can Trim Be Installed After Tiling?
Tile trim can sometimes be installed after tiling, but the best results usually come from installing trim during the tile installation process. The timing depends on the project condition and trim type.
Many homeowners ask whether they can add trim after finishing their tile work. The answer is yes in some situations, but it is not always the easiest option.
Installing Trim During Tiling
The ideal method is installing trim before placing the final tiles. The trim sits under the tile edge and creates a strong connection.
This method provides better support and a cleaner transition. It also allows the installer to control the exact position of the trim.
Installing Trim After Tiling
Adding trim after tiling is possible when the tile edges are already finished but need extra protection or decoration.
However, the installer needs to choose a trim designed for surface installation. Some trims include adhesive backing or special profiles for this purpose.
The surface must also be clean and stable. Dust, grease, or damaged areas can reduce bonding strength.
Situations Where Post-Installation Trim Makes Sense
Installing trim later may be useful in several cases:
- The original tile edge looks unfinished.
- The homeowner wants a design update.
- Existing edges need extra protection.
- The original trim was damaged.
However, adding trim after tiling may slightly change the surface appearance. The new trim may not perfectly match the original installation.
Planning Creates Better Results
The best approach is planning trim before starting the tile project. This allows the installer to choose the correct material, size, and installation method.
A complete tile plan should include:
- Tile thickness
- Trim style
- Corner details
- Installation location
- Maintenance needs
Good planning reduces mistakes and creates a more professional result. While post-installation trim can solve some problems, early planning usually creates the strongest and cleanest finish.
Conclusion
Installing edge tile trim requires the right material, accurate cutting, and careful planning. Trim protects tile edges and improves appearance. A well-finished edge creates a stronger and more professional tile project.





