How To Tile A Countertop?
- Sinotiles
- 2026-08-03
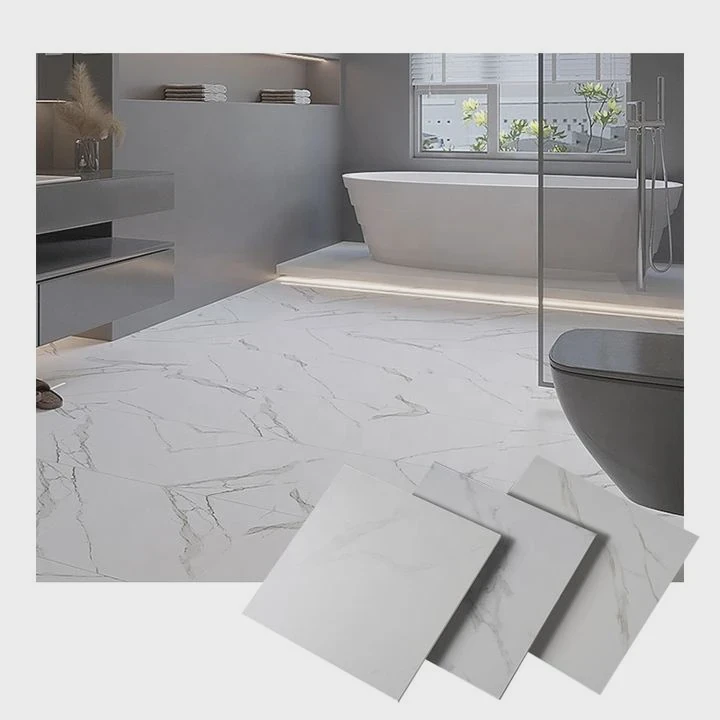
A countertop can change the entire look of a kitchen or bathroom. However, replacing a countertop with expensive materials can require a large budget and professional installation.
I can tile a countertop by preparing the surface correctly, choosing suitable materials, installing tiles with even spacing, and protecting the finished surface with proper sealing.
Tiling a countertop is a practical option for many renovation projects. It allows me to create different designs, choose various colors, and control the overall cost. However, countertops have special requirements because they receive daily pressure from cooking, cleaning, heat, and moisture.
What preparation is required for tiling countertops?
Good preparation creates the foundation for a successful countertop tile installation. Many tile problems happen because the surface is not ready before the first tile is placed.
Preparing a countertop for tile requires a strong and level base, proper cleaning, accurate measurements, and suitable support materials that can hold the tile system.

A countertop is different from a wall because it supports weight and receives regular use. The surface needs to stay stable because movement can cause tile cracks or grout failure.
Check the countertop structure first
Before installing tile, I inspect the existing countertop base. The surface must be strong enough to support additional weight.
Common countertop bases include:
| Countertop Base | Suitability for Tile |
|---|---|
| Cement board | Excellent choice |
| Plywood with tile backer | Common option |
| Existing laminate | Requires extra preparation |
| Damaged wood | Needs repair first |
A weak or flexible surface can create problems later. Even high-quality tiles may crack if the base moves.
Prepare the surface step by step
A proper preparation process usually includes:
- Remove dirt, grease, and old residue.
- Repair cracks or damaged areas.
- Check that the surface is flat.
- Install a suitable tile backer if needed.
- Measure the countertop area.
- Plan tile placement before installation.
Planning the layout before applying adhesive helps reduce cutting mistakes. It also allows me to create a balanced design.
Measure before installing tiles
Accurate measurements are important because countertops often have visible edges. Small mistakes can become obvious after installation.
I usually measure:
| Measurement | Purpose |
|---|---|
| Countertop length | Calculate tile quantity |
| Countertop depth | Plan tile arrangement |
| Edge thickness | Select edge treatment |
| Sink opening | Avoid cutting errors |
I also recommend buying extra tiles. Some pieces may break during cutting, and having additional tiles helps keep the design consistent.
Consider countertop design
Tile countertops offer many design options. I can choose:
- Large format tiles for fewer grout lines
- Small tiles for detailed patterns
- Porcelain tiles for durability
- Ceramic tiles for budget-friendly projects
The design choice affects both appearance and maintenance. More grout lines usually mean more cleaning work.
How do you ensure even spacing on countertop tiles?
Even spacing creates a professional appearance. Uneven grout lines can make the entire countertop look poorly installed, even when the tiles themselves are high quality.
I can ensure even spacing on countertop tiles by using tile spacers, planning the layout carefully, and checking alignment throughout the installation process.
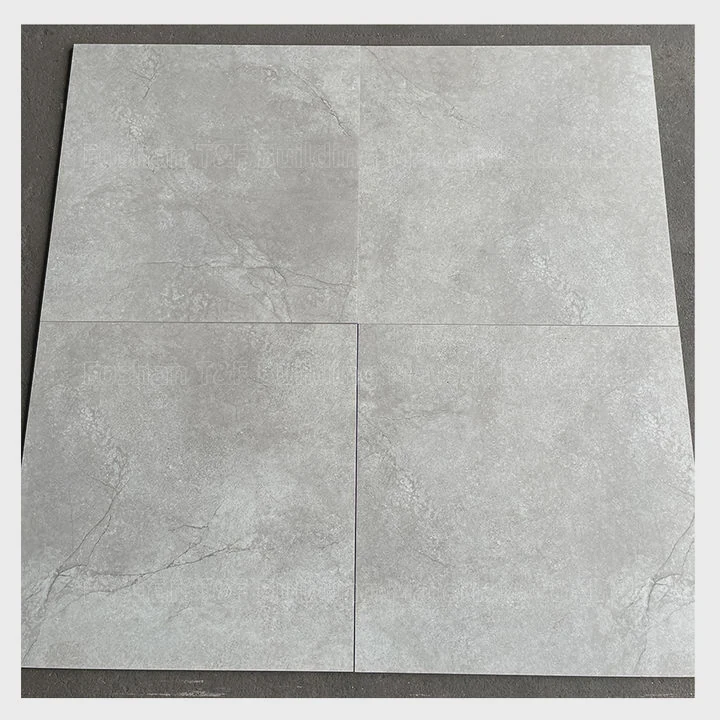
Tile spacing is not only about appearance. Proper gaps allow grout to fill the space between tiles and help the surface handle small movements.
Use the correct tile spacers
Tile spacers are simple tools that create consistent gaps.
| Spacer Size | Common Use |
|---|---|
| 1⁄16 inch | Minimal grout lines |
| 1⁄8 inch | Common countertop spacing |
| 3⁄16 inch | Larger tile designs |
| 1⁄4 inch | Rustic or decorative styles |
The best spacer size depends on tile size, design preference, and grout type.
Plan the tile layout first
Before applying adhesive, I place tiles temporarily to understand the final pattern.
This helps me check:
- Where cuts will be needed
- How edge tiles will look
- Whether the pattern is balanced
- Where grout lines will appear
A good layout reduces narrow tile pieces at the edges. Small pieces can make the countertop look uneven.
Keep tiles level during installation
Spacing is only one part of a professional finish. Tiles should also stay at the same height.
Useful methods include:
- Using a level tool
- Applying consistent adhesive thickness
- Adjusting tiles before the adhesive sets
- Using tile leveling systems for larger tiles
Large tiles are especially sensitive because small height differences can create visible edges.
Common spacing mistakes
| Mistake | Result |
|---|---|
| Installing without spacers | Uneven grout lines |
| Moving tiles after adhesive sets | Weak bonding |
| Ignoring layout planning | Poor visual balance |
| Using different spacer sizes | Inconsistent appearance |
Taking extra time during installation usually creates better results than rushing through the process.
Which adhesives are best for countertop tile installation?
The adhesive choice affects how well the tile stays attached. Countertops experience more stress than many wall applications, so the adhesive must provide strong support.
The best adhesives for countertop tile installation are thin-set mortar, modified thin-set, and products specifically designed for tile surfaces and high-use areas.
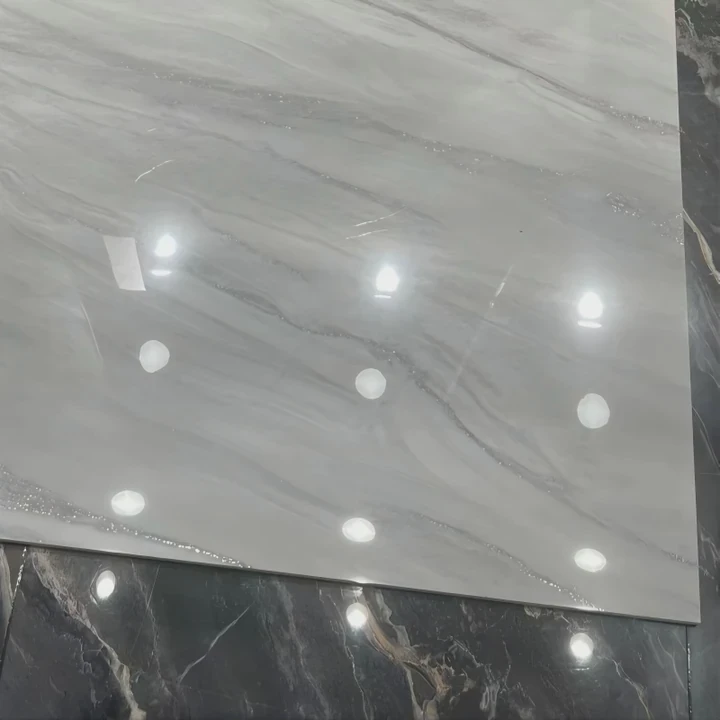
The correct adhesive depends on the tile material, countertop base, and environment. Kitchen countertops usually need stronger products because they face moisture, heat, and frequent cleaning.
Common adhesive options
| Adhesive Type | Advantages | Suitable Use |
|---|---|---|
| Modified thin-set mortar | Strong bond and flexibility | Most countertop projects |
| Standard thin-set | Reliable and affordable | Stable surfaces |
| Epoxy adhesive | Very strong and water resistant | Specialty applications |
| Ready-mixed adhesive | Convenient but limited | Light-duty projects |
Modified thin-set is often a good choice because it provides better bonding strength and flexibility compared with basic mortar.
Why adhesive quality matters
A countertop is not only decorative. It supports:
- Kitchen tools
- Food preparation
- Appliances
- Daily cleaning
Poor adhesive selection can lead to:
- Loose tiles
- Cracked grout
- Tile movement
- Water penetration
Apply adhesive correctly
Even the best adhesive will fail if it is installed incorrectly.
I should:
- Mix the product according to instructions.
- Spread adhesive evenly.
- Use the correct trowel size.
- Avoid covering too large an area at once.
- Press tiles firmly into place.
The adhesive needs good contact with both the tile and countertop surface.
Avoid using the wrong products
Some adhesives are not suitable for countertop tile.
I should avoid:
- General construction glue
- Weak indoor adhesives
- Products not designed for tile
A countertop needs a proper tile installation system. Every layer works together to create a durable surface.
Should countertop tiles be sealed after installation?
Sealing is an important final step for many countertop tile projects. It helps protect grout and certain tile surfaces from stains and moisture.
Countertop tiles should usually be sealed after installation, especially when the tile or grout can absorb liquids and the surface will face daily kitchen use.

Not every tile requires the same level of protection. Porcelain tile may have low water absorption, while natural stone and grout usually need more protection.
Why sealing helps
A quality sealer can provide:
| Benefit | Explanation |
|---|---|
| Stain protection | Reduces absorption of liquids |
| Easier cleaning | Prevents dirt from entering grout |
| Moisture resistance | Helps protect grout lines |
| Longer appearance | Maintains surface quality |
Kitchen countertops are exposed to coffee, oil, sauces, and water. Sealing helps reduce the impact of these materials.
What areas need sealing?
The tile type determines the sealing requirement.
| Material | Need for Sealer |
|---|---|
| Porcelain tile | Often optional |
| Ceramic tile | Depends on surface finish |
| Natural stone tile | Usually required |
| Cement grout | Usually required |
Even when the tile itself does not need sealing, the grout usually benefits from protection.
When should I apply sealer?
I should wait until:
- Adhesive is fully cured
- Grout has dried completely
- The surface is clean
Applying sealer too early can affect the final result.
Maintaining a sealed tile countertop
After sealing, proper care still matters.
I should:
- Clean spills quickly
- Avoid harsh chemicals
- Use gentle cleaning tools
- Reapply sealer when needed
Sealing does not make the countertop maintenance-free. It simply adds another layer of protection.
A well-installed and properly sealed tile countertop can provide years of reliable performance while adding unique style to a kitchen or bathroom.
Conclusion
Tiling a countertop requires careful preparation, accurate spacing, strong adhesive, and proper sealing. With the right steps, I can create a durable and attractive countertop surface.