How to Tile a Kitchen Floor?
- Sinotiles
- 2026-06-09
Many kitchen floors fail too early because small installation mistakes turn into costly repairs. Poor planning can lead to cracks, loose tiles, and uneven surfaces.
To tile a kitchen floor successfully, the key steps are choosing the right layout, preparing a stable subfloor, using correct tile spacing, and selecting durable materials that can handle daily kitchen traffic, spills, and wear.
A kitchen floor faces constant pressure every day. People walk across it, move chairs, drop items, and clean it regularly. Because of this, every stage of the tiling process matters. The layout affects appearance and movement. The subfloor supports the entire installation. Tile spacing helps prevent future problems. Material selection determines how long the floor will last. Understanding each step can help create a floor that looks good and performs well for many years.
What Layout Works Best for Kitchen Traffic?
Heavy kitchen traffic can quickly reveal flaws in a poor tile layout. Uneven patterns and badly placed cuts often make a floor look smaller and less organized.
The best kitchen tile layout usually balances appearance and movement flow. Straight lay, brick pattern, and large-format layouts are common choices because they guide traffic naturally and reduce visual clutter.
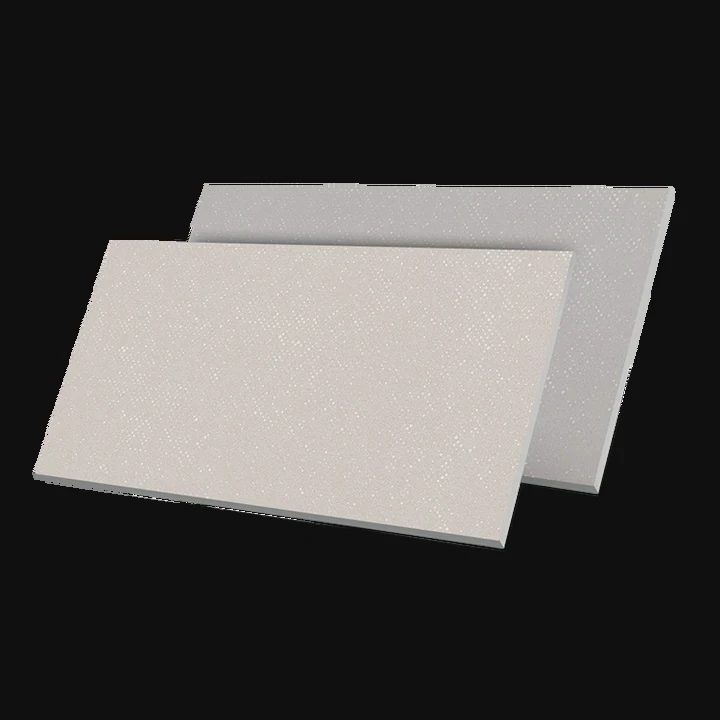
Kitchen traffic patterns should influence layout decisions from the beginning. Many people focus only on design, but movement is just as important. A layout that looks beautiful in a showroom may not work well in a busy kitchen.
Understanding Traffic Flow
Most kitchens have clear walking paths. People often move between the refrigerator, sink, and stove. This area is commonly called the work triangle. Tile lines should support this movement rather than fight against it.
When planning a floor, I usually start by identifying the busiest walking routes. This helps determine where full tiles should be placed and where cuts can be hidden.
Common Kitchen Tile Layouts
| Layout Type | Advantages | Best Use |
|---|---|---|
| Straight Lay | Easy installation, clean appearance | Modern kitchens |
| Brick Pattern | Hides imperfections well | Family kitchens |
| Diagonal Layout | Makes rooms feel larger | Small kitchens |
| Large Format Layout | Fewer grout lines | Open-plan spaces |
Straight lay remains one of the most practical options. It creates clean visual lines and allows furniture and cabinets to align naturally with the tile pattern.
Brick patterns add movement and can hide slight variations in tile dimensions. This makes them useful for larger family kitchens where durability matters.
Large Tiles and Traffic
Large-format tiles have become popular because they reduce grout joints. Fewer grout lines often mean easier cleaning and a more seamless appearance.
A kitchen with large tiles often feels more open. This is especially useful in apartments or compact homes where visual space matters.
Placement Matters
The center of the room usually deserves full tiles whenever possible. Small tile cuts near major entrances can make the installation look unbalanced.
I have seen projects where installers started from a wall instead of the center. The result was a row of tiny tile pieces at the opposite side of the room. Proper planning could have avoided that issue.
A good layout combines visual balance, practical installation, and comfortable movement. The goal is not only to create a beautiful floor but also to support daily kitchen activities.
How Should Subfloor Be Prepared Properly?
Many tile failures begin beneath the surface. Even the highest-quality tile cannot compensate for a weak or uneven subfloor.
Proper subfloor preparation includes cleaning, leveling, repairing damage, checking structural stability, and installing suitable underlayment before any tile is placed.
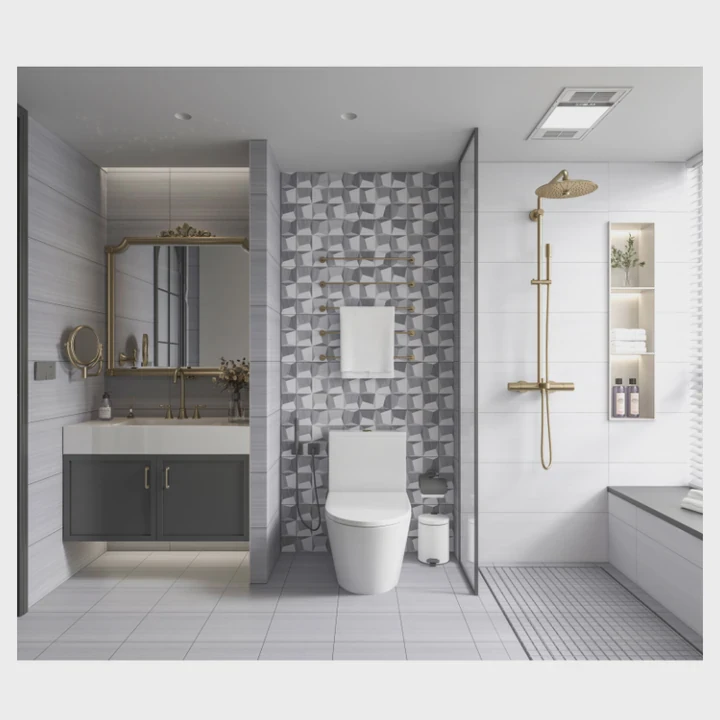
Subfloor preparation is often the least visible part of a tile project, but it may be the most important. Every tile relies on the surface beneath it for support.
Why Subfloors Matter
Tiles are strong under compression, but they are not flexible. If the subfloor moves excessively, tiles can crack and grout joints can fail.
Many installers spend hours selecting tiles but rush through subfloor preparation. This often leads to expensive repairs later.
Inspection Before Installation
The first step is checking the existing floor structure. Look for:
- Water damage
- Loose boards
- Uneven sections
- Structural movement
- Existing cracks
Any issue found at this stage should be corrected before installation continues.
Essential Preparation Steps
| Preparation Task | Purpose |
|---|---|
| Cleaning Surface | Removes dust and contaminants |
| Leveling Floor | Prevents uneven tile placement |
| Repairing Damage | Eliminates weak spots |
| Installing Underlayment | Improves stability |
| Moisture Testing | Prevents future failures |
Leveling the Surface
A flat floor is critical. Even small variations can create lippage, where one tile edge sits higher than another.
Large-format tiles are especially sensitive to uneven surfaces. Many manufacturers specify strict flatness requirements because bigger tiles reveal imperfections more easily.
Choosing the Right Underlayment
Different kitchens require different underlayment solutions.
Cement Backer Board
This remains a common choice for many residential kitchens. It provides a stable base and resists moisture.
Uncoupling Membranes
These systems help absorb minor movement from the structure below. They can reduce stress on tile installations.
Self-Leveling Compounds
These products help correct low spots before tile installation begins.
Moisture Control
Kitchens experience regular exposure to water. Small leaks around sinks, dishwashers, or refrigerators can affect the floor over time.
Testing moisture levels helps identify hidden problems before installation starts. Ignoring moisture issues can result in loose tiles, mold growth, or damaged grout.
Long-Term Benefits
Good preparation rarely receives attention after installation because it remains hidden. Yet it directly affects durability.
Many successful commercial and residential tile projects share one thing in common: careful preparation. The visible tile may receive the praise, but the subfloor does most of the hard work behind the scenes.
Why Is Tile Spacing Crucial in Kitchens?
Tiles that are placed too closely together often develop stress issues over time. Improper spacing can lead to cracked grout, uneven surfaces, and maintenance challenges.
Tile spacing is crucial because it allows for grout placement, accommodates slight tile size variations, improves appearance, and helps the floor withstand daily movement and temperature changes.

Many people assume grout joints exist only for decoration. In reality, spacing serves several technical functions that contribute to the success of the installation.
Accommodating Tile Variations
Even high-quality tiles may have slight size differences. These variations are often very small, but they become noticeable across large floor areas.
Proper spacing helps absorb these differences and maintain consistent alignment.
Supporting Structural Movement
Buildings naturally expand and contract due to temperature and humidity changes.
Kitchen floors experience:
- Heat from cooking appliances
- Moisture from cleaning
- Seasonal environmental changes
- Daily foot traffic
Grout joints provide small buffer zones that help absorb these movements.
Choosing the Right Joint Width
The ideal spacing depends on several factors.
Rectified Tiles
Rectified tiles have precisely cut edges. They often allow narrower grout joints and create a more modern appearance.
Traditional Tiles
Non-rectified tiles usually require slightly wider spacing to compensate for manufacturing variations.
Common Spacing Guidelines
Many installations use grout joints between 2mm and 5mm. The final choice depends on tile size, edge quality, and design goals.
A very narrow joint may look attractive, but it leaves less room for adjustment during installation.
Visual Impact
Spacing affects how the floor appears after installation.
Narrow joints create a seamless look. Wider joints emphasize individual tile shapes and patterns.
The design style of the kitchen should influence this decision. Modern kitchens often favor tighter joints, while rustic designs may benefit from wider spacing.
Grout Performance
Proper spacing improves grout performance. Grout fills the gaps and helps protect edges from damage.
Without adequate space, grout may not bond correctly. This can lead to premature cracking or separation.
Installation Accuracy
Tile spacers help maintain consistency throughout the project.
Even experienced installers use spacers because visual judgment alone can become unreliable across large areas.
I have noticed that consistent spacing often separates professional-looking installations from amateur projects. Small variations may seem harmless during installation, but they become highly visible once the floor is complete.
Good spacing improves durability, appearance, and long-term performance. It is one of the simplest steps in the installation process, yet it has a major impact on the final result.
Which Materials Handle Spills and Wear Best?
Kitchen floors face constant exposure to water, food, dirt, dropped utensils, and heavy foot traffic. Choosing the wrong material can lead to early replacement and ongoing maintenance problems.
Porcelain tile is generally the best material for kitchen floors because it offers excellent durability, low water absorption, stain resistance, and long-term performance under heavy use.

Material selection influences both appearance and maintenance requirements. A beautiful floor is valuable, but durability becomes even more important in busy kitchens.
Key Performance Factors
Kitchen flooring materials should perform well in several areas:
- Water resistance
- Stain resistance
- Wear resistance
- Impact resistance
- Ease of cleaning
A material that performs poorly in any of these categories may struggle in a demanding kitchen environment.
Porcelain Tile
Porcelain remains one of the strongest choices available.
Because of its low water absorption rate, porcelain handles spills effectively. Coffee, juice, cooking oils, and water are less likely to penetrate the surface.
Porcelain also performs well in both residential and commercial settings.
Glazed Porcelain Tile
Glazed porcelain adds another layer of protection. The surface helps resist stains and simplifies cleaning.
Many homeowners prefer glazed finishes because they combine durability with a wide range of designs.
Polished Tile
Polished surfaces create a luxurious appearance. They reflect light well and can make kitchens feel larger.
However, highly polished surfaces may become slippery when wet. Slip resistance should always be considered when selecting finishes.
Rustic and Textured Tiles
Textured surfaces provide additional grip. These products are often chosen for family kitchens or commercial food preparation areas.
The trade-off is that textured surfaces may require more cleaning effort.
Comparing Popular Kitchen Tile Materials
| Material | Water Resistance | Durability | Maintenance |
|---|---|---|---|
| Porcelain Tile | Excellent | Excellent | Low |
| Glazed Tile | Very Good | Very Good | Low |
| Ceramic Tile | Good | Good | Moderate |
| Natural Stone | Moderate | Good | Higher |
| Mosaic Tile | Good | Good | Moderate |
Commercial and Residential Considerations
Large commercial kitchens often prioritize durability above all else. Residential kitchens usually require a balance between performance and design.
Many modern porcelain collections now imitate natural stone, concrete, marble, and wood. This allows designers to achieve almost any appearance without sacrificing performance.
Long-Term Value
A kitchen floor is a long-term investment. Replacing a failed floor can be expensive and disruptive.
For this reason, many builders, contractors, and distributors continue to favor porcelain products for kitchen applications. The combination of durability, appearance, and ease of maintenance makes them suitable for a wide range of projects.
Material selection should always match the intended use of the space. A lightly used kitchen may have different needs than a busy family home or a commercial environment. The best choice is the one that balances performance, appearance, maintenance, and budget over the entire life of the floor.
Conclusion
A successful kitchen tile installation depends on more than the tile itself. The right layout improves traffic flow, a strong subfloor provides support, proper spacing protects performance, and durable materials ensure long-term value. When these elements work together, the kitchen floor can remain attractive and reliable for many years.