How to Tile a Kitchen?
- Sinotiles
- 2026-06-11
Many homeowners struggle with messy, uneven kitchen floors. Mistakes during preparation or installation can ruin the entire space. Planning is the key.
Tiling a kitchen requires careful preparation, accurate measurements, proper adhesive use, and correct tile placement to ensure a long-lasting and visually appealing result.
With the right steps, even a first-time DIYer can achieve a professional-looking finish. The process involves preparation, layout planning, choosing the right materials, and careful installation.
What Preparation Is Required Before Kitchen Tiling?
Preparation is the most critical step. Skipping it often causes uneven tiles, adhesive failure, or damage to the subfloor.
Before tiling, clean the kitchen floor, repair damage, remove old flooring if needed, level the surface, and gather all tools and materials for a smooth installation.
Cleaning and Removing Old Flooring
A clean and stable surface is essential.
- Sweep or vacuum debris
- Remove grease and dirt
- Take out old flooring if it is damaged, loose, or not compatible
Subfloor Inspection and Repair
Check for cracks, holes, or uneven areas.
- Concrete floors: Fill cracks and level low spots
- Wooden floors: Ensure rigidity, repair squeaks, and add backer boards if needed
Leveling the Surface
A flat surface prevents lippage (uneven tile edges) and adhesive failure.
- Use self-leveling compound for minor dips
- Sand or plane high spots
Moisture and Priming
- Test for moisture if installing on concrete
- Use primer or bonding agent for smooth surfaces like vinyl or old tiles
Gathering Tools and Materials
Essential items include:
| Tool/Material | Purpose |
|---|---|
| Tile adhesive | Bonding tiles to floor/wall |
| Tile spacers | Maintain even grout lines |
| Level | Ensure flat, even surface |
| Tile cutter or wet saw | Cut tiles to size |
| Trowel | Spread adhesive |
| Grout | Fill gaps between tiles |
| Sponge & bucket | Clean excess grout |
Proper preparation reduces mistakes and speeds up the installation process.
How Do You Lay Tiles Evenly in Kitchens?
Even tile placement makes a kitchen look professional. Uneven tiles cause trips and visual imperfections.
Lay tiles evenly by measuring and marking reference lines, using spacers, checking alignment regularly, and adjusting tiles as you go to ensure consistent gaps and level surfaces.
Step-by-Step Layout Planning
- Measure the room width and length.
- Find the center point of the floor.
- Draw perpendicular reference lines using a chalk line or laser level.
- Start tiling from the center or a visible focal wall to minimize small cuts at edges.
Using Spacers for Consistent Gaps
Tile spacers maintain even grout lines, improving both appearance and structural integrity.
- Common sizes: 1⁄8”, 3⁄16”, 1⁄4”
- Place a spacer between each tile during installation
- Remove spacers before grout dries
Checking for Level
Use a spirit level frequently:
- Check horizontal and vertical alignment
- Tap tiles gently to adjust height
- Correct any lippage immediately
Cutting and Fitting Tiles
Some areas need custom cuts:
- Around cabinets and appliances
- Near walls and corners
- Around pipes or vents
Mark cuts carefully and use the appropriate cutter to avoid chipping.
Dry Layout Tip
Lay out tiles without adhesive first to see how edges and patterns align. This step prevents awkward narrow cuts at walls.
Grouting After Tiles Set
- Wait 24 hours after adhesive dries
- Remove spacers
- Apply grout evenly using a rubber float
- Wipe excess grout with a damp sponge
- Seal grout if required for durability and stain resistance
Which Tile Types Suit Kitchen Floors Best?
Kitchen floors endure high traffic, spills, and moisture. Choosing the right tile type ensures durability and ease of maintenance.
The best kitchen floor tiles are durable, water-resistant, easy to clean, and slip-resistant, with porcelain, ceramic, and vinyl being the most popular choices.
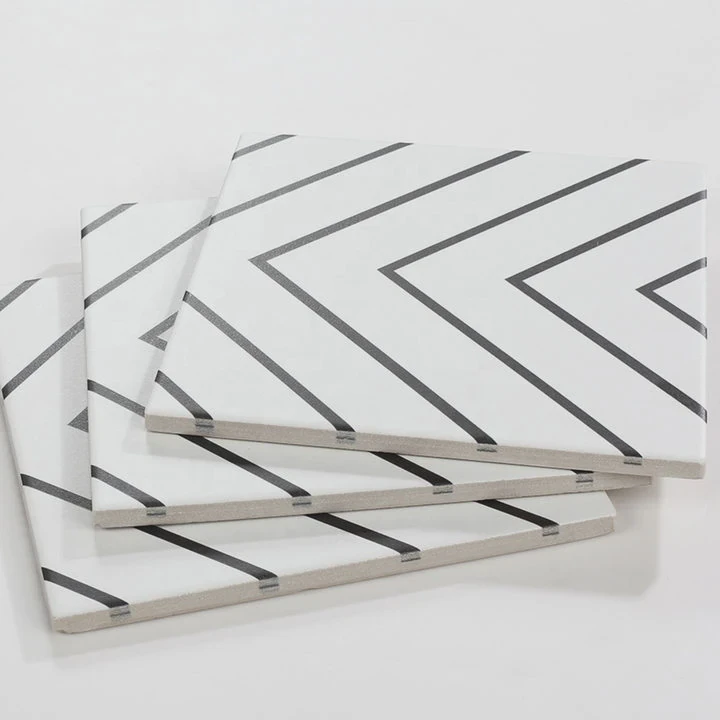
Tile Type Comparison
| Tile Type | Advantages | Considerations |
|---|---|---|
| Porcelain | Hard, water-resistant, durable | Heavier, harder to cut |
| Ceramic | Affordable, versatile design | Less dense than porcelain, can chip |
| Vinyl | Water-resistant, softer underfoot | Can dent, may fade over time |
| Natural Stone | Elegant, durable | Expensive, needs sealing |
| Glass | Reflective, stylish | Slippery, fragile |
Porcelain is often the preferred choice for kitchens due to its combination of strength and water resistance.
Finish and Texture
- Matte or textured finishes reduce slip risk
- Gloss finishes look bright but require frequent cleaning
- Textured tiles improve traction in wet areas
Tile Size Considerations
- Smaller tiles (4”-6”) are easier to fit in tight spaces
- Medium tiles (12”-18”) balance coverage and visual scale
- Large tiles (24”+) reduce grout lines, making cleaning easier
Choosing the right size and finish ensures both safety and style in the kitchen.
Color and Style Tips
- Light colors make small kitchens appear larger
- Dark colors hide stains but can show dust
- Neutral tones offer flexibility for future decor changes
Can You Tile Over Existing Kitchen Flooring?
Tiling over old flooring can save time and money but requires careful assessment.
Yes, you can tile over existing kitchen flooring if it is stable, level, clean, and suitable for bonding new tiles, but some surfaces like vinyl or carpet may require removal.
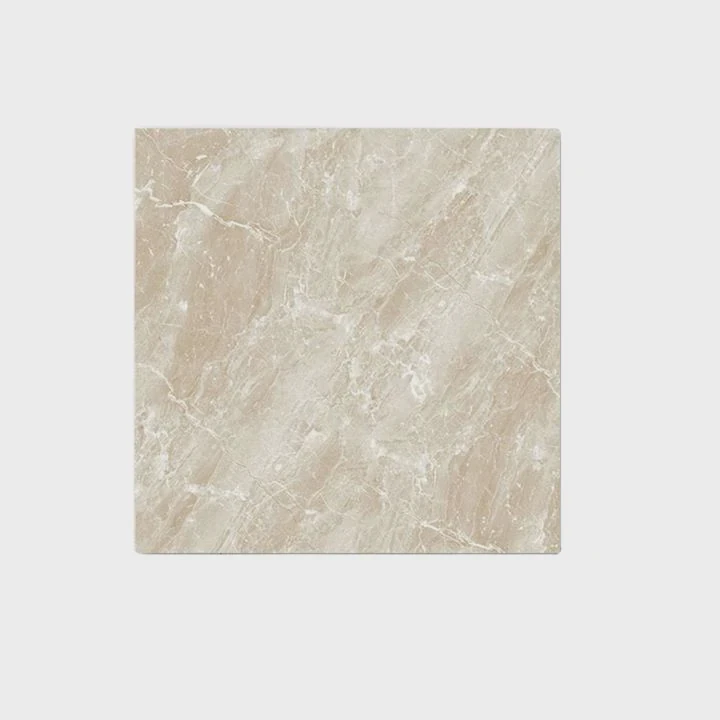
Suitable Surfaces
- Existing ceramic or porcelain tiles
- Vinyl sheets in good condition
- Plywood or concrete (with proper leveling)
Unsuitable Surfaces
- Carpet or loose flooring
- Damaged or uneven floors
- Floors with moisture issues
Preparation Steps
- Clean thoroughly to remove grease and debris
- Sand glossy surfaces to improve adhesion
- Fill gaps, cracks, or seams
- Apply primer or bonding agent if required
Advantages of Tiling Over Existing Flooring
- Saves removal labor
- Minimizes debris and dust
- Can speed up project timeline
Disadvantages
- May raise floor height, affecting doors or cabinets
- Extra weight on subfloor (especially with heavy tiles)
- Old imperfections may telegraph through if subfloor is uneven
Professional Tip
- Always test a small area first to ensure adhesive bonds properly
- Check manufacturer recommendations for both existing and new tiles
Alternative Approach
In some cases, installing a thin backer board over the old flooring ensures stability and a smooth surface for new tiles.
- Provides better adhesion
- Prevents cracking or movement
- Allows re-leveling of the floor if needed
Long-Term Considerations
Tiling over old flooring may complicate future repairs. Keeping records of the layers can help if renovation is needed later.
Conclusion
Tiling a kitchen requires careful preparation, precise layout, the right tile type, and sometimes modifying the existing floor. By cleaning, leveling, measuring, using spacers, and selecting durable tiles, you can achieve a long-lasting, safe, and stylish kitchen floor.