
How to Tile a Tub Surround?
- Sinotiles
- 2026-08-12
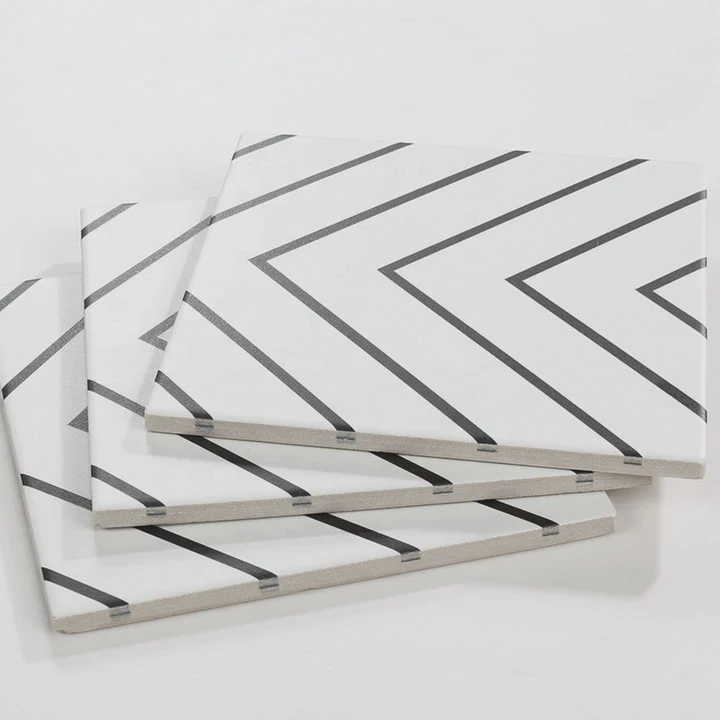
A damaged or outdated tub surround can make a bathroom look old. Water leaks, poor tile placement, and wrong materials can create expensive problems over time.
A tub surround should be tiled with careful preparation, proper waterproofing, and suitable materials. A good installation method helps create a beautiful bathroom surface that can handle daily water exposure.
A tub surround is more than a decorative wall area. It is a protective system that keeps water away from the wall structure. When I look at a tub tiling project, I always focus on both appearance and long-term performance. A beautiful tile surface needs strong support behind it.
What preparation is needed for tub tiling?
Proper preparation is the first step for a successful tub surround installation. A clean surface, accurate measurements, and the right materials help prevent future problems.
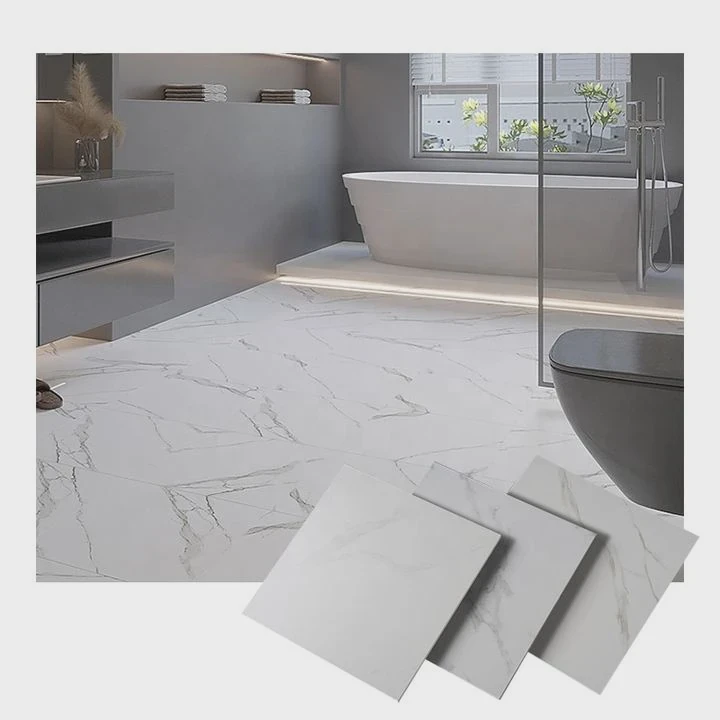
Many tile problems happen before the first tile is installed. Uneven walls, poor measurements, and weak surfaces can affect the final result. Good preparation creates a stable base and makes the installation process easier.
Before starting a tub surround project, I usually check the wall condition, moisture level, and existing structure. The surface behind the tile must be strong enough to support the tile weight. It must also resist moisture because the tub area receives water every day.
The preparation process should include several important steps.
| Preparation Step | Purpose |
|---|---|
| Measure the tub area | Create an accurate tile plan |
| Check wall condition | Find damage before installation |
| Remove old materials | Create a clean working surface |
| Install proper support | Improve tile stability |
| Plan tile layout | Create a balanced appearance |
Measure the tub surround area carefully
Accurate measurement helps avoid cutting mistakes. I always recommend measuring the height and width of each wall because many bathroom walls are not perfectly straight.
The measurement process should include:
- Wall height from tub edge to ceiling
- Wall width from corner to corner
- Space for tile cuts
- Location of plumbing fixtures
- Position of corners and edges
Small measurement mistakes can create visible problems later. For example, a poor layout can leave very narrow tile pieces at the corners. This can make the whole wall look unbalanced.
Select suitable tiles for the environment
The tub surround area has constant contact with water and humidity. Because of this, tile selection is important.
Ceramic tiles, porcelain tiles, and some natural stone tiles can work well in tub areas. Each material has different features.
| Tile Type | Benefits | Consideration |
|---|---|---|
| Porcelain tile | Strong and water resistant | Requires proper cutting tools |
| Ceramic tile | Affordable and flexible design options | Quality varies |
| Natural stone tile | Premium appearance | Needs sealing and care |
The right tile choice depends on the bathroom style, budget, and maintenance expectations.
Prepare the installation surface
The wall surface must be flat and stable. Tile cannot hide serious wall problems. If the surface moves or bends, tiles may crack or fall.
A strong foundation helps the tile installation last longer. This is why preparation should never be rushed.
How to waterproof tub surround areas?
Waterproofing a tub surround is essential because it protects the wall structure from moisture damage. A good waterproof system prevents leaks and extends the life of the tile installation.
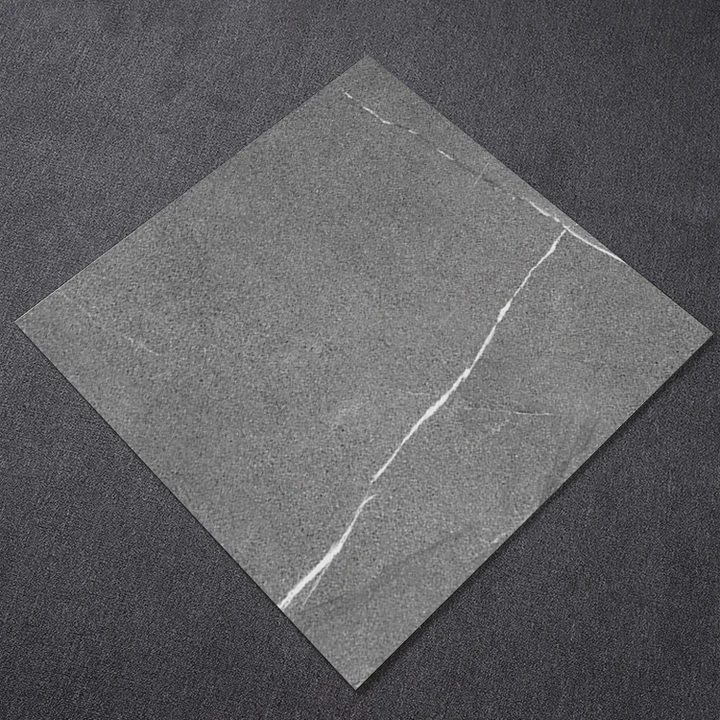
Many homeowners focus only on choosing beautiful tiles. However, waterproofing is the hidden part that protects the entire bathroom structure. A tile surface can look perfect while water slowly damages the wall behind it if waterproofing is missing.
The tub surround area receives frequent water exposure. Water can enter through grout joints, corners, and small gaps. Over time, moisture can cause mold, wall damage, and expensive repairs.
Use waterproof membranes behind tiles
A waterproof membrane creates a barrier between water and the wall structure. It helps stop moisture from moving deeper into the building.
Common waterproofing options include:
- Sheet membranes
- Liquid waterproof coatings
- Waterproof backer board systems
Each method has advantages. The most important point is that the system must be installed correctly.
Focus on corners and joints
Corners are common areas where water problems start. The connection between walls and the tub edge needs careful attention.
Important waterproofing areas include:
- Inside wall corners
- Tub-to-wall connection
- Plumbing openings
- Tile transition areas
These areas need proper sealing because they receive repeated water contact.
Test the waterproofing system
Before installing tiles, the waterproof layer should be checked. A small mistake behind the tile can become a major repair problem later.
A careful installation process saves time and money in the future.
Can tile layout affect final appearance?
Yes, tile layout can strongly affect the final appearance of a tub surround. A good layout creates balance, while poor planning can make even expensive tiles look unattractive.
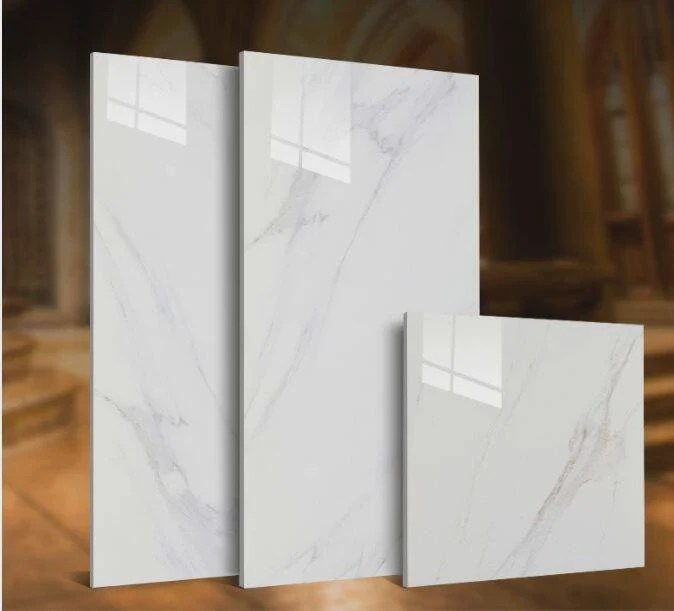
Tile layout is one of the most important design decisions in a bathroom project. The same tile can create completely different results depending on the installation pattern.
A well-planned layout makes the space look larger, cleaner, and more professional. A poor layout can create uneven lines and distracting cuts.
Choose the right tile pattern
Different patterns create different visual effects.
Common tile layouts include:
| Layout Style | Visual Effect | Suitable For |
|---|---|---|
| Straight stack | Clean and modern | Minimal bathrooms |
| Brick pattern | Classic and balanced | Most bathroom styles |
| Vertical layout | Makes walls look taller | Small bathrooms |
| Large format layout | Creates fewer joints | Modern designs |
The tile size also changes the feeling of the space. Large tiles can create a more open appearance because they reduce grout lines. Smaller tiles can add detail and texture.
Plan corner cuts before installation
Corners are one of the first things people notice. A professional layout avoids very small tile pieces at visible edges.
Before placing tiles, I recommend creating a dry layout. This means placing tiles without adhesive to check the final appearance.
This simple step helps answer important questions:
- Where will cuts appear?
- Will the pattern continue correctly?
- Are the tile lines balanced?
Consider the bathroom style
The tile layout should match the overall bathroom design. Modern bathrooms often use simple patterns and large tiles. Traditional bathrooms may use classic patterns and decorative borders.
The best layout is not always the most complicated one. A simple design with good balance often creates a stronger visual result.
Why use backer board behind tiles?
Backer board provides a strong, stable, and moisture-resistant surface behind tiles. It helps prevent tile movement and improves the durability of a tub surround.
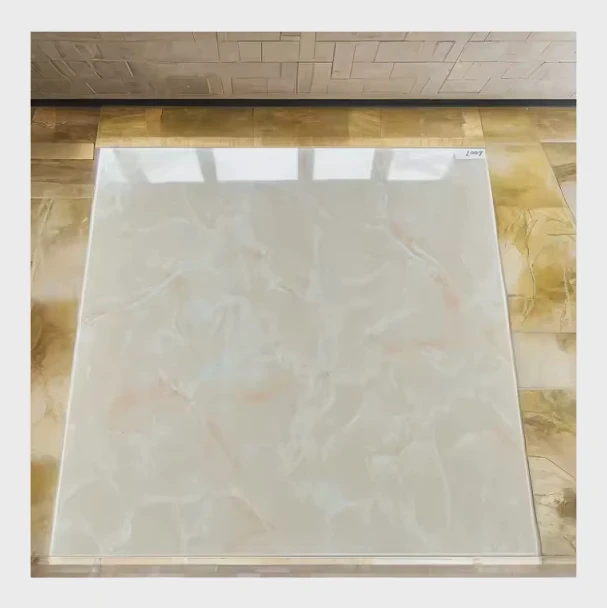
The material behind the tile is just as important as the tile itself. Tiles need strong support because they are attached to the wall surface for many years.
Regular drywall is not designed for areas with constant moisture. A tub surround needs a material that can handle humidity and water exposure.
Backer board creates tile support
Backer board gives tiles a flat and stable surface. It reduces movement that can cause cracks in tiles or grout.
Common benefits include:
- Strong tile support
- Better moisture resistance
- Improved long-term durability
- Reduced risk of tile failure
Compare common wall materials
| Material | Suitable for Tub Surround | Reason |
|---|---|---|
| Regular drywall | No | Absorbs moisture easily |
| Cement backer board | Yes | Strong and moisture resistant |
| Waterproof backer system | Yes | Provides extra protection |
Choosing the correct backing material creates a stronger installation.
Installation quality matters
Even the best backer board cannot solve poor installation. The joints must be treated correctly, and waterproofing details must be completed carefully.
A complete system includes:
- Strong wall support
- Proper waterproofing
- Correct tile adhesive
- Accurate tile placement
- Quality grout and sealing
Each step works together to create a reliable tub surround.
Think about long-term performance
A tub surround is a long-term investment. The tile surface may look simple, but many hidden layers support its performance.
When I evaluate bathroom tile projects, I always consider what happens after installation. A good tub surround should not only look attractive on the first day. It should continue performing after years of daily use.
Good materials, careful planning, and professional installation methods help create a bathroom space that is both practical and beautiful.
Conclusion
A successful tub surround tile project requires preparation, waterproofing, proper layout, and strong backer board support. These steps help create a durable and attractive bathroom surface that lasts for many years.





