
How to use tile spacers?
- Sinotiles
- 2026-08-11
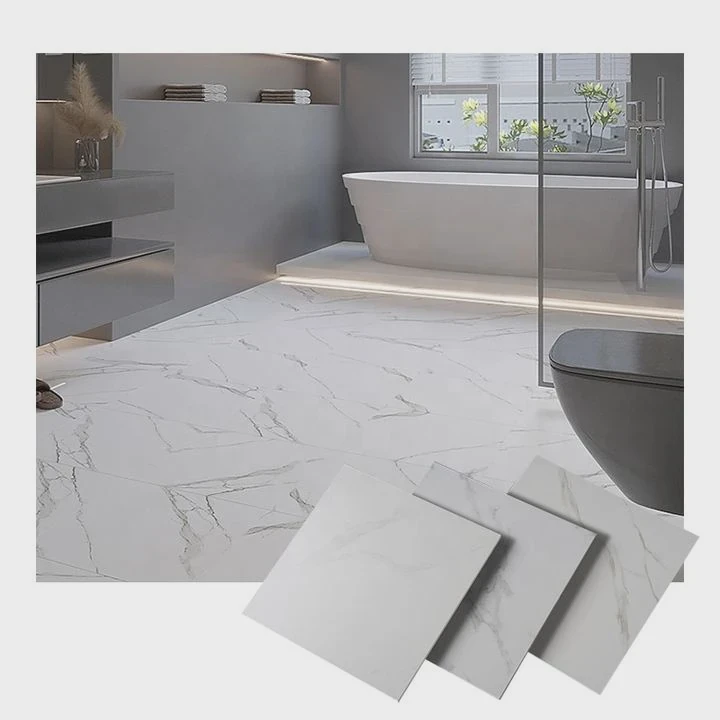
Uneven tile gaps can make a beautiful surface look messy. Many tile projects fail because small spacing mistakes create visible problems after installation.
Tile spacers help create equal gaps between tiles during installation. They improve alignment, support better grout lines, and help create a clean and professional tile surface.
When installing ceramic tiles, porcelain tiles, or stone tiles, small details can affect the final result. Tile spacers are simple tools, but they play an important role in controlling tile distance and keeping the layout balanced.
Many beginners focus only on tile selection and adhesive quality. However, spacing between tiles also affects appearance, durability, and maintenance. Choosing the correct spacer size and using it correctly can make the whole project more successful.
What size spacers are best for tiles?
The best tile spacer size depends on tile size, design style, installation location, and grout line preference. Different projects require different spacing solutions.
The most common tile spacer sizes are 2mm, 3mm, 5mm, and 10mm. Small spacers create narrow grout lines, while larger spacers create stronger visual separation between tiles.
Choosing a tile spacer is not only about selecting a number. The spacer size should match the tile design and the purpose of the space.
Small tiles often use smaller spacers because narrow gaps create a smooth and continuous appearance. Large format tiles may need larger spacers because they require better alignment control.
Common tile spacer sizes
| Spacer size | Common usage |
|---|---|
| 1-2mm | Modern designs with narrow grout lines |
| 3mm | Residential walls and floors |
| 5mm | Standard floor tile installation |
| 8-10mm | Outdoor areas and traditional tile designs |
For example, bathroom wall tiles often use smaller gaps because homeowners usually want a clean and simple appearance. A kitchen backsplash may also use narrow grout lines to create a modern style.
Floor tiles usually need slightly larger gaps. Floors experience more movement because people walk on them and buildings naturally expand and contract. A suitable grout joint can help reduce stress between tiles.
Large porcelain tiles and slabs also need careful planning. Although large tiles create fewer visible joints, small installation errors can become more noticeable. A proper spacer helps maintain straight lines across a large surface.
Factors that affect spacer selection
Several factors should be considered before choosing tile spacers:
- Tile size
- Tile shape accuracy
- Installation location
- Expected movement
- Design preference
- Grout color
Tiles with very accurate edges can use smaller gaps. However, handmade tiles or tiles with natural variations may need wider joints to create a balanced appearance.
The tile material also matters. Ceramic tiles, porcelain tiles, and natural stone products may have different installation requirements. A professional installer usually checks the tile quality before deciding on the spacer size.
For commercial projects, spacer selection becomes even more important. Large areas such as hotels, shopping centers, and office buildings require consistent spacing across thousands of tiles. A small mistake can create an uneven final surface.
How to place spacers correctly?
Correct spacer placement helps tiles stay aligned during installation. The process is simple, but careful handling creates better results.
Tile spacers should be placed between tile edges while the adhesive is still workable. They should keep equal distance between tiles without pushing the tiles out of position.
Using tile spacers correctly requires attention during every installation step. A spacer only works well when the tiles underneath are already positioned properly.
Basic steps for placing tile spacers
The first step is preparing the tile surface. The wall or floor should be clean, flat, and ready for tile adhesive. Uneven surfaces can create problems even when spacers are used.
After applying adhesive and placing the first tile, the next tile can be positioned beside it. The spacer should then be inserted between the tile edges.
Most installers place spacers at tile corners. This helps control the distance between four connected tiles.
Correct placement method
| Step | Action |
|---|---|
| 1 | Place the first tile carefully |
| 2 | Position the next tile with correct alignment |
| 3 | Insert spacers between tile edges |
| 4 | Adjust tiles before adhesive becomes firm |
| 5 | Remove spacers at the correct time |
The first row of tiles is very important. If the first tiles are not straight, the mistake can continue across the entire installation area.
Installers should check tile position regularly with a level tool. Spacers can control distance, but they cannot correct a completely uneven tile layout.
Common mistakes when using spacers
Some people press spacers too deeply into the adhesive. This can make removal difficult later. Spacers should stay accessible so they can be removed before grouting.
Another mistake is using different spacer sizes in the same area. Mixing sizes can create inconsistent grout lines. The final surface may look uneven even if the tiles themselves are high quality.
Some installers also ignore tile movement. Tiles can shift slightly while adhesive is drying. Checking alignment during installation helps prevent small movements from becoming visible problems.
For wall tile installation, gravity can create additional challenges. Tiles may slowly move downward before the adhesive sets. Spacers, leveling systems, and careful adjustment can help maintain correct positioning.
For large projects, professional installers often combine spacers with tile leveling systems. These tools work together to improve flatness and spacing accuracy.
Can spacers ensure even grout lines?
Tile spacers are important tools for creating even grout lines, but they cannot solve every installation problem. They improve consistency, but proper installation skills are still necessary.
Spacers help create even grout lines by maintaining equal distance between tiles, but they work best when tiles, surfaces, and installation methods are also correct.

Many people believe spacers automatically create perfect tile surfaces. However, spacers are only one part of the installation process.
How spacers improve grout lines
Grout lines are the spaces between tiles. These spaces allow small movements caused by temperature changes and building movement. They also create the visual pattern of the finished surface.
Without spacers, tiles may move closer together in some areas and farther apart in others. This creates uneven grout lines that affect the overall appearance.
Spacers provide a reference point during installation. They help installers maintain a consistent distance from one tile to another.
Benefits of using tile spacers
| Benefit | Explanation |
|---|---|
| Better alignment | Tiles stay in a more organized pattern |
| Cleaner appearance | Grout lines look more professional |
| Easier grouting | Equal spaces make grout application easier |
| Reduced installation errors | Spacers guide tile placement |
However, several other factors affect grout line quality. Tile size accuracy is one important factor. If tiles have different dimensions, even the same spacer may not create perfectly matching lines.
The flatness of the installation surface also matters. A wall or floor with uneven areas can push tiles into different positions. In this situation, spacers alone cannot create a perfect result.
Tile adhesive thickness is another important factor. Too much or too little adhesive can change tile height and affect the final appearance.
Professional installers usually combine multiple methods. They use spacers, levels, measurement tools, and careful adjustment to create better results.
For factory-produced ceramic tiles, accurate dimensions make spacer installation easier. This is one reason quality control during tile production is important.
A good tile installation is a combination of good materials and correct techniques. Spacers are a small tool, but they support the overall quality of the project.
Why remove spacers before grouting?
Removing tile spacers before grouting is an important step because grout needs enough space to fill the entire joint area. Leaving spacers inside can reduce grout performance.
Tile spacers should be removed before grouting because they can block grout coverage, weaken the joint structure, and create visible problems on the finished tile surface.
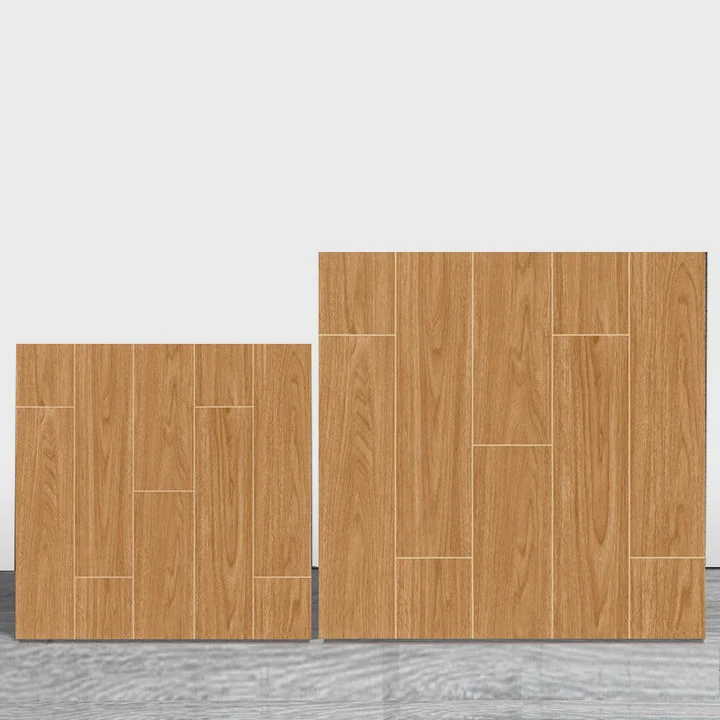
Many beginners forget this step because spacers seem small and harmless. However, the position of spacers can affect the final strength and appearance of the grout lines.
Problems caused by leaving spacers inside
When spacers remain inside the grout joint, they take up space that should be filled with grout. This can create weak areas.
The grout may only cover the top part of the joint while the lower area remains empty. Over time, these weak points may crack or collect dirt.
Why spacer removal matters
| Problem | Result |
|---|---|
| Reduced grout depth | Lower joint strength |
| Visible plastic pieces | Poor appearance |
| Uneven grout surface | Difficult maintenance |
| Future cracking risk | More repair work |
The correct removal time depends on the adhesive type. Spacers should usually be removed after tiles are stable but before the adhesive becomes too hard.
Removing them too early may allow tiles to move. Removing them too late may make the process difficult and could damage tile edges.
After removing spacers, the grout joints should be cleaned. Dust and extra adhesive should be removed before applying grout. Clean joints help grout bond better.
The final grouting process also affects the appearance of the tile surface. Good grout application creates a smooth finish and protects the edges of the tiles.
For professional projects, installers usually follow a complete process:
- Plan the tile layout.
- Select suitable spacers.
- Install tiles carefully.
- Remove spacers at the right time.
- Apply grout correctly.
Tile spacers are simple accessories, but they support the quality of the entire tile system. Proper use helps create surfaces that look better and last longer.
Conclusion
Tile spacers are small tools that create big improvements in tile installation. Choosing the right size, placing them correctly, and removing them before grouting can help achieve clean and durable tile surfaces.




