How to Tile Around a Window?
- Sinotiles
- 2026-07-08
Many tile installations look professional until they reach a window. Uneven cuts, poor alignment, and weak sealing can quickly ruin the appearance and create long-term maintenance problems.
Tiling around a window requires careful preparation, accurate measurements, precise cutting, proper sealing, and a balanced layout. When these steps are followed correctly, the finished installation looks clean, durable, and visually appealing.
Windows naturally attract attention in any room. Because of this, mistakes around window openings are often more noticeable than mistakes on large wall areas. Understanding the correct process helps create a polished and professional result.
What Preparation Is Needed for Window Edges?
Many tiling problems begin before the first tile is installed. Window edges contain corners, joints, and transitions that require extra attention during preparation.
Before tiling around a window, the edges should be cleaned, repaired, measured, waterproofed if necessary, and checked for squareness. Proper preparation creates a stable surface and improves installation quality.
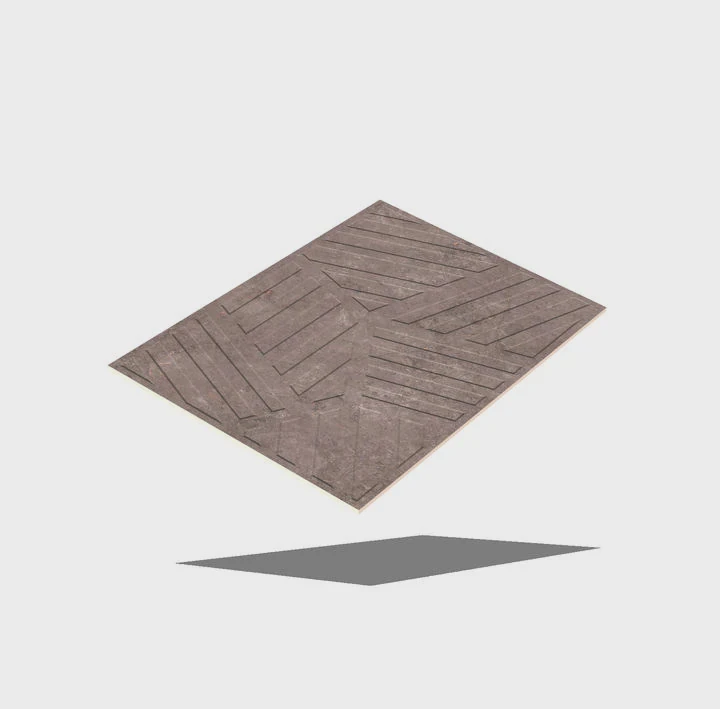
Window openings create multiple transition points where tiles meet different materials. These areas often experience movement, temperature changes, and moisture exposure. Good preparation helps prevent future issues.
Inspect the Window Area
The first step is a detailed inspection.
Common issues include:
- Cracked plaster
- Loose drywall
- Damaged cement board
- Uneven corners
- Moisture damage
Any defects should be repaired before installation begins.
Check for Moisture Problems
Moisture is one of the biggest threats to long-term tile performance.
Areas around windows may experience:
- Condensation
- Water penetration
- Humidity exposure
- Temperature fluctuations
Before installation, the surrounding area should be completely dry.
Ensure Surface Stability
Tiles require a solid foundation.
The substrate should be:
- Firm
- Flat
- Clean
- Structurally sound
Weak surfaces can lead to cracked grout and loose tiles.
Measure the Window Opening Carefully
Accurate measurements improve planning and reduce material waste.
Important measurements include:
| Measurement Area | Purpose |
|---|---|
| Window width | Tile layout planning |
| Window height | Cut calculation |
| Reveal depth | Edge finishing |
| Corner angles | Precision fitting |
Accurate dimensions help create symmetrical tile layouts.
Clean All Surfaces
Dust and debris can weaken mortar adhesion.
Surfaces should be free from:
- Dust
- Grease
- Paint residue
- Loose materials
A clean substrate helps ensure strong bonding.
Waterproof When Necessary
In wet environments such as bathrooms, waterproofing becomes essential.
Common waterproofing methods include:
- Liquid waterproof membranes
- Waterproof boards
- Waterproof tapes
- Sealing compounds
These products help protect surrounding structures from water damage.
Plan Edge Finishes
Window edges require finishing details.
Popular options include:
- Tile trim profiles
- Bullnose tiles
- Mitred edges
- Metal corner trims
Choosing the finish before installation helps simplify the process.
Common Preparation Mistakes
Several mistakes frequently occur during preparation.
| Mistake | Potential Result |
|---|---|
| Skipping repairs | Cracked tiles |
| Poor cleaning | Bond failure |
| Incorrect measurements | Uneven cuts |
| No waterproofing | Water damage |
| Ignoring edge details | Poor appearance |
Avoiding these mistakes creates a stronger foundation for the entire installation.
Why Preparation Determines Success
A window opening creates more challenges than a flat wall. Small alignment problems become highly visible once the installation is complete.
Proper preparation allows the installer to focus on achieving clean cuts and consistent tile placement. Without this foundation, even expensive tiles may fail to deliver a professional result.
How Can Cuts Be Made Precisely Around Frames?
Cutting tiles around window frames is often the most challenging part of the installation. Even a small measurement error can create visible gaps and uneven joints.
Precise cuts around window frames require accurate measurements, careful marking, proper cutting tools, and consistent testing before final installation. Patience and attention to detail are essential for achieving professional results.
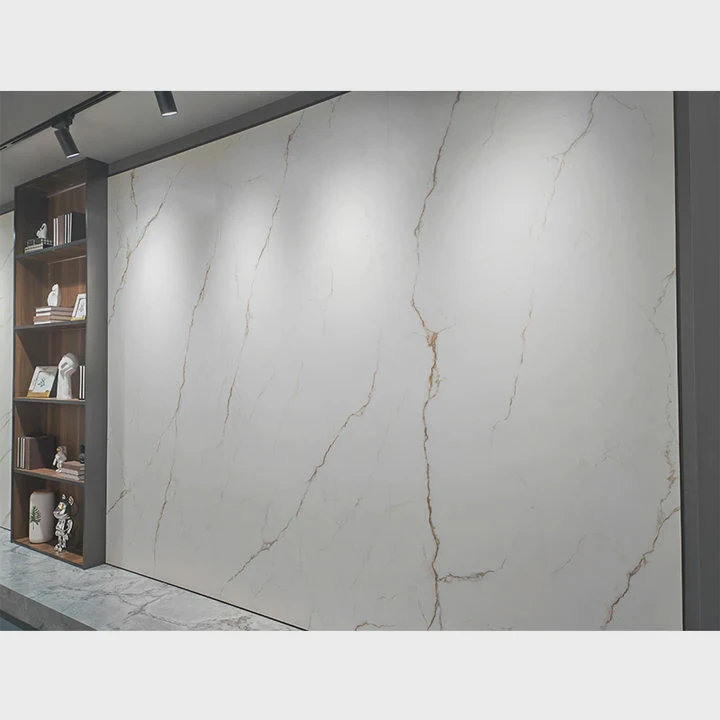
Clean cuts improve both appearance and functionality. They help create smooth transitions and reduce the need for excessive sealant or trim.
Measure Twice Before Cutting
Accurate measurements reduce costly mistakes.
Key dimensions include:
- Frame width
- Frame height
- Corner locations
- Expansion gaps
Many installers verify measurements multiple times before making a cut.
Create Templates for Difficult Areas
Complex shapes often benefit from templates.
Template materials may include:
- Cardboard
- Paper
- Plastic sheets
Templates help transfer shapes accurately onto tiles.
Use the Correct Cutting Tools
Different cuts require different tools.
| Tool | Best Application |
|---|---|
| Wet saw | Straight cuts |
| Angle grinder | Curved cuts |
| Tile nippers | Small adjustments |
| Diamond blade | Hard materials |
The right tool improves accuracy and reduces chipping.
Mark Tiles Clearly
Clear markings help avoid mistakes.
Useful marking tools include:
- Pencil
- Wax marker
- Fine-tip marker
- Layout square
Visible lines make cutting easier and more precise.
Leave Expansion Gaps
Tiles should never be installed tightly against the frame.
Small movement gaps help accommodate:
- Thermal expansion
- Structural movement
- Frame movement
These gaps are later covered with flexible sealant.
Practice Complex Cuts
Some cuts involve:
- L-shaped sections
- U-shaped cuts
- Narrow strips
- Corner notches
Testing difficult cuts on spare tiles can reduce waste.
Common Cutting Techniques
Straight Edge Cuts
These are usually the simplest cuts and are commonly completed with a wet saw.
Corner Notches
Corner notches often require multiple cuts and careful finishing.
Curved Profiles
Curved areas may require an angle grinder and gradual trimming.
Small Adjustments
Tile nippers help remove small amounts of material for fine fitting.
Common Cutting Errors
Several cutting mistakes frequently occur.
| Error | Result |
|---|---|
| Poor measurements | Visible gaps |
| Incorrect blade choice | Chipped edges |
| Cutting too quickly | Rough finish |
| No test fitting | Alignment problems |
| No expansion gap | Future cracking |
Avoiding these issues improves both appearance and durability.
Why Precision Matters
The eye naturally focuses on windows. Even minor imperfections become noticeable because straight frame lines create a visual reference point.
Precise cuts create clean transitions, improve symmetry, and contribute to a finished appearance that looks intentional and professionally installed.
Why Is Sealing Critical Near Windows?
A tile installation can look perfect on the day it is completed. However, without proper sealing, moisture and movement can create problems over time.
Sealing around windows prevents water penetration, accommodates movement, protects surrounding materials, and improves the long-term durability of the tile installation.
Windows represent one of the most vulnerable areas in a tiled wall. They connect different materials that expand and contract at different rates.
Protect Against Water Intrusion
Water can enter through small gaps around frames.
Potential consequences include:
- Mold growth
- Rotting materials
- Surface staining
- Structural damage
Proper sealing helps block moisture before it reaches the substrate.
Accommodate Movement
Different materials react differently to temperature changes.
Examples include:
- Aluminum frames
- PVC frames
- Wood frames
- Tile surfaces
Flexible sealants allow movement without cracking.
Improve Long-Term Durability
A properly sealed joint remains functional for years.
Benefits include:
- Reduced maintenance
- Better moisture protection
- Improved appearance
- Longer installation life
The cost of sealing is small compared to potential repair expenses.
Types of Sealants Commonly Used
Several products are suitable for window areas.
| Sealant Type | Typical Use |
|---|---|
| Silicone sealant | High-moisture areas |
| Hybrid sealant | Interior and exterior use |
| Acrylic sealant | Low-moisture environments |
| Polyurethane sealant | Heavy-duty applications |
The appropriate choice depends on the installation environment.
Key Areas That Require Sealing
Several locations around the window need attention.
These include:
- Tile-to-frame joints
- Corner transitions
- Expansion gaps
- Trim connections
Missing even one area can allow moisture intrusion.
Proper Sealant Application
Good sealing requires careful workmanship.
Important steps include:
- Clean the joint thoroughly.
- Remove dust and debris.
- Apply sealant evenly.
- Tool the joint smoothly.
- Allow proper curing time.
Following these steps improves performance.
Common Sealing Mistakes
Many failures occur because of poor sealing practices.
| Mistake | Consequence |
|---|---|
| Using rigid grout instead of sealant | Cracking |
| Applying sealant to dirty surfaces | Poor adhesion |
| Insufficient sealant depth | Early failure |
| Ignoring movement joints | Joint damage |
| Poor curing conditions | Reduced durability |
These problems often appear months after installation.
Why Sealing Should Never Be Skipped
Some installers focus heavily on tile placement but underestimate the importance of sealing.
A well-sealed installation helps prevent water damage, protects the building structure, and maintains the appearance of the finished project. In many cases, sealing is one of the most important factors affecting long-term performance around windows.
Which Layout Improves Final Appearance?
Even perfectly cut tiles can look unbalanced if the layout is poorly planned. The arrangement of tiles around a window has a major impact on the final appearance.
The best tile layout around a window creates visual balance, symmetrical cuts, aligned grout lines, and consistent spacing. Careful planning before installation produces the most attractive finished result.
A window often becomes a focal point within the tiled area. The layout should enhance that focal point rather than distract from it.
Center the Layout Around the Window
Many installers use the window as the primary reference point.
Benefits include:
- Balanced appearance
- Equal cut sizes
- Improved symmetry
- Better visual flow
Centered layouts often create the most professional results.
Align Grout Lines Carefully
Grout lines should remain consistent throughout the installation.
Alignment helps achieve:
- Visual continuity
- Cleaner appearance
- Professional finish
Misaligned grout joints are often immediately noticeable.
Avoid Small Tile Slivers
Very narrow tile cuts can look unattractive.
Whenever possible:
- Balance cuts on both sides
- Adjust starting points
- Maintain proportional tile sizes
Larger edge pieces generally improve appearance.
Consider Window Reveal Layout
The reveal area should complement the main wall layout.
Important considerations include:
| Layout Element | Design Goal |
|---|---|
| Side reveals | Symmetrical appearance |
| Top reveal | Balanced framing |
| Bottom reveal | Consistent transitions |
| Corner joints | Clean visual lines |
Attention to these details creates a more refined result.
Use Full Tiles When Possible
Full tiles often create a cleaner appearance around focal points.
Benefits include:
- Fewer cuts
- Faster installation
- Better visual balance
- Reduced waste
However, achieving this may require layout adjustments elsewhere.
Plan Before Applying Mortar
Dry layout planning offers several advantages.
Installers can:
- Verify grout alignment
- Check cut locations
- Evaluate symmetry
- Adjust design before installation
This process reduces costly mistakes.
Common Layout Mistakes
Several layout issues frequently affect appearance.
| Mistake | Visual Impact |
|---|---|
| Uneven cuts | Unbalanced design |
| Misaligned grout lines | Disorganized appearance |
| Tiny edge pieces | Poor finish |
| Ignoring symmetry | Weak focal point |
| No layout planning | Inconsistent results |
Most of these issues can be prevented during the planning stage.
Why Layout Influences Perceived Quality
People may not consciously analyze tile layouts, but they notice when something feels unbalanced. Symmetrical designs naturally appear more organized and professional.
A carefully planned layout enhances the overall room design and helps the window integrate seamlessly into the tiled surface. This attention to detail often separates average installations from exceptional ones.
Conclusion
Tiling around a window requires careful preparation, accurate cutting, proper sealing, and thoughtful layout planning. When these elements work together, the finished installation achieves a clean appearance, strong durability, and professional-quality results that remain attractive for years.