
Can LVP Be Installed Over Tile?
- Sinotiles
- 2026-08-21

Many homeowners want to update old tile floors without removing them. Tile removal can create dust, noise, and extra labor costs. This makes many people ask if LVP can be installed directly over existing tile.
Yes, LVP can be installed over tile when the tile surface is stable, clean, dry, and properly prepared. A smooth and level base helps LVP perform well and last longer.
Luxury vinyl plank (LVP) has become a popular flooring choice because it offers durability, comfort, and many design options. Many renovation projects use LVP because it can create a new appearance without a full floor replacement.
However, installing LVP over tile is not simply about placing new planks on top of an old floor. The condition of the existing tile plays a major role in the final result. If the tile surface has cracks, movement, or uneven areas, these problems can affect the LVP above it.
I always believe the foundation decides the performance of the final floor. A strong tile surface can provide a good base for LVP, but a damaged tile floor needs proper repair before installation.
Before starting this type of project, I need to check the tile condition, prepare the surface correctly, and make sure the final floor level works with the surrounding areas.
What conditions allow LVP over existing tile?
Before I install LVP over tile, I need to confirm that the existing tile floor can support the new flooring system. Not every tile surface is suitable for direct installation.
LVP can be installed over tile when the existing tiles are firmly attached, the surface is stable, moisture levels are controlled, and the floor has enough flatness for proper installation.
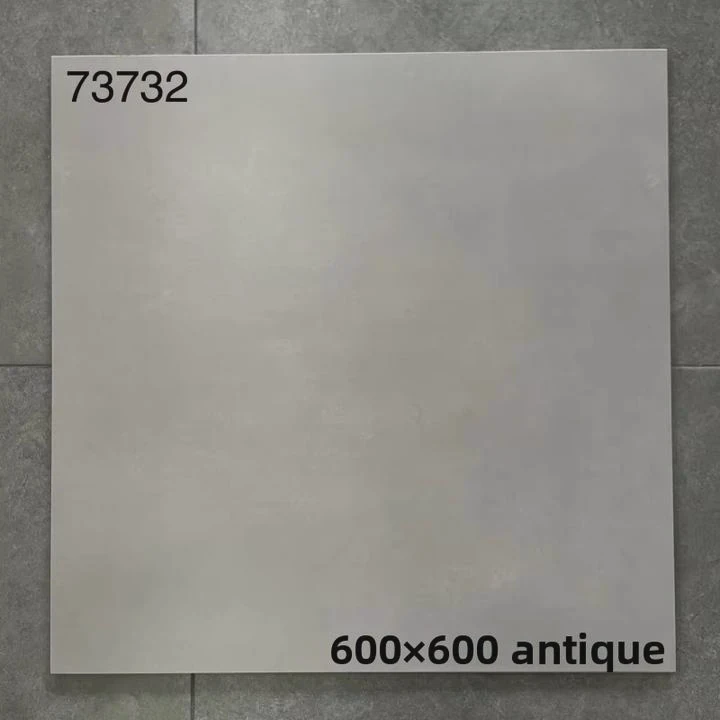
The first condition is tile stability. Existing tiles must be firmly attached to the subfloor. If tiles are loose, cracked, or moving, they can create problems under the LVP.
LVP is flexible compared with ceramic tile, but it still needs a reliable base. A weak tile layer can transfer movement to the vinyl planks. Over time, this can cause gaps, damaged locking systems, or visible floor problems.
The second condition is surface flatness. Small tile patterns and grout lines are common concerns. If the grout lines are too deep or the tile surface has large height differences, the LVP may not sit correctly.
The third condition is moisture control. Areas such as bathrooms, kitchens, and basements require extra attention. Excess moisture under the flooring can damage the installation and reduce product lifespan.
Conditions for successful LVP installation over tile
| Condition | Why It Matters |
|---|---|
| Stable existing tile | Prevents movement under LVP |
| Clean surface | Helps flooring sit correctly |
| Flat floor | Avoids pressure points |
| Dry environment | Protects flooring performance |
| Proper expansion space | Allows natural floor movement |
Another important point is choosing the right LVP product. Different LVP products have different installation requirements. Some products use click-lock systems, while others require adhesive installation.
I also need to consider the room purpose. A bedroom may have fewer challenges compared with a commercial area with heavy foot traffic. A busy space needs stronger preparation because the flooring receives more daily pressure.
Situations where LVP over tile may not be suitable
Some tile floors need more work before installation:
- Tiles are loose or broken.
- The floor has serious height differences.
- Moisture problems exist below the tile.
- The tile surface creates movement.
- The final floor height causes door problems.
When the existing tile meets the basic requirements, LVP can become an efficient renovation option. It can save time while creating a modern and comfortable floor surface.
How should tile surface be prepared beforehand?
Surface preparation is one of the most important steps before installing LVP over tile. A good preparation process helps create a stable base and improves the final appearance.
The tile surface should be cleaned, inspected, repaired, and prepared with proper leveling methods before LVP installation begins.
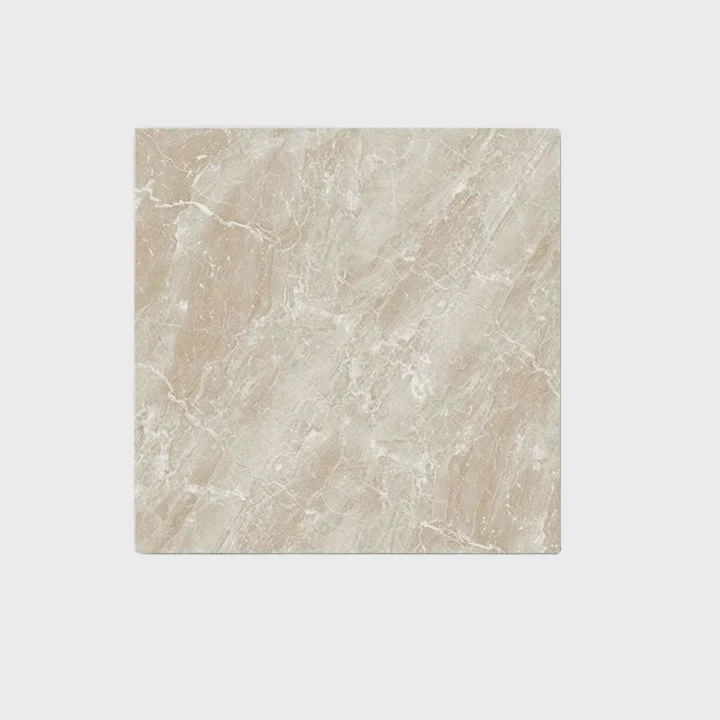
The first preparation step is deep cleaning. Tile floors can collect dirt, oil, cleaning product residue, and other materials. These contaminants can affect how well the underlayment or adhesive performs.
I always make sure the surface is completely clean and dry before moving to the next step. A clean base allows the new flooring system to work more effectively.
The next step is checking the tile condition. I inspect the entire floor and look for cracks, loose tiles, or damaged grout areas. These problems should be repaired before covering the surface.
If some tiles are higher than others, I need to correct these areas. LVP requires a smoother base than traditional tile because uneven pressure can affect the locking system.
Main preparation process
| Preparation Step | Purpose |
|---|---|
| Remove dirt and residue | Create a cleaner surface |
| Check tile condition | Find hidden problems |
| Repair damaged areas | Improve floor stability |
| Fill deep grout lines | Create a smoother base |
| Check moisture level | Prevent future damage |
Grout lines are another important consideration. Many ceramic tile floors have visible joints between tiles. If these joints are deep, they may become noticeable through the LVP over time.
To avoid this issue, I may need to apply a leveling compound or suitable floor preparation material. The goal is to create a surface where the LVP can rest evenly.
Tools and materials often used during preparation
- Floor cleaner
- Repair compound
- Leveling materials
- Measuring tools
- Moisture testing equipment
I also pay attention to the edges of the room. The floor needs enough space to expand and contract naturally. Blocking this movement can create problems after installation.
Good preparation takes additional time, but it protects the investment. Many flooring problems happen because installers focus on the visible surface and ignore the condition underneath.
A carefully prepared tile floor creates a stronger foundation for LVP. When the base is ready, the installation process becomes easier and the final appearance becomes more professional.
Why is leveling important for LVP installation?
Leveling is one of the most important parts of installing LVP over tile. LVP needs a stable and even surface because it follows the shape of the floor underneath.
Leveling helps prevent movement, gaps, and visible imperfections by creating a smooth base where LVP can lock and perform correctly.
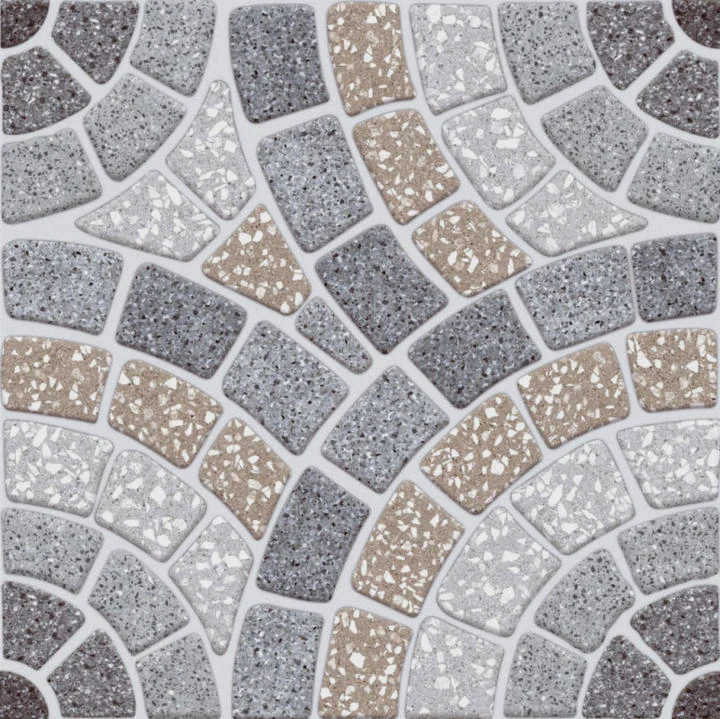
Unlike ceramic tile, LVP has a thinner and more flexible structure. This means it can show problems from the surface below. Small uneven areas may become visible after installation.
If the floor has deep grout lines or uneven tile edges, pressure can concentrate in certain areas. This can affect the connection between planks and reduce the lifespan of the flooring.
Why uneven surfaces create problems
An uneven tile surface may cause:
- Plank movement
- Open gaps between boards
- Damaged locking edges
- Noise when walking
- Uneven appearance
Leveling creates a more consistent foundation. It helps distribute pressure across the floor instead of allowing stress to focus on small areas.
For large rooms, leveling becomes even more important. Larger spaces expose more surface problems because there are more visible lines and wider areas.
Comparison of floor conditions
| Floor Condition | Expected Result |
|---|---|
| Smooth and level tile | Better LVP performance |
| Minor grout lines | Usually manageable after preparation |
| Deep grout lines | May require filling |
| Large height differences | Requires correction before installation |
I also consider the final appearance. A level floor helps LVP create a cleaner and more professional look. Without proper leveling, even high-quality flooring may appear uneven.
Leveling is not only about appearance. It also protects the mechanical connection of the planks. Click-lock LVP depends on precise connections between each piece. Excessive movement can damage these connections.
For this reason, I treat leveling as a necessary investment rather than an extra step. A smooth foundation helps the flooring system perform better for many years.
Which issues may arise installing over uneven tile?
Installing LVP over uneven tile can create several problems if the surface is not corrected first. The new flooring may look good at the beginning, but hidden stress can appear later.
Uneven tile surfaces can cause movement, damaged locking systems, visible patterns, and reduced flooring lifespan. Proper correction helps avoid these problems.
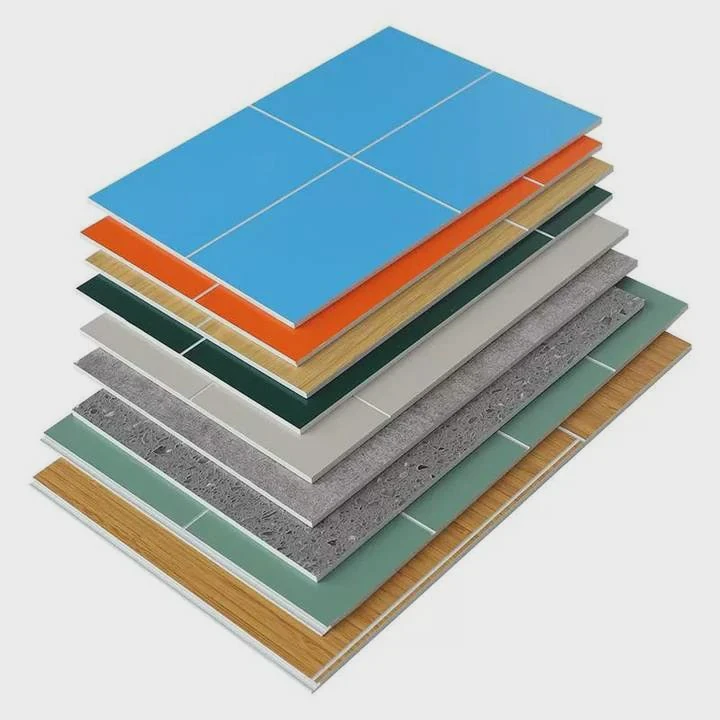
One common issue is visible tile patterns. If grout lines or tile edges create pressure points, they may become visible through the LVP after installation.
Another problem is floor movement. When LVP does not have a stable base, walking pressure can cause small movements. Over time, this movement can damage the connections between planks.
Common problems and solutions
| Problem | Cause | Solution |
|---|---|---|
| Visible grout lines | Deep tile joints | Fill and level surface |
| Moving planks | Weak base | Repair tile problems |
| Floor noise | Uneven support | Improve preparation |
| Damaged locking system | Excess pressure | Create a flatter base |
Height differences can also create transition problems. If one room has LVP and another room keeps tile, the difference in floor height needs proper planning.
I always check door clearance, stair connections, and room transitions before installation. These details can affect both appearance and daily use.
Another possible issue is moisture. Uneven areas may create spaces where moisture collects. This is especially important in areas with water exposure.
However, these problems can usually be reduced with proper planning. LVP over tile can work well when the existing floor is carefully inspected and prepared.
The main idea is simple: the quality of the final LVP floor depends on the quality of the base underneath. A strong and level tile surface creates better results, while a damaged or uneven surface creates future problems.
Conclusion
LVP can be installed over tile when the existing floor is stable, clean, and properly leveled. Careful preparation helps create a durable, comfortable, and attractive flooring solution.





