
How to Attach Tile to Wall?
- Sinotiles
- 2026-08-24
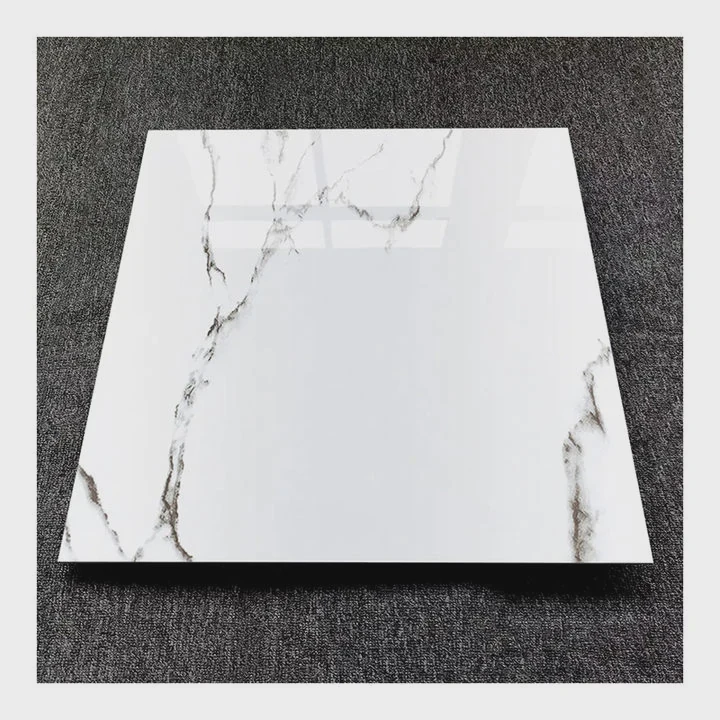
Attaching tile to a wall looks simple, but many installation problems start from small mistakes. Loose tiles, uneven surfaces, and cracked grout often happen because the preparation process is not done correctly.
The best way to attach tile to a wall is to prepare the surface carefully, choose the correct adhesive, install tiles with accurate alignment, and avoid common mistakes that reduce bonding strength.
Wall tile installation requires more than placing tiles with glue. A strong result depends on surface condition, adhesive quality, tile positioning, and careful installation methods.
What preparation ensures strong adhesion?
Strong tile adhesion starts before the first tile is placed. A clean, stable, and properly prepared wall creates the foundation for a long-lasting installation.
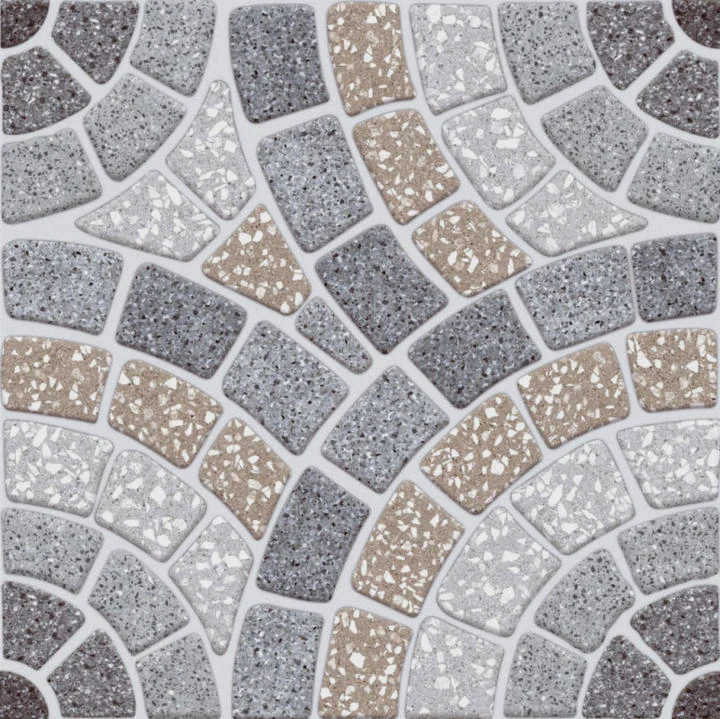
The best preparation for attaching tiles to a wall includes cleaning the surface, checking flatness, repairing damage, and selecting suitable materials for the project.
Many tile failures happen because installers focus only on adhesive application. However, even the best adhesive cannot create a strong bond on a weak or dirty wall.
Check the wall condition first
Before attaching tiles, the wall should be inspected carefully. The surface needs to be strong enough to support the weight of the tiles.
A wall with cracks, dust, moisture problems, or loose paint may prevent proper adhesion.
The installer should check:
| Wall Condition | Possible Problem | Recommended Action |
|---|---|---|
| Dusty surface | Weak adhesive bond | Clean completely |
| Uneven wall | Tile alignment problems | Level the surface |
| Cracks | Future tile movement | Repair damaged areas |
| Moisture damage | Adhesive failure | Fix water issues first |
A clean surface allows adhesive materials to contact the wall properly. Dust and dirt can create a barrier between the adhesive and the wall.
Clean and level the surface
Cleaning is one of the most important preparation steps.
The wall should be free from:
- Dust.
- Grease.
- Loose paint.
- Old adhesive.
- Moisture problems.
After cleaning, the wall should be checked for flatness. Large uneven areas can create empty spaces behind tiles.
Empty spaces are dangerous because tiles may crack when pressure is applied.
For large wall projects, professional installers often use leveling tools to check the surface before installation.
Choose the correct base for wall tiles
Different wall conditions may require different preparation methods.
For example, bathroom walls often need moisture-resistant surfaces because water exposure can weaken the installation over time.
Kitchen backsplash areas may need strong adhesion because they experience heat, cleaning, and daily use.
A proper base creates better performance and reduces future repair work.
Why preparation affects tile lifespan
A tile installation is a complete system. The tile, adhesive, wall surface, and grout all work together.
If one part fails, the whole system can become unstable.
A properly prepared wall helps:
- Improve adhesive strength.
- Reduce tile movement.
- Prevent cracks.
- Increase installation lifespan.
Good preparation may require more time at the beginning, but it usually saves money by reducing future problems.
How can tiles be aligned evenly on walls?
Even tile alignment creates a professional appearance. Uneven tile lines can make an entire wall look poorly installed, even when the tile quality is excellent.
The best way to align wall tiles evenly is to use planning, measuring tools, tile spacers, and careful installation techniques.
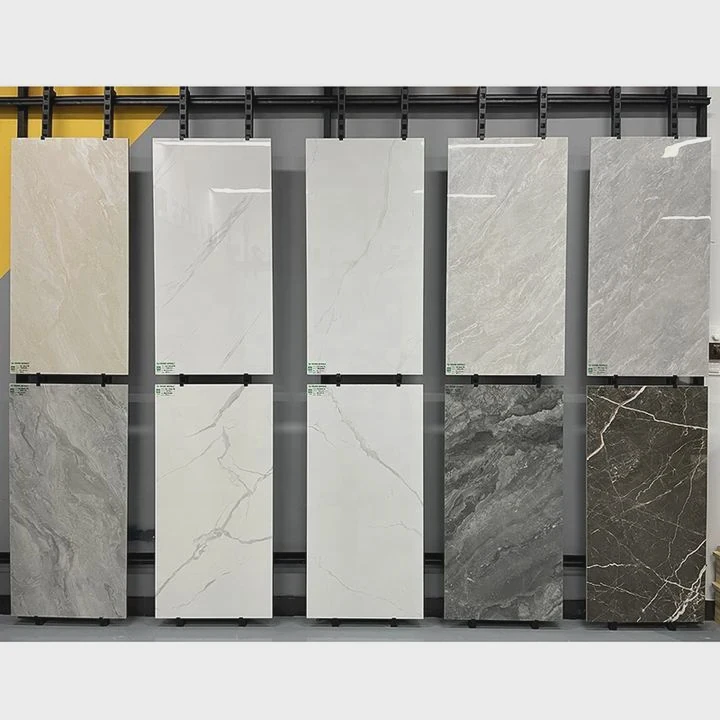
Wall tile alignment requires attention because vertical surfaces make mistakes easier to notice. Small position errors can become larger problems across the whole wall.
Plan the tile layout before installation
A good tile installation starts with planning.
Before applying adhesive, the installer should measure the wall and decide where tile rows will begin.
Important planning steps include:
- Finding the center point of the wall.
- Checking tile dimensions.
- Planning edge cuts.
- Marking horizontal and vertical guides.
A layout plan helps create balanced tile patterns. It also prevents small pieces of tile appearing in highly visible areas.
Use spacers and leveling systems
Tile spacers help maintain consistent gaps between tiles.
These gaps create space for grout and make the installation look organized.
Tile leveling systems can also help when installing large-format wall tiles. They reduce differences between tile surfaces and create a flatter appearance.
| Installation Tool | Purpose | Benefit |
|---|---|---|
| Tile spacers | Maintain grout gaps | Creates consistent lines |
| Level tool | Check position | Prevents uneven rows |
| Measuring tape | Confirm dimensions | Improves planning |
| Tile leveling system | Reduce height differences | Creates smoother surfaces |
Check alignment during installation
Many installers make the mistake of checking alignment only after completing the wall.
A better approach is to check the position after installing each row.
Small corrections are easier when the adhesive is still workable.
The installer should check:
- Horizontal lines.
- Vertical lines.
- Tile spacing.
- Surface level.
Regular checking prevents small errors from becoming large problems.
Why alignment affects final appearance
Tile installation is not only about function. It also affects the visual quality of the space.
Straight tile lines create a clean and professional look. Uneven patterns can make walls appear lower quality.
Good alignment is especially important for:
- Large-format tiles.
- Modern interior designs.
- Commercial projects.
- Decorative wall applications.
Careful planning creates better results and improves the overall appearance of the finished space.
Why is choosing the right adhesive important?
The adhesive is one of the most important parts of wall tile installation. It creates the connection between the tile and the wall surface.
The right adhesive improves tile stability, while the wrong adhesive can cause tiles to loosen, crack, or fall.
Choosing tile adhesive depends on the tile type, wall condition, location, and environmental requirements.
Different projects need different adhesives
Not all adhesives work for every situation.
A small ceramic tile in a dry room may need a different adhesive compared with a large porcelain tile in a bathroom.
The installer should consider:
| Project Factor | Why It Matters |
|---|---|
| Tile size | Large tiles need stronger support |
| Tile material | Different surfaces need different bonding |
| Location | Wet areas require suitable products |
| Wall condition | Adhesive must match the base |
Large tiles create more weight on the wall. They usually require adhesives designed for higher strength.
Understand adhesive performance
A quality adhesive should provide:
- Strong bonding.
- Good flexibility.
- Resistance to moisture.
- Suitable working time.
Flexibility is important because walls can experience small movements caused by temperature changes.
A rigid adhesive may crack when the surface moves.
Apply adhesive correctly
Even the right adhesive can fail if it is applied incorrectly.
The installer should spread adhesive evenly and create proper contact between the tile and wall.
Common application problems include:
- Too little adhesive.
- Uneven coverage.
- Incorrect drying time.
- Poor pressure during installation.
Proper adhesive coverage helps prevent empty spaces behind tiles.
Why adhesive selection affects safety
Wall tiles depend on adhesive strength because gravity pulls tiles downward.
Floor tiles receive support from the ground, but wall tiles rely heavily on the bonding system.
This is why adhesive selection is especially important for:
- Bathroom walls.
- Kitchen backsplashes.
- Large decorative tiles.
- Commercial wall projects.
The correct adhesive creates a safer and longer-lasting installation.
Which mistakes should be avoided during installation?
Many wall tile problems are caused by installation mistakes rather than poor tile quality. Understanding common errors helps create stronger and cleaner results.
The most important mistakes to avoid include poor preparation, incorrect adhesive use, weak alignment control, and rushing the installation process.
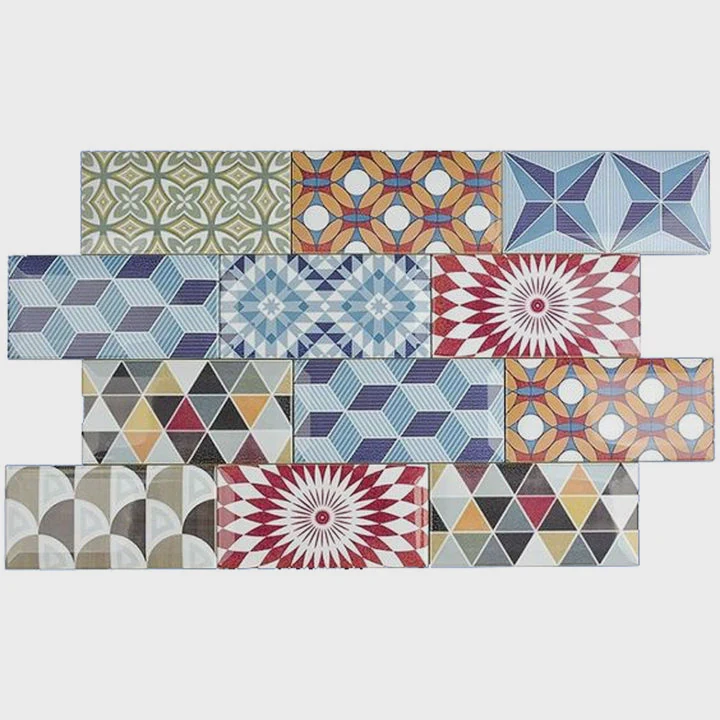
A successful tile installation requires patience and attention to detail. Small mistakes during installation can create expensive repairs later.
Installing tiles on an unprepared wall
One of the biggest mistakes is attaching tiles directly to a damaged or dirty surface.
A weak wall cannot provide strong support, even when high-quality adhesive is used.
Installers should always clean, repair, and check the wall before starting.
Using the wrong amount of adhesive
Too little adhesive creates weak contact between the tile and wall.
Too much adhesive can create uneven surfaces and make alignment difficult.
The goal is to create consistent coverage that supports the tile properly.
Ignoring tile alignment
Another common mistake is installing tiles without checking position regularly.
Small alignment errors can become very noticeable after several rows.
Using spacers, levels, and careful measurements helps maintain a professional appearance.
Rushing the installation process
Tile installation requires time.
Many problems happen because people move too quickly and skip important steps.
Common rushed mistakes include:
- Not allowing adhesive enough time.
- Skipping surface preparation.
- Ignoring small alignment issues.
- Applying grout too early.
A careful installation process creates better durability and appearance.
Final installation checklist
Before finishing a wall tile project, it is useful to check:
| Check Item | Question |
|---|---|
| Surface | Is the wall clean and stable? |
| Adhesive | Is the product suitable for the tile? |
| Alignment | Are tile lines straight? |
| Spacing | Are grout gaps consistent? |
| Finish | Is the surface clean and even? |
Following these checks helps prevent common problems and improves the final result.
Conclusion
Attaching tile to a wall requires careful preparation, correct adhesive selection, accurate alignment, and proper installation methods. A thoughtful process creates strong, beautiful, and long-lasting wall tile results.
- Pre: What Is Photo Tile?
- Next: How to Get Grout Off Tile?





