
How to Cut Bathroom Tile?
- Sinotiles
- 2026-07-11

Cutting bathroom tile may seem simple at first. Yet one wrong cut can waste expensive materials, delay a project, and leave an unprofessional finish.
The best way to cut bathroom tile is to use the right cutting tool, measure carefully, score the tile before making the full cut, and use proper cutting techniques to reduce chipping. Following these steps helps achieve clean, accurate, and professional results.
Whether you are installing porcelain tiles, ceramic tiles, or large-format bathroom tiles, good preparation makes a huge difference. In this guide, I will explain the tools, measuring methods, scoring process, and cutting techniques that help produce smooth edges and minimize waste.
What Are the Best Tools for Cutting Bathroom Tiles?
Using the wrong cutting tool can lead to broken tiles, rough edges, and unnecessary waste. Choosing the right equipment saves both time and money.
The best tools for cutting bathroom tiles include manual tile cutters, wet saws, angle grinders, tile nippers, and diamond hole saws. Each tool works best for different tile materials and cutting requirements.
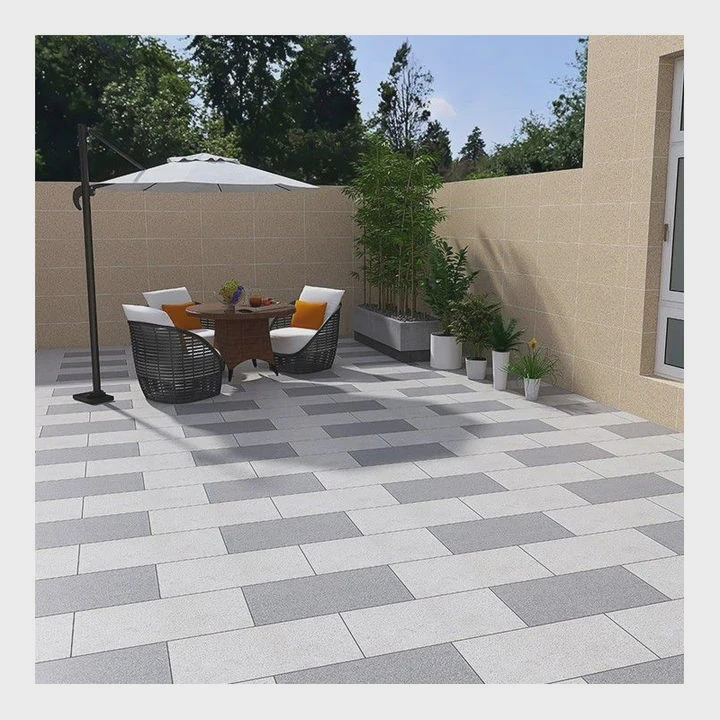
Not every bathroom tile project requires expensive equipment. The best tool depends on the tile material, tile size, and the type of cut you need to make.
Manual Tile Cutter
A manual tile cutter is one of the most popular choices for ceramic and porcelain tiles.
It works by scoring the tile surface and applying pressure to snap the tile along the scored line.
Advantages include:
- Fast operation
- No electricity required
- Minimal dust
- Affordable cost
- Easy to transport
It is ideal for straight cuts on standard porcelain and ceramic tiles.
Wet Tile Saw
A wet saw is the preferred choice for professional installers.
The diamond blade rotates while water continuously cools the blade and reduces dust.
Benefits include:
- Smooth cuts
- High precision
- Suitable for porcelain
- Cuts natural stone
- Handles large-format tiles
For bathroom renovation projects involving premium porcelain or marble-look tiles, a wet saw usually delivers the best finish.
Angle Grinder
An angle grinder fitted with a diamond blade is useful for irregular cuts.
It works well for:
- L-shaped cuts
- Curved cuts
- Corner trimming
- Small adjustments
However, it produces much more dust than a wet saw. Wearing eye protection, hearing protection, and a dust mask is essential.
Tile Nippers
Some cuts are too small for larger machines.
Tile nippers help remove tiny pieces around:
- Pipes
- Faucets
- Electrical outlets
- Toilet flanges
They allow installers to gradually shape difficult openings.
Diamond Hole Saw
Bathroom installations often require perfectly round holes.
A diamond hole saw creates clean openings for:
- Shower pipes
- Water supply lines
- Valves
- Drain fittings
Choosing the correct hole size before drilling improves installation accuracy.
Tool Comparison
| Tool | Best For | Accuracy | Difficulty |
|---|---|---|---|
| Manual Tile Cutter | Straight cuts | High | Easy |
| Wet Saw | Porcelain, stone, large tiles | Very High | Moderate |
| Angle Grinder | Curves and corners | High | Moderate |
| Tile Nippers | Small adjustments | Medium | Easy |
| Diamond Hole Saw | Round holes | Very High | Moderate |
Using the proper tool for each type of cut reduces waste and produces cleaner results throughout the installation.
How Can You Measure Tiles Accurately Before Cutting?
Many tile installation mistakes happen before the saw even starts. Poor measurements often lead to uneven layouts and wasted materials.
Measure bathroom tiles accurately by planning the layout first, marking reference lines, allowing for grout joints and expansion gaps, and checking every measurement twice before cutting.
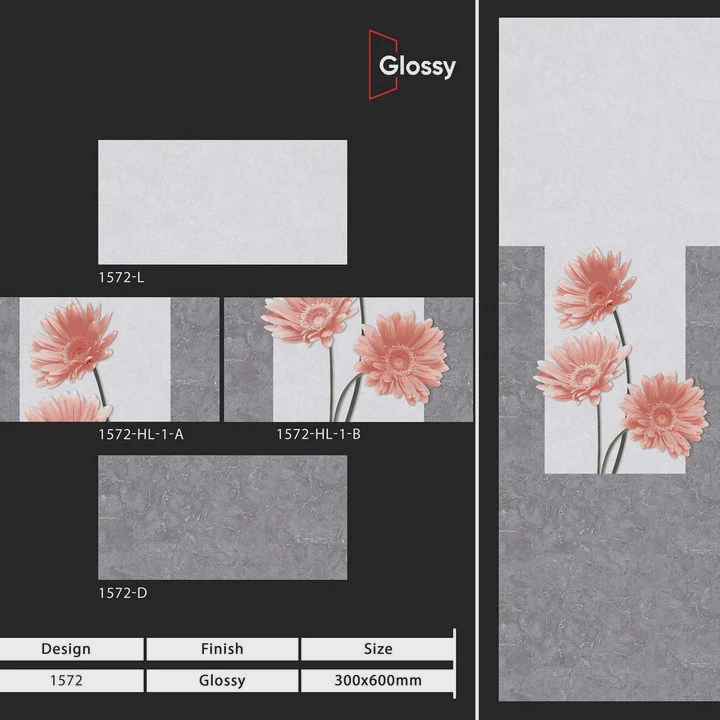
Accurate measuring is one of the most important parts of tile installation. Even the best cutting tool cannot fix a bad measurement.
Plan the Layout First
Never begin cutting immediately.
Lay several tiles on the floor without adhesive.
This dry layout helps you:
- Visualize the finished pattern
- Check tile alignment
- Balance edge cuts
- Avoid very narrow tile strips
Professional installers spend time planning because it saves many corrections later.
Measure from the Center
Many bathroom floors look better when installation begins from the center of the room.
This creates balanced cuts along opposite walls.
Large cut differences at each side become much less noticeable.
Remember Grout Joints
One common beginner mistake is forgetting grout spacing.
Every grout joint adds to the total layout width.
Ignoring grout lines causes the final row to become too large or too small.
Tile spacers help maintain consistent joint widths during installation.
Leave Expansion Gaps
Bathroom tiles should never touch walls directly.
Small expansion gaps allow slight movement caused by temperature and humidity changes.
These gaps are normally covered by:
- Baseboards
- Trim pieces
- Silicone sealant
Double-Check Every Measurement
Experienced installers follow a simple rule.
Measure twice.
Cut once.
Before cutting, verify:
- Tile orientation
- Pattern direction
- Measurement accuracy
- Cutting line
- Finished edge location
This habit greatly reduces wasted tiles.
Helpful Measuring Tools
| Measuring Tool | Purpose |
|---|---|
| Tape Measure | Overall dimensions |
| Carpenter’s Square | Perfect right angles |
| Straight Edge | Long marking lines |
| Pencil or Wax Marker | Visible cut marks |
| Tile Spacers | Consistent grout joints |
Careful measuring creates a professional layout and minimizes expensive mistakes before installation begins.
Why Score Tiles Before Making Full Cuts?
Many people try to cut tiles in one quick motion. This often leads to rough edges or broken pieces.
Scoring creates a controlled fracture line that guides the tile during snapping or sawing. This produces straighter cuts, cleaner edges, and fewer broken tiles.
Scoring may appear to be a small step, but it has a major effect on the final quality of the cut.
What Is Tile Scoring?
Scoring means making a shallow line across the glazed surface of the tile.
This weakens the surface just enough to guide the final break.
The score line becomes the path the tile naturally follows.
Apply Even Pressure
One of the biggest mistakes is pressing too hard.
The goal is not to cut through the tile completely.
Instead, apply smooth and consistent pressure from one end to the other.
A single continuous score usually produces the cleanest result.
Avoid Multiple Score Lines
Some beginners repeatedly score the same line.
This can damage the glaze and increase chipping.
Professional installers usually make only one firm scoring pass.
Why Scoring Improves Accuracy
Scoring offers several important benefits.
It helps:
- Keep cuts straight
- Reduce edge damage
- Prevent uncontrolled breaks
- Improve snapping accuracy
- Produce cleaner finished edges
This is especially important for visible tile edges in showers and feature walls.
Large-Format Tiles Require Extra Care
Long porcelain planks and large bathroom tiles place more stress on the material.
Accurate scoring becomes even more important because small deviations become highly visible over long cuts.
Supporting both sides of the tile during snapping also helps prevent unwanted cracking.
Practice Before Cutting Expensive Tiles
When using a new cutter or unfamiliar tile material, practicing on spare pieces is always a good idea.
Each porcelain collection has slightly different hardness and surface texture.
Learning how much pressure works best reduces mistakes during the actual installation.
A few minutes of practice often saves several expensive replacement tiles later in the project.
Which Techniques Reduce Tile Chipping During Cuts?
Even expensive tiles can chip if they are cut incorrectly. Fortunately, a few simple techniques can greatly improve the quality of every cut.
Tile chipping can be reduced by using sharp diamond blades, cutting slowly, supporting the tile properly, using water when possible, and smoothing edges after cutting.
Reducing chipping is especially important for polished porcelain, glazed ceramic, and decorative bathroom tiles where exposed edges remain visible after installation.
Use a High-Quality Diamond Blade
The blade directly affects cut quality.
A worn blade creates:
- More vibration
- More heat
- Rough edges
- Increased chipping
Replacing dull blades often produces immediate improvements.
Cut at a Steady Speed
Many people push the tile too quickly through the saw.
Slow, even feeding allows the diamond blade to remove material gradually.
Forcing the tile increases stress and causes larger chips along the edge.
Keep the Blade Cool
Wet saws continuously cool the blade with water.
Water provides several advantages:
- Less heat
- Cleaner cuts
- Reduced dust
- Longer blade life
- Lower chipping risk
Whenever possible, wet cutting delivers the smoothest results for porcelain bathroom tiles.
Support the Entire Tile
Large tiles should remain fully supported during cutting.
Unsupported sections may flex slightly.
This movement increases the chance of cracks near the end of the cut.
Stable work surfaces improve both safety and accuracy.
Finish the Edge
Even clean cuts may leave tiny sharp edges.
After cutting, lightly smooth the edge using:
- Diamond hand pads
- Rubbing stones
- Fine polishing pads
This improves both appearance and handling safety.
Additional Professional Tips
Small improvements often produce noticeably better results.
Experienced installers commonly follow these habits:
- Clean the cutting table before every cut.
- Remove debris from the blade area.
- Check blade alignment regularly.
- Replace damaged blades promptly.
- Use painter’s tape on delicate glazed surfaces when needed.
- Handle freshly cut tiles carefully to avoid edge damage.
These simple practices help maintain consistent quality throughout an entire bathroom installation.
Cutting bathroom tiles is not only about making pieces fit. It is about producing smooth, accurate edges that create a clean, professional finish. Careful preparation, proper equipment, and patient cutting techniques work together to reduce waste and deliver results that look excellent for many years.
Conclusion
Cutting bathroom tile successfully starts with choosing the right tools and taking accurate measurements. By scoring tiles correctly, using sharp blades, and cutting with patience, you can minimize chipping and achieve clean, professional-looking installations that are both attractive and durable.


