
How to Get Grout Haze Off Tile?
- Sinotiles
- 2026-08-21
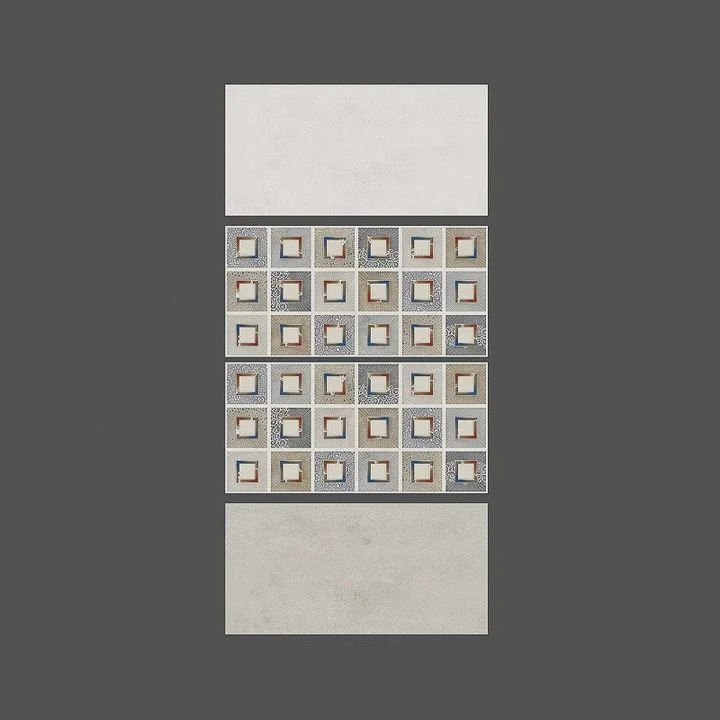
Grout haze can make a new tile installation look cloudy and unfinished. Many homeowners feel disappointed because the tile color looks different after the grout dries.
The best way to get grout haze off tile is to remove the cement residue with the right cleaning method, use suitable products, and protect the tile surface during the process.
Grout haze is common after tile installation, but it does not mean the tile quality is poor. It is usually a surface residue problem that needs careful cleaning and proper maintenance.
What causes grout haze after installation?
Grout haze appears because small particles from grout remain on the tile surface after installation. When grout dries, these particles create a thin cloudy layer that affects the tile appearance.
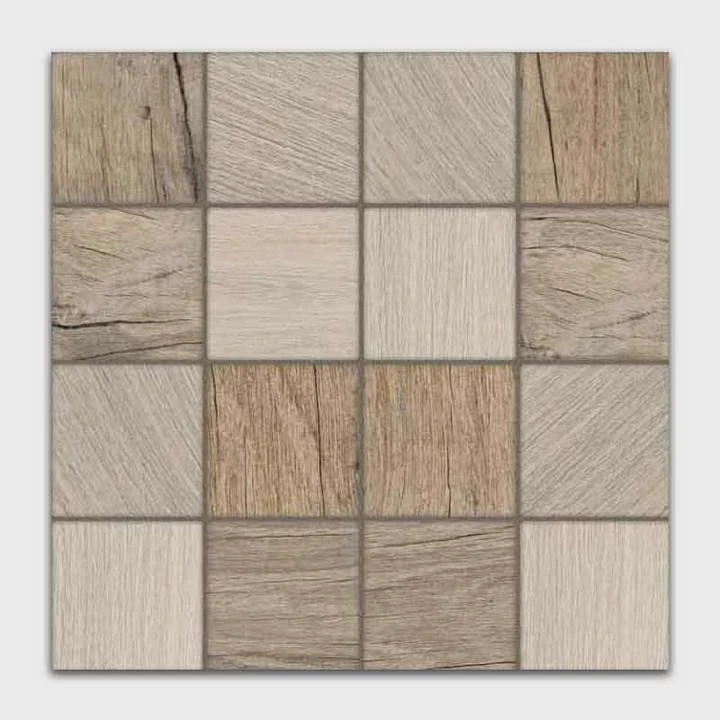
Grout haze is mainly caused by leftover cement, water, and grout materials that are not fully removed during the cleaning stage. The residue becomes more visible when the tile surface dries completely.
Many people notice grout haze several days after installation because wet tiles can hide the problem. Once the water disappears, the remaining mineral film becomes easier to see.
How grout haze forms during installation
Grout is designed to fill spaces between tiles and create a stable surface. During application, installers spread grout across the tile surface and then remove the excess material.
The cleaning process is important because leftover grout particles can attach to the tile surface.
Several factors can increase grout haze:
| Cause | How It Creates Haze |
|---|---|
| Too much grout left on tiles | Creates thicker residue layers |
| Poor cleaning timing | Allows grout to dry on surfaces |
| Excess water during cleaning | Leaves mineral deposits |
| Incorrect grout mixing | Creates more surface residue |
The timing of cleaning is one of the most important factors. If grout is removed too early, the joints may become weak. If grout is removed too late, the residue becomes harder to clean.
Different grout types create different haze problems
Not all grout creates the same level of haze.
Traditional cement grout often creates more haze because it contains cement particles. Epoxy grout usually creates different cleaning challenges because it has resin-based components.
The tile surface also affects visibility. Dark tiles often show grout haze more clearly than light-colored tiles.
For example, black porcelain tiles may show a white cloudy film after installation, while beige tiles may hide the same amount of residue.
Why grout haze should be removed quickly
Fresh grout haze is usually easier to remove than old haze. As time passes, the mineral residue becomes harder and stronger.
A delayed cleaning process can create:
- More difficult removal work.
- Greater need for stronger cleaners.
- Higher risk of surface damage.
- Longer maintenance time.
A careful cleaning process after installation helps keep tiles looking clean and attractive.
How do you remove haze without scratching tiles?
Removing grout haze without scratching tiles requires the right balance between cleaning power and surface protection. Many people damage tiles because they use rough tools or excessive force.
The safest way to remove grout haze is to start with gentle methods, choose tile-safe cleaners, and increase cleaning strength only when necessary.

Tile surfaces can look strong, but some finishes need careful treatment. Polished porcelain, glass tiles, and natural stone may require special cleaning methods.
Start with simple cleaning methods
The first step is usually a basic cleaning process.
Warm water and a microfiber cloth can remove light grout haze when the residue is still fresh. Gentle wiping helps remove loose particles without affecting the tile surface.
A soft sponge can also help, but abrasive pads should be avoided unless the tile manufacturer confirms they are safe.
The cleaning process should include:
- Using clean water.
- Changing dirty cloths often.
- Wiping in small sections.
- Checking the surface after each step.
These actions reduce the chance of spreading residue across the tile.
Choose tools based on tile type
Different tile surfaces need different cleaning approaches.
| Tile Type | Safe Cleaning Method | Avoid |
|---|---|---|
| Porcelain tile | Microfiber cloth and mild cleaner | Strong scraping |
| Ceramic tile | Soft sponge and water | Rough abrasive pads |
| Natural stone | Stone-safe cleaner | Acid products |
| Glass tile | Soft cloth and gentle solution | Hard brushes |
The goal is to remove the haze layer without changing the original tile finish.
Avoid aggressive cleaning methods
Some people try to remove grout haze by using knives, metal blades, or rough brushes. These methods may remove residue, but they can also create permanent scratches.
A tile surface is designed to be durable, but durability does not mean it is impossible to damage.
A better approach is to slowly weaken the residue and remove it step by step.
Why patience improves results
Grout haze removal is often a process rather than a single cleaning action.
Some areas may need several cleaning rounds, especially when the haze has existed for a long time.
A careful method protects the tile and usually creates a better final appearance than using strong force immediately.
Which cleaners are effective for grout haze?
The right cleaner can make grout haze removal much easier. However, the best product depends on the age of the haze, grout type, and tile material.
Effective grout haze cleaners usually work by breaking down mineral residue while keeping the tile surface safe.
Many homeowners choose cleaners without checking whether they match their tile type. This mistake can create discoloration or surface damage.
Types of grout haze cleaners
Different cleaners work for different situations.
| Cleaner Type | Best Use | Important Note |
|---|---|---|
| Water-based cleaner | Fresh light haze | Safe starting option |
| Grout haze remover | Medium residue | Follow instructions carefully |
| Mild acidic cleaner | Cement haze | Avoid sensitive stone |
| Stone-safe cleaner | Natural stone | Protects surface |
For cement-based grout haze, specialized grout haze removers are often effective because they target mineral residue.
However, acidic cleaners need extra attention. They may work well on some tiles but damage marble, limestone, or other sensitive materials.
Test cleaners before full application
Before using any cleaner across the entire floor, testing is important.
A small hidden area can show whether the product changes the tile appearance.
The test should check:
- Color changes.
- Surface texture changes.
- Loss of shine.
- Remaining residue.
This simple step can prevent expensive mistakes.
Follow proper cleaning steps
A good grout haze cleaning process usually includes:
- Remove loose dust and dirt.
- Apply the suitable cleaner.
- Allow the product to work according to instructions.
- Rinse the tile completely.
- Dry and inspect the surface.
Proper rinsing is important because leftover cleaner can create another cloudy appearance.
Why stronger cleaners are not always better
Many people believe powerful chemicals create faster results. However, stronger products can increase risk.
A cleaner should match the problem. A mild product that safely removes haze is often better than a strong product that damages the tile.
The best cleaning solution is the one that removes residue while protecting the original tile quality.
Can haze be prevented during grouting?
Grout haze can be prevented with good installation habits and proper cleaning timing. Prevention is usually easier than removing hardened residue later.
The best way to prevent grout haze is to control grout application, remove excess material at the correct time, and use suitable cleaning techniques during installation.

Many grout haze problems happen because the cleaning process is delayed or performed incorrectly. A careful installation process can reduce future cleaning work.
Control grout application
The amount of grout applied during installation affects haze formation.
Too much grout spread across the tile surface creates more residue. Installers should apply enough material to fill joints properly but avoid unnecessary excess.
Good installation habits include:
- Mixing grout correctly.
- Applying proper amounts.
- Cleaning surfaces during installation.
- Following manufacturer instructions.
These steps create cleaner tile surfaces from the beginning.
Clean at the correct time
Timing is one of the most important parts of haze prevention.
If the surface is cleaned too early, grout joints may lose strength. If cleaning happens too late, the residue may become difficult to remove.
Professional installers usually follow the grout manufacturer’s recommended waiting period.
This balance helps protect both the grout strength and tile appearance.
Use proper cleaning tools
The cleaning tools used during installation also affect haze.
A dirty sponge can spread grout residue instead of removing it. Too much water can also leave mineral deposits.
Using clean tools and fresh water improves the final result.
Long-term benefits of prevention
Preventing grout haze saves time and reduces maintenance work.
A clean installation provides:
- Better tile appearance.
- Easier future maintenance.
- Lower cleaning costs.
- Less risk of tile damage.
A good installation process focuses on both the tile and the grout. When both parts are handled correctly, the final surface looks cleaner and lasts longer.
Conclusion
Grout haze is a common tile installation problem, but it can be removed and prevented with the right methods. Careful cleaning, suitable products, and proper installation habits help keep tiles clear and beautiful.





