
How to install subway tile?
- Sinotiles
- 2026-04-10

Uneven lines, poor bonding, and messy grout can ruin the clean look of subway tiles. Many installations fail due to rushed preparation and weak alignment.
Subway tile installation requires proper surface prep, accurate layout, consistent spacing, and correct timing for grouting to achieve a clean and durable finish.
A smooth result depends on careful planning and steady execution from start to finish.
What preparation is needed for subway tile installation?
Skipping preparation often leads to loose tiles and uneven surfaces. Many problems start before the first tile is even placed.
Proper preparation includes cleaning, leveling the surface, applying backer board if needed, and planning the layout before installation begins.
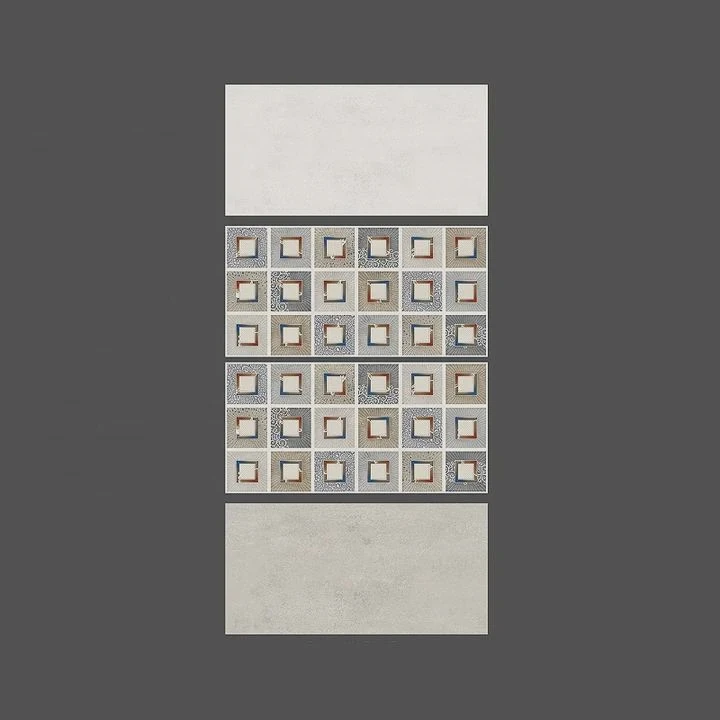
Preparation creates the foundation for a successful installation. Each step supports tile adhesion and alignment.
Key preparation steps
1. Inspect the surface
The wall or floor must be stable.
- Check for cracks or moisture damage
- Ensure the surface is firm
2. Clean thoroughly
Dust and grease reduce adhesion.
- Remove debris
- Wipe with a damp cloth
- Let it dry fully
3. Level the surface
Uneven areas cause misalignment.
- Use leveling compound if needed
- Check with a level tool
4. Install backer board (if required)
This is important in wet areas.
- Cement board improves durability
- Provides a better bonding surface
5. Plan the layout
Layout prevents awkward cuts.
- Mark center lines
- Dry-lay tiles before fixing
Preparation checklist
| Step | Purpose |
|---|---|
| Surface inspection | Ensure stability |
| Cleaning | Improve adhesion |
| Leveling | Prevent uneven tiles |
| Backer board | Add strength |
| Layout planning | Improve symmetry |
Practical insight
In many projects, layout planning is often ignored. But a well-planned layout reduces tile cutting and improves the final appearance significantly.
How do you keep subway tiles aligned evenly?
Misaligned tiles break the visual flow. Even small shifts become very noticeable with subway patterns.
To keep subway tiles aligned, use spacers, level lines, and consistent placement while checking alignment frequently during installation.
Alignment is about control and consistency. Small corrections early prevent big problems later.
Methods to maintain alignment
1. Use tile spacers
Spacers ensure equal gaps.
- Place between each tile
- Choose correct size
2. Draw reference lines
Guidelines help keep rows straight.
- Use a level or laser line
- Follow horizontal lines
3. Work in small sections
Avoid rushing large areas.
- Install row by row
- Check alignment often
4. Use a level tool
Constant checking is key.
- Verify horizontal and vertical lines
- Adjust immediately if needed
Alignment tools overview
| Tool | Function | Benefit |
|---|---|---|
| Spacers | Gap control | Uniform joints |
| Level | Straightness | Accurate lines |
| Laser line | Guidance | Faster setup |
| Straight edge | Surface check | Smooth finish |
Common alignment mistakes
- Ignoring reference lines
- Inconsistent spacer use
- Not checking level frequently
- Applying uneven adhesive
Practical experience
Many installers find that checking every row saves time. Fixing errors later is much harder than adjusting early.
Which patterns work best with subway tiles?
Choosing the wrong pattern can reduce the visual impact. Subway tiles are simple, but patterns change everything.
Popular subway tile patterns include running bond, stacked, vertical, and herringbone, each offering a different visual style and layout complexity.
Pattern selection affects both appearance and installation difficulty.
Common subway tile patterns
1. Running bond (brick pattern)
The most classic style.
- Offset tiles by half length
- Timeless and balanced
2. Stacked pattern
Modern and clean.
- Tiles aligned vertically and horizontally
- Requires precise alignment
3. Vertical pattern
Creates height effect.
- Tiles placed upright
- Makes space feel taller
4. Herringbone pattern
Decorative and dynamic.
- Tiles placed at angles
- More complex installation
Pattern comparison
| Pattern | Style | Difficulty |
|---|---|---|
| Running bond | Classic | Easy |
| Stacked | Modern | Medium |
| Vertical | Contemporary | Medium |
| Herringbone | Decorative | High |
Choosing the right pattern
- Small spaces → vertical or stacked
- Traditional style → running bond
- Feature walls → herringbone
Practical insight
Running bond remains the most popular because it hides small alignment errors. More complex patterns require higher precision and experience.
When should grout be applied after installation?
Grouting too early can ruin the installation. Adhesive needs time to set properly.
Grout should be applied after the tile adhesive has fully cured, typically 24 to 48 hours after installation, depending on conditions.

Timing is critical. Rushing this step weakens the entire system.
Correct grouting timing
1. Wait for adhesive curing
Tiles must be firmly set.
- Usually 24-48 hours
- Follow product instructions
2. Check tile stability
Tiles should not move.
- Press lightly
- Ensure firm bonding
3. Ensure dry conditions
Moisture affects grout quality.
- Keep area dry
- Avoid water exposure
Grouting process overview
- Mix grout properly
- Apply with grout float
- Fill all joints
- Wipe excess grout
- Allow curing
Grouting timing checklist
| Condition | Requirement |
|---|---|
| Adhesive | Fully cured |
| Tiles | Stable |
| Surface | Dry |
| Environment | Moderate humidity |
Common mistakes
- Grouting too early
- Using too much water
- Not cleaning excess grout
- Uneven joint filling
Practical experience
In many projects, waiting an extra day ensures better results. Patience at this stage prevents future repairs.
Conclusion
Installing subway tile requires careful preparation, precise alignment, smart pattern choice, and correct grouting timing. Each step contributes to a clean, durable, and professional finish.



