
How to Lay Shower Tile?
- Sinotiles
- 2026-07-11

A beautiful shower can quickly become a costly repair if the tiles are installed incorrectly. Poor preparation, weak waterproofing, or uneven tile placement often leads to leaks and loose tiles.
To lay shower tile successfully, prepare the surface, waterproof the walls, plan the tile layout, apply the correct adhesive, install tiles with spacers, allow proper curing, grout the joints, and seal the finished installation if required.
Shower tile installation is about much more than appearance. Every step affects durability, water resistance, and long-term performance. Understanding the complete process helps create a shower that remains attractive and reliable for many years.
What Steps Are Involved in Laying Shower Tiles?
Many shower tile problems begin long before the first tile is installed. Skipping preparation often results in uneven surfaces, cracked grout, or water damage.
Laying shower tiles involves preparing the substrate, waterproofing the walls, planning the layout, applying adhesive, installing tiles with spacers, cutting edge pieces, allowing proper curing, grouting, and performing a final inspection.
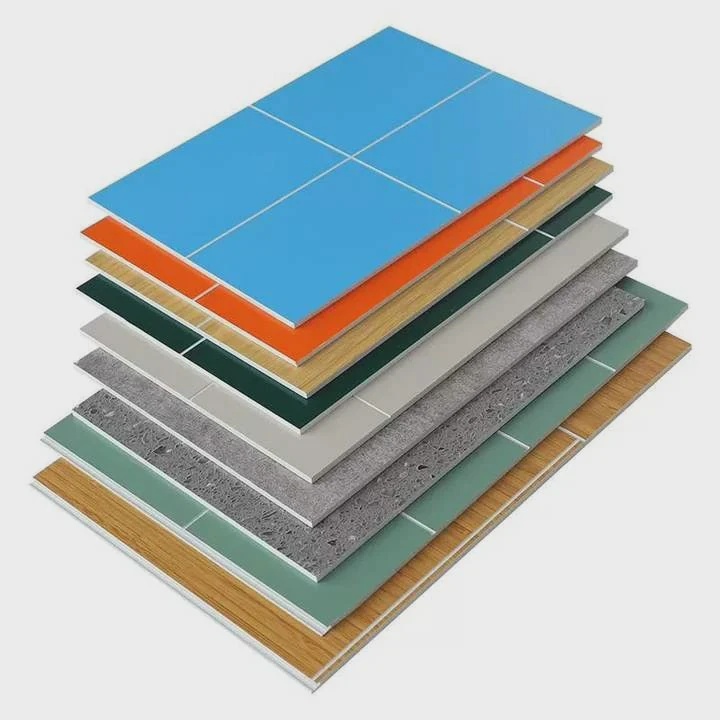
A successful shower installation follows a logical sequence. Every step builds on the previous one. Rushing the process usually creates problems that become expensive to fix later.
Step 1: Prepare the Wall
The wall should be clean, flat, and structurally sound.
Old paint, dust, grease, or loose material should be removed completely.
Cement backer boards or other approved tile substrates provide a stable foundation for shower installations.
Walls should also be checked with a straightedge. Even small uneven areas become very noticeable after large-format tiles are installed.
Step 2: Waterproof the Surface
Waterproofing should always be completed before any adhesive is applied.
This protects the building structure from moisture that may pass through grout joints over time.
Many installers consider this the most important step of the entire project.
Step 3: Plan the Tile Layout
Dry laying several rows helps avoid narrow tile cuts at corners or ceilings.
A level reference line keeps the first row perfectly straight.
Planning also helps balance tile cuts on opposite walls for a cleaner appearance.
Step 4: Apply the Adhesive
Use the correct notched trowel recommended for the tile size.
Spread only enough adhesive that can be covered before it begins to skin over.
Large-format porcelain tiles often require back buttering to improve adhesive coverage.
Step 5: Install the Tiles
Press each tile firmly while moving it slightly back and forth.
This motion removes trapped air and improves bonding.
Tile spacers maintain uniform grout joints throughout the installation.
Step 6: Cut Edge Pieces
Corners, plumbing fixtures, niches, and shower valves usually require custom cuts.
Wet tile saws provide clean, accurate cuts while reducing chipping.
Step 7: Allow Proper Curing
Freshly installed tiles should remain undisturbed during curing.
Following the adhesive manufacturer’s recommended curing time ensures maximum bond strength.
Step 8: Grout the Joints
After the adhesive has cured, grout fills the spaces between tiles.
Proper grout application helps keep moisture away from the substrate while improving the finished appearance.
Typical Installation Sequence
| Installation Stage | Main Purpose |
|---|---|
| Surface preparation | Create a flat, stable base |
| Waterproofing | Prevent moisture damage |
| Layout planning | Improve appearance and reduce waste |
| Adhesive application | Secure tiles firmly |
| Tile installation | Create even coverage |
| Grouting | Protect joints and finish installation |
Following these steps carefully produces a shower that performs well for many years while maintaining a clean and professional appearance.
How Do You Waterproof Shower Walls Properly?
Even the highest-quality tiles are not completely waterproof. The waterproof layer behind the tiles protects the building from moisture.
Proper shower waterproofing includes installing a suitable backer board, sealing all joints, applying a waterproof membrane, reinforcing corners, and allowing the membrane to cure completely before tiling begins.
Many people believe tile itself keeps water out.
In reality, grout joints can absorb moisture, especially after years of use.
A waterproof membrane forms the true moisture barrier.
Choose the Right Backer Board
Regular drywall should never be used inside wet shower areas.
Suitable materials include:
- Cement backer board
- Fiber cement board
- Foam tile backer panels
These materials resist moisture and provide excellent support for ceramic and porcelain tiles.
Seal Every Joint
All board joints should be reinforced.
Alkali-resistant mesh tape combined with thin-set mortar strengthens seams and reduces movement.
Fastener penetrations should also be sealed according to the waterproofing system being used.
Apply the Waterproof Membrane
Several waterproofing systems are available.
Liquid membranes are brushed or rolled onto the wall.
Sheet membranes are bonded using thin-set mortar.
Both systems can provide excellent protection when installed correctly.
Reinforce Critical Areas
Some parts of the shower receive more water exposure than others.
These include:
- Corners
- Niches
- Pipe penetrations
- Mixing valve openings
- Shower benches
Additional reinforcing fabric is often used in these areas.
Allow Full Curing
Many waterproofing failures happen because installers begin tiling too early.
The membrane should fully cure according to manufacturer instructions before adhesive is applied.
Perform a Water Test
Some professional installers perform flood tests on shower pans before installing tile.
Although wall testing is less common in residential work, carefully inspecting the completed membrane helps identify any missed areas.
Common Waterproofing Mistakes
| Mistake | Possible Result |
|---|---|
| Skipping waterproof membrane | Water damage behind tiles |
| Leaving gaps in corners | Moisture penetration |
| Tiling before membrane cures | Weak waterproof layer |
| Using drywall in wet areas | Structural deterioration |
| Missing pipe penetrations | Hidden leaks |
Proper waterproofing may add extra time to the project, but it greatly increases the lifespan of the shower and reduces the risk of expensive repairs.
Why Use Spacers for Consistent Tile Alignment?
Perfectly straight grout joints give a shower a clean, professional appearance. Tile spacers make this consistency much easier to achieve.
Tile spacers maintain equal spacing between tiles, improve alignment, simplify grouting, reduce installation errors, and create a balanced finished appearance throughout the shower.
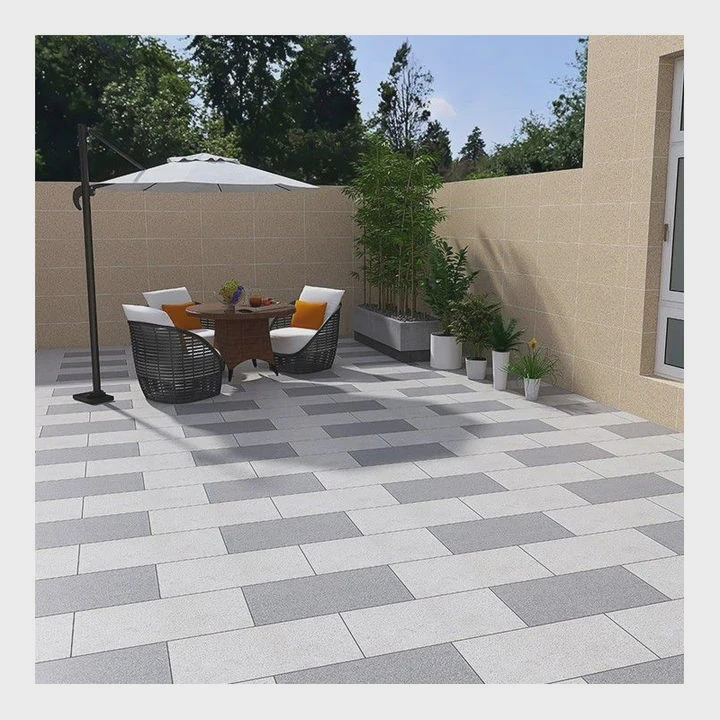
Without spacers, even experienced installers may struggle to maintain perfectly uniform grout joints across an entire wall.
Small errors accumulate quickly.
A joint that begins only slightly wider can become very noticeable several rows later.
Uniform Grout Lines
Consistent grout joints improve both appearance and performance.
Uniform spacing allows grout to cure evenly and creates a cleaner overall design.
This is especially important with rectified porcelain tiles that use narrow grout joints.
Better Visual Balance
Straight horizontal and vertical lines help the eye follow the tile pattern naturally.
Uneven spacing immediately attracts attention, even if the difference is only a few millimeters.
Easier Installation
Spacers reduce guesswork.
Installers can focus on tile placement rather than estimating joint widths.
This speeds installation while improving accuracy.
Different Spacer Sizes
Spacer width depends on tile type and design preference.
Common sizes include:
- 1 mm
- 2 mm
- 3 mm
- 5 mm
Large-format porcelain often uses narrow joints, while rustic or handmade tiles usually require wider spacing to accommodate dimensional variation.
Remove Spacers at the Right Time
Most spacers should be removed before grouting.
Leaving removable spacers inside grout joints can reduce grout depth and affect long-term performance.
Some leveling systems include break-away components that are removed after curing.
Tile Leveling Systems
Large-format tiles may also benefit from leveling clips.
These systems help reduce lippage by keeping adjacent tile surfaces flush while the adhesive cures.
Although leveling clips are different from standard spacers, many systems combine both functions.
Proper spacing produces cleaner grout lines, better visual symmetry, and a more professional finished shower.
Which Adhesives Work Best for Shower Tiles?
The adhesive is the foundation of every successful shower installation. Choosing the wrong product can shorten the life of the entire project.
Polymer-modified cement-based thin-set mortar is the preferred adhesive for most shower installations because it offers excellent bond strength, moisture resistance, and compatibility with ceramic and porcelain tiles.
Not every tile adhesive performs well in wet environments.
Bathrooms experience frequent moisture, temperature changes, and cleaning chemicals.
Selecting an adhesive designed specifically for these conditions is essential.
Polymer-Modified Thin-Set Mortar
This is the most common choice for modern shower installations.
Advantages include:
- Excellent bond strength
- Strong moisture resistance
- Suitable for porcelain tiles
- Compatible with waterproof membranes
- Long service life
Most professional installers use polymer-modified thin-set for shower walls and floors.
Rapid-Set Adhesives
Projects with tight schedules sometimes require faster curing.
Rapid-setting mortars allow grouting sooner while still providing strong bonding.
However, they offer shorter working times, so installers must work efficiently.
Epoxy Adhesives
Epoxy systems provide exceptional chemical resistance and waterproof performance.
They are commonly used in:
- Commercial kitchens
- Swimming pools
- Hospitals
- Industrial facilities
Because epoxy is more difficult to apply, it is less common in standard residential showers.
Ready-Mixed Adhesives
Ready-mixed mastics are convenient for dry interior walls.
However, many manufacturers do not recommend them for continuously wet shower environments.
Cement-based thin-set remains the safer choice.
Match the Adhesive to the Tile
Different tile materials have different requirements.
Dense porcelain absorbs very little water and benefits from highly flexible polymer-modified mortars.
Natural stone may require white thin-set to prevent discoloration.
Large-format tiles often require mortars specifically formulated to reduce sagging on vertical surfaces.
Proper Mixing Matters
Even the best adhesive performs poorly when mixed incorrectly.
Always:
- Measure water accurately.
- Mix according to instructions.
- Allow the mortar to slake if required.
- Remix before application.
- Never add extra water after slaking.
Correct mixing ensures maximum strength and proper curing.
Adhesive Selection Guide
| Tile Type | Recommended Adhesive |
|---|---|
| Ceramic wall tile | Polymer-modified thin-set |
| Porcelain tile | High-performance polymer-modified mortar |
| Large-format porcelain | Large-format tile mortar |
| Natural stone | White polymer-modified thin-set |
| Glass mosaic | White high-performance thin-set |
Selecting a high-quality adhesive designed for wet environments provides reliable bonding, minimizes future maintenance, and helps the shower perform well for decades.
Conclusion
Laying shower tile successfully requires careful planning, proper waterproofing, accurate tile alignment, and the right adhesive. Every installation step contributes to long-term durability. By following proven methods and allowing sufficient curing time, a shower can remain beautiful, waterproof, and dependable for many years.


