How to Remove Shower Tile?
- Sinotiles
- 2026-07-17
Removing shower tile may look easy at first. One wrong move can crack the wall, break pipes, or create extra repair work.
The best way to remove shower tile is to use the right tools, remove grout first, work slowly from loose edges, and protect the wall behind the tiles. Careful preparation helps reduce damage and makes installation of new tiles much easier.
Many homeowners remove shower tiles during bathroom remodeling. Some want to replace old designs. Others need to repair water damage behind the wall. No matter the reason, understanding the process before starting can save both time and money. This guide explains the tools, techniques, and decisions that make shower tile removal safer and more efficient.
What tools are needed to remove shower tiles?
Removing shower tiles becomes much easier when every tool is ready before the first tile comes off.
Basic hand tools like a hammer, cold chisel, pry bar, utility knife, grout removal tool, safety glasses, gloves, and dust protection are enough for most shower tile removal projects. Power tools can speed up larger jobs but are not always necessary.
Starting with the correct equipment helps prevent frustration. Many people rush into demolition with only a hammer. That often causes unnecessary wall damage and creates more cleanup later.
Essential Safety Equipment
Safety should always come first. Shower tile removal creates sharp tile fragments and a large amount of dust.
Essential protection includes:
| Tool | Purpose |
|---|---|
| Safety glasses | Protect eyes from flying tile pieces |
| Heavy gloves | Prevent cuts from broken ceramic |
| Dust mask or respirator | Reduce dust inhalation |
| Long sleeves | Protect skin from sharp edges |
| Hearing protection | Reduce noise from hammering |
Even small bathroom projects can create surprising amounts of debris.
Basic Hand Tools
Most shower tile removal projects only require common tools.
The basic toolkit usually includes:
- Hammer
- Cold chisel
- Putty knife
- Flat pry bar
- Utility knife
- Grout removal saw
- Scraper
- Bucket for debris
These tools give good control during removal. They also reduce the chance of hitting plumbing hidden behind the walls.
Helpful Power Tools
Larger bathrooms may benefit from power tools.
Some useful options include:
- Oscillating multi-tool with grout blade
- Rotary hammer
- Angle grinder with diamond blade
- Shop vacuum
Power tools speed up grout removal and demolition. Still, they require more care because they can damage cement board or drywall very quickly.
Preparing the Work Area
Before removing any tile, shut off water to the shower if plumbing work may be involved.
Then remove:
- Shower doors
- Shelves
- Soap holders
- Trim pieces
- Fixtures when necessary
Next, cover the drain to prevent broken tile from blocking the pipes.
Plastic sheets can also keep dust from spreading into the rest of the house.
Good preparation often saves more time than fast demolition.
How to avoid damaging walls during removal?
Many walls become damaged because people remove tiles too aggressively instead of working patiently.
The safest method is to remove grout first, begin at a loose tile or edge, use gentle prying pressure, and inspect the backing after each section. Slow removal greatly reduces wall damage.
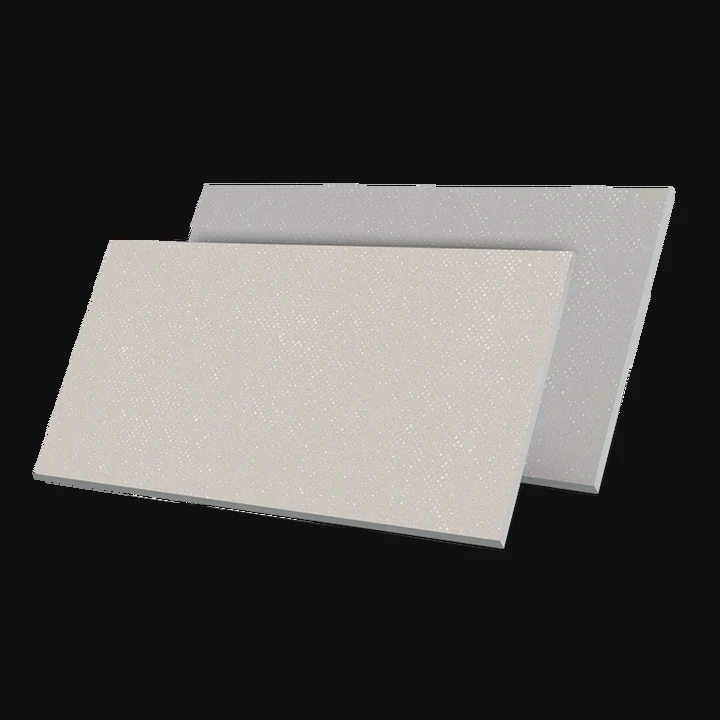
Every shower wall is different. Some older installations use drywall. Others use cement board, fiber cement, or waterproof foam panels. Knowing what sits behind the tile changes the removal strategy.
Start at the Weakest Point
Never attack the center of the wall first.
Better starting points include:
- Broken tiles
- Loose corners
- Edges around windows
- Plumbing openings
- Top rows
These areas usually separate more easily.
Once one tile comes off cleanly, nearby tiles often become easier to remove.
Remove Small Sections
Trying to remove large areas at once usually causes damage.
Instead:
- Remove one tile.
- Check the adhesive.
- Clean the area.
- Continue slowly.
This method gives constant feedback about how well the wall is holding up.
Watch the Backing Material
Different wall materials respond differently.
Drywall tears easily.
Cement board usually survives better.
Foam waterproof boards can dent if too much force is used.
Inspecting after every few tiles helps determine whether the removal method should change.
Use Controlled Force
Many beginners swing the hammer too hard.
Small taps with the hammer often work better than large blows.
The goal is to separate the tile from the adhesive instead of breaking through the wall.
If resistance feels unusually strong, removing more grout may help before continuing.
Expect Some Repairs
Even careful work often leaves:
- Thin-set adhesive
- Small gouges
- Torn paper facing
- Minor chips
Minor repairs are normal before installing new tile.
Complete wall replacement is only necessary when extensive water damage or mold is discovered behind the tiles.
Can grout removal simplify tile demolition?
Many people skip grout removal because it seems slow. In reality, it often makes tile removal much easier.
Yes. Removing grout first separates each tile from its neighbors. This reduces stress on the wall, lowers the chance of cracking surrounding tiles, and allows individual tiles to come off more cleanly.
Grout acts like a bridge between tiles. When it stays in place, every hammer strike transfers force across several tiles instead of just one.
Breaking that connection changes the entire demolition process.
Why Grout Matters
Without grout removal:
- Tiles pull on each other.
- Larger wall sections loosen together.
- Backer boards may crack.
- More force becomes necessary.
Removing grout creates individual pieces that can be removed one at a time.
Manual vs Power Grout Removal
Both methods work well.
Manual tools offer better control.
Power tools work faster on larger showers.
Here is a simple comparison.
| Method | Advantages | Disadvantages |
|---|---|---|
| Hand grout saw | Low cost, good control | Slower |
| Oscillating tool | Fast, clean cuts | Higher cost |
| Rotary tool | Good for corners | Generates more dust |
| Angle grinder | Very fast | High dust and greater risk |
The best choice depends on project size and personal experience.
Remove Enough Grout
Many people remove only the surface grout.
Removing grout to nearly the full tile depth provides better separation.
This allows the chisel to work directly under the tile instead of pushing against neighboring pieces.
Save Tiles When Possible
Sometimes old tiles need to be reused.
Examples include:
- Historic homes
- Matching discontinued tile
- Decorative accent pieces
Removing grout carefully increases the chance of removing tiles without breaking them.
Even if new tile will replace everything, careful grout removal still protects the wall behind the installation.
Dust Control During Grout Removal
Grout creates fine dust.
Simple ways to reduce dust include:
- Vacuum while cutting
- Use dust collection attachments
- Keep nearby doors closed
- Wear a respirator
- Clean frequently
Better dust control also improves visibility during demolition.
Is professional removal recommended for showers?
Some shower tile projects are perfect for DIY work. Others become much more complicated after the first few tiles come off.
Professional removal is recommended when showers have extensive water damage, mold, natural stone, large-format tiles, waterproof systems, or hidden plumbing concerns. Experienced installers can often complete removal faster while reducing repair costs.

Many people start a weekend remodeling project only to discover damaged framing, leaking pipes, or mold behind the walls.
These surprises change the project from simple demolition into full bathroom renovation.
When DIY Makes Sense
DIY removal is often reasonable when:
- Tiles are already loose.
- The shower is small.
- Basic tools are available.
- The homeowner has renovation experience.
- Waterproofing will be completely replaced.
Many ceramic shower walls can be removed successfully with patience.
When Professionals Are Worth Hiring
Professional removal becomes valuable when:
- Mold is visible.
- Structural damage exists.
- Plumbing relocation is required.
- Waterproof membranes must be preserved.
- Luxury tile needs protection.
- Time is limited.
Experienced contractors also know how different tile systems were installed over the past several decades.
That knowledge often reduces unexpected damage.
Hidden Problems Behind Shower Tiles
Water rarely stays where it first appears.
Removing shower tile sometimes reveals:
- Rotten wood framing
- Rusted fasteners
- Mold growth
- Damaged insulation
- Plumbing leaks
- Failed waterproof membranes
These problems should be repaired before installing new tile.
Installing beautiful new tile over damaged walls only hides problems temporarily.
Cost Versus Risk
Hiring professionals costs more upfront.
However, mistakes during DIY demolition can increase total project costs.
Replacing damaged cement board, repairing plumbing, or rebuilding wall framing may exceed the savings from self-removal.
Each project should be evaluated based on:
- Bathroom size
- Tile type
- Wall condition
- Personal experience
- Available time
A careful inspection before demolition helps determine whether professional help is the better investment.
Conclusion
Removing shower tile is not only about breaking ceramic. Success comes from preparation, the right tools, careful grout removal, and steady work. Taking time to protect the walls behind the tile makes the next installation smoother, reduces repair costs, and leads to a longer-lasting bathroom renovation.