How to Replace Pool Tile?
- Sinotiles
- 2026-08-04
Damaged pool tiles can make a swimming pool look old and can also create safety problems. Loose tiles, cracked surfaces, and missing pieces often become worse when repairs are delayed.
To replace pool tile, I need to remove damaged tiles carefully, prepare the surface, use waterproof adhesive, and install new tiles correctly. A complete process helps create a strong and long-lasting pool finish.
Before starting a pool tile replacement project, I always check the tile condition and the surrounding area. Proper planning helps avoid water damage and future repairs.
What Tools Are Needed to Replace Pool Tiles?
Replacing pool tiles requires the right tools because pool surfaces need careful handling. Using incorrect tools can damage the concrete base or create more repair work.
The basic tools help remove old tiles, clean the surface, apply adhesive, and install new tiles with accuracy.

When I prepare for a pool tile replacement project, I first organize all necessary tools. Having everything ready makes the process smoother and reduces mistakes during installation.
Essential tools for pool tile replacement
| Tool | Main Purpose |
|---|---|
| Chisel and hammer | Remove damaged tiles |
| Tile scraper | Clean old adhesive |
| Grout removal tool | Remove old grout lines |
| Notched trowel | Spread tile adhesive |
| Tile cutter | Adjust tile sizes |
| Rubber float | Apply grout |
| Sponge | Clean tile surface |
| Safety equipment | Protect workers |
The first tools needed are safety tools. Gloves, eye protection, and protective clothing are important because broken tiles can create sharp edges. Pool repairs often involve small tile pieces that can cause injuries if handled without protection.
A hammer and chisel are common tools for removing damaged tiles. They allow controlled pressure so the surrounding tiles and concrete surface are not damaged.
A tile scraper is also useful after removing old tiles. Adhesive residue needs to be cleaned because new tiles require a smooth bonding surface.
For grout removal, I use tools designed for controlled cleaning. Removing old grout carefully helps create cleaner spaces for new installation.
A notched trowel is necessary when applying waterproof tile adhesive. The notches help spread adhesive evenly and create better contact between the tile and pool surface.
A tile cutter is important because pool areas often require adjusted tile pieces around corners, curves, and special designs. Accurate cutting improves the final appearance.
A rubber float helps apply grout after tile installation. It pushes grout into the joints while reducing surface damage.
Cleaning tools are also important. A sponge and clean water help remove excess adhesive and grout before they dry.
The quality of tools affects the quality of the repair. Simple tools may work for small repairs, but larger pool projects often require more professional equipment.
I also consider the size of the repair area. Replacing a few broken tiles requires fewer tools than rebuilding a large section around the entire pool.
Preparing the correct tools before starting helps create a safer and more efficient tile replacement process.
How Can Old Tiles Be Removed Safely From Pools?
Removing old pool tiles safely requires patience and careful control. The goal is to remove damaged tiles without harming the concrete surface underneath.
A rushed removal process can create deeper damage and increase repair costs.
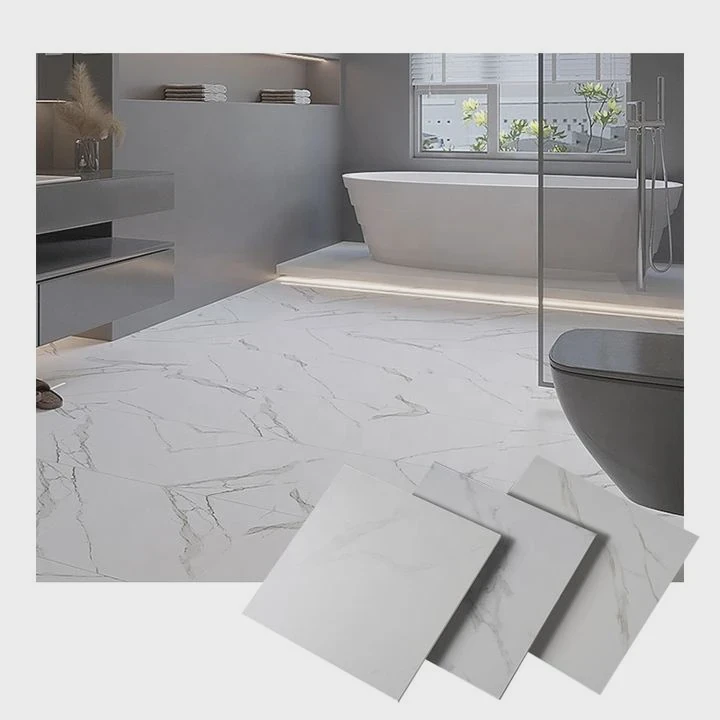
When I remove old pool tiles, I focus on protecting the surrounding area first. The existing pool structure is important because new tiles need a stable surface for installation.
Safe pool tile removal steps
| Step | Action |
|---|---|
| 1 | Inspect damaged tile areas |
| 2 | Protect nearby surfaces |
| 3 | Remove grout around tiles |
| 4 | Break tiles carefully |
| 5 | Clean remaining adhesive |
The first step is inspection. I check whether the problem affects only the tile surface or if there is a larger issue behind the tile.
Loose tiles may come off easily, but firmly attached tiles require more careful removal. Understanding the condition helps choose the correct method.
Before removing tiles, I protect nearby areas. This prevents accidental damage to surrounding tiles that do not need replacement.
The next step is removing grout around the damaged tile. This creates separation between tiles and reduces the chance of breaking neighboring pieces.
After removing the grout, I carefully break the tile. I usually start from the center of the damaged piece and work outward. This method gives better control.
The goal is not only removing the visible tile. The goal is protecting the surface below.
Common mistakes during pool tile removal
- Using too much force
- Damaging the concrete base
- Leaving old adhesive behind
- Ignoring loose surrounding tiles
- Skipping surface cleaning
Using too much force is one of the most common mistakes. Strong impacts can damage the pool shell or create cracks around the repair area.
After removing the tile, leftover adhesive must be cleaned. A rough or dirty surface can prevent new tiles from bonding correctly.
I also inspect nearby tiles after removal. Sometimes water movement or installation problems affect a larger area than expected.
Pool environments create unique challenges because water exposure can weaken old materials. Careful inspection helps identify the real cause of tile failure.
Safety is also important during removal. Broken ceramic or porcelain pieces can be sharp, and wet surfaces can become slippery.
A controlled removal process creates a better foundation for new tiles. Taking more time during this stage usually improves the final repair quality.
Why Use Waterproof Adhesive for Pool Tiles?
Waterproof adhesive is essential for pool tile replacement because pool tiles constantly face water exposure. Normal tile adhesive may not provide enough protection in a swimming pool environment.
A strong waterproof bonding system helps keep tiles attached and protects the area from moisture-related problems.
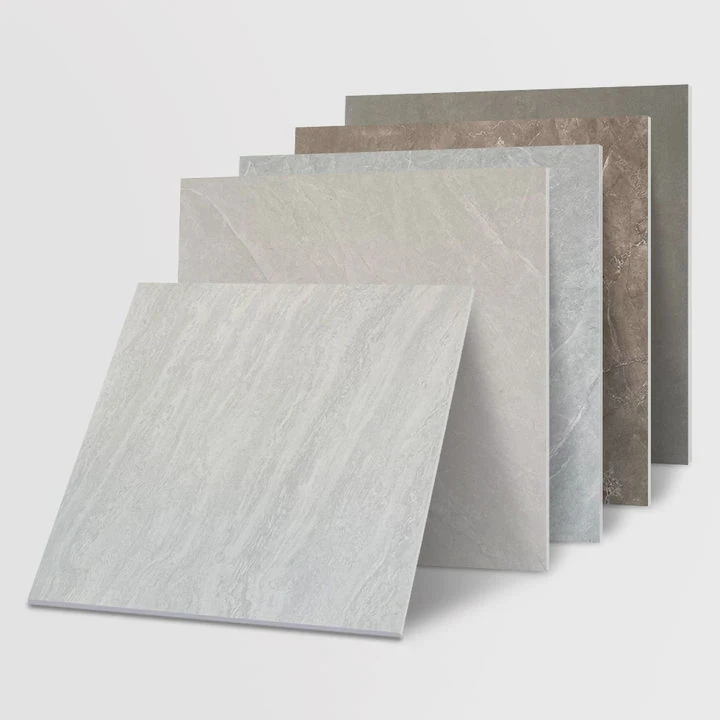
When I choose materials for pool tile replacement, I always focus on products designed for wet environments. Pool conditions are different from normal indoor tile projects.
Benefits of waterproof pool tile adhesive
| Benefit | Why It Matters |
|---|---|
| Strong water resistance | Prevents moisture damage |
| Better bonding strength | Keeps tiles attached |
| Improved durability | Handles temperature changes |
| Chemical resistance | Supports pool water conditions |
Pool water creates constant pressure on tile surfaces. Over time, weak adhesive can lose strength and allow tiles to become loose.
Waterproof adhesive creates a stronger connection between the tile and the pool structure. This is especially important in areas that stay underwater for long periods.
Temperature changes also affect pool materials. Outdoor pools experience sunlight, cold weather, and water temperature changes. These conditions create movement between different materials.
A flexible waterproof adhesive can better handle these small movements compared with standard indoor products.
Pool chemicals also create another challenge. Chlorine and cleaning treatments can affect some materials over time. Products designed for pools usually provide better resistance.
Another reason to use waterproof adhesive is preventing water from reaching the installation layer. When water enters behind tiles, it can weaken the bond and create more tile loss.
The adhesive selection should match the tile type as well. Glass mosaic tiles, ceramic tiles, and porcelain tiles may have different installation requirements.
I also check the manufacturer’s instructions before installation. Correct mixing, application thickness, and curing time all affect performance.
Using the correct adhesive may increase the initial project cost, but it helps reduce future maintenance.
A pool tile replacement is not only about attaching new tiles. It is about creating a complete system that can handle constant water exposure.
Which Steps Ensure Durable Pool Tile Replacement?
A durable pool tile replacement requires more than simply installing new tiles. Every step, from preparation to finishing, affects the lifespan of the repair.
A careful process helps prevent loose tiles, water damage, and repeated maintenance.

When I complete a pool tile replacement project, I focus on creating a strong connection between the new tile and the existing pool structure.
Steps for long-lasting pool tile replacement
| Stage | Important Action |
|---|---|
| Inspection | Find the real cause of tile damage |
| Removal | Protect the base surface |
| Preparation | Create a clean bonding area |
| Installation | Apply adhesive correctly |
| Finishing | Seal and clean the surface |
The first step is finding the cause of the damage. A tile may fall because of old adhesive, water problems, movement, or poor installation. Repairing only the visible problem may not create a long-term solution.
After removing old tiles, surface preparation becomes very important. The area should be clean, dry, and free from loose materials.
A strong adhesive bond depends on good surface preparation. Dust, old glue, and uneven areas can reduce performance.
During installation, tile placement should be accurate. Proper spacing creates consistent grout lines and improves the appearance.
The curing process is another important step. The adhesive needs enough time to strengthen before the pool returns to normal use.
Factors that improve replacement durability
- Use materials designed for pools
- Prepare the surface carefully
- Follow adhesive instructions
- Allow proper curing time
- Inspect surrounding tile areas
Grout selection also matters. Pool grout needs to handle water exposure and regular cleaning. Choosing unsuitable grout can create problems even when tile installation is correct.
After installation, I inspect the finished area carefully. I check tile alignment, grout quality, and any signs of weak bonding.
Maintenance also affects durability. Regular pool care helps protect tile surfaces and reduces stress on the installation system.
A quality pool tile replacement combines good materials, careful preparation, and correct installation methods.
The goal is not only making the pool look better. The goal is creating a repair that can handle years of water exposure and daily use.
Conclusion
Replacing pool tile requires proper tools, safe removal methods, waterproof adhesive, and careful installation steps. A complete repair process helps create a durable pool surface with better long-term performance.