
How to Tile a Kitchen Countertop?
- Sinotiles
- 2026-08-25
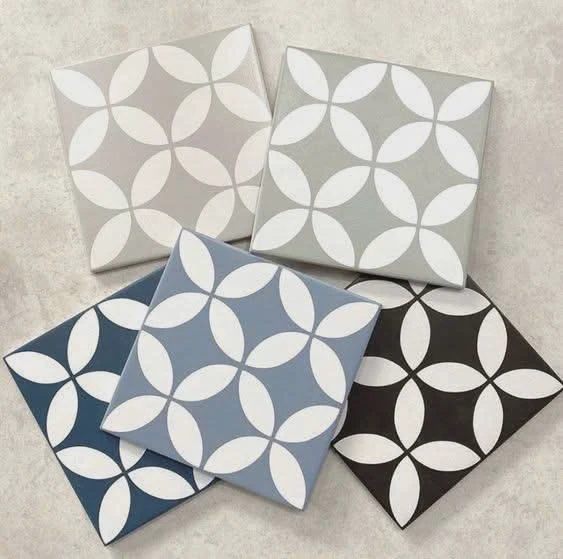
A kitchen countertop faces daily challenges from water, heat, stains, and heavy use. Many homeowners want a beautiful surface but also need a material that can handle everyday activities.
I can tile a kitchen countertop by preparing a strong base, installing suitable tiles, finishing edges carefully, and applying proper sealing for long-term durability.
A tiled kitchen countertop can create a unique appearance and provide many design options. Compared with some traditional countertop materials, tile offers different colors, patterns, sizes, and textures. It can help create a personalized kitchen style without requiring a complete replacement.
However, countertop tiling is different from wall or floor tiling. A countertop needs a very flat surface because people prepare food, place appliances, and use the area every day. Small mistakes can become noticeable quickly.
I always focus on four important areas before starting a countertop tile project. The base needs to be strong, the tile selection needs to match the usage, the edges need professional finishing, and the surface needs proper protection.
A good countertop installation is not only about appearance. It also needs to provide reliable performance for many years.
What preparation is needed for countertops?
Before I install tiles on a kitchen countertop, I need to prepare the surface carefully. A strong and stable base is the foundation of a successful countertop project.
The preparation process includes checking the countertop structure, creating a flat surface, cleaning the base, and planning the tile layout before installation begins.
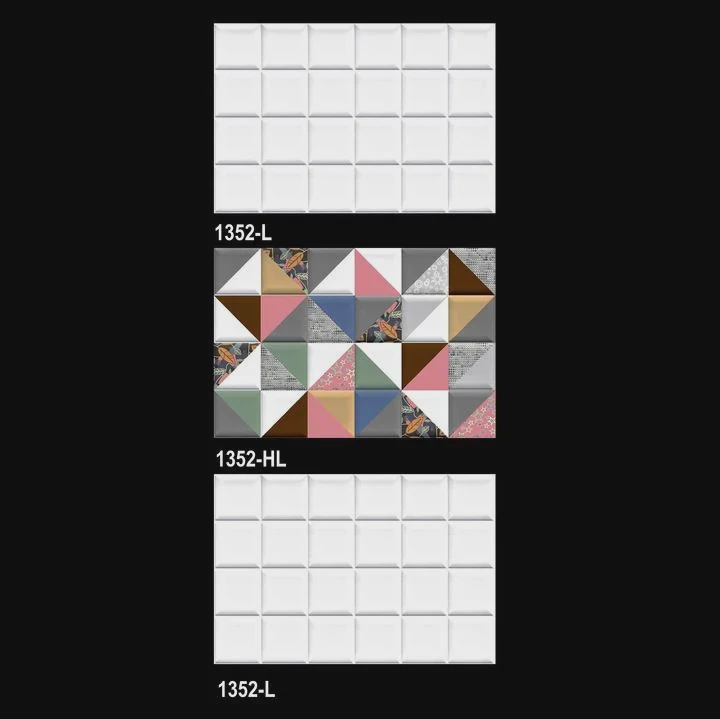
The first step is checking the existing countertop structure. Tiles need a strong base because kitchen countertops receive daily pressure. If the base moves or bends, the tiles may crack or the grout may fail.
A common base material for tiled countertops is cement board or another rigid surface. These materials provide better support compared with flexible surfaces. The goal is to create a foundation that does not move.
I also check the surface level. A countertop needs to be flat because uneven areas can affect tile placement. When tiles are installed on an uneven surface, the final countertop may have height differences that affect daily use.
Cleaning is another important preparation step. Dust, grease, and old adhesive can reduce the connection between the tile and the installation material. I always make sure the surface is clean and dry before applying adhesive.
Main preparation steps for countertop tiling
| Preparation Step | Purpose |
|---|---|
| Check base strength | Prevent movement and cracking |
| Create a flat surface | Improve tile alignment |
| Clean countertop area | Increase adhesive performance |
| Measure the layout | Reduce cutting mistakes |
| Protect nearby areas | Keep installation clean |
Planning the tile layout is also important. Before applying adhesive, I place the tiles temporarily to understand how they will fit. This helps reduce narrow cuts and creates a more balanced appearance.
Important planning points
- Decide the starting point.
- Measure the countertop size.
- Plan edge tile positions.
- Check sink and appliance areas.
- Prepare cutting requirements.
The sink area needs special attention because water exposure is higher. I need to make sure the tiles and grout lines around the sink have proper protection.
I also consider the daily use of the countertop. A kitchen countertop is not only decorative. It supports cooking activities, food preparation, and household tasks. The installation method must match these needs.
Good preparation creates a stronger foundation. When the base is ready, the tile installation becomes easier, cleaner, and more reliable.
How can edges and corners be finished neatly?
The edges and corners of a tiled countertop strongly affect the final appearance. These areas are also more exposed to impact, so they need careful attention.
I can finish countertop edges neatly by planning tile placement, using suitable edge solutions, and creating smooth transitions between surfaces.
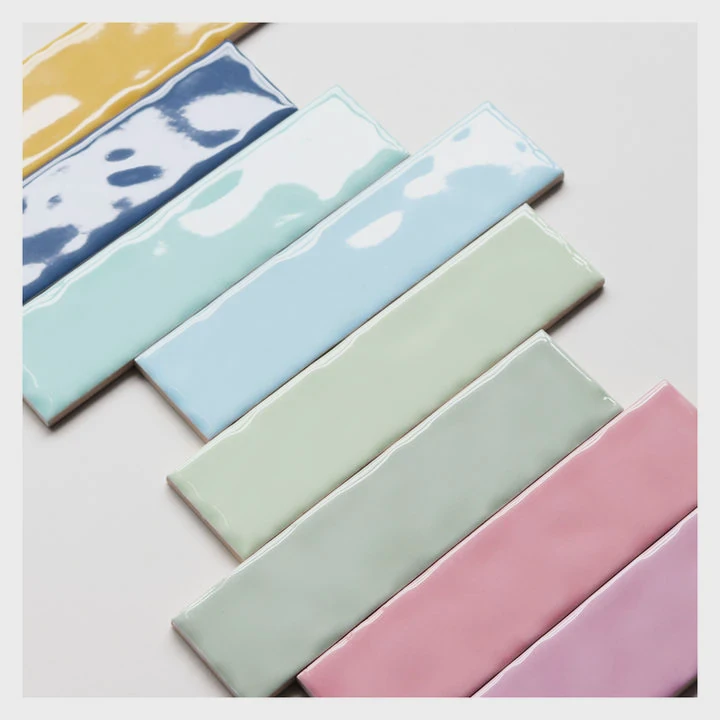
Many countertop projects look good on the main surface but lose quality because of poor edge finishing. The edge is one of the first areas people notice when they look at the countertop.
There are several ways to finish tiled countertop edges. The best method depends on the tile type, design style, and customer preference.
One common method is using bullnose tiles. These tiles have a rounded finished edge that creates a smooth transition. They are popular because they provide both safety and a clean appearance.
Another option is using metal edge profiles. These profiles create straight and modern lines. They are often used in contemporary kitchens because they provide a simple and professional finish.
Common countertop edge options
| Edge Method | Features |
|---|---|
| Bullnose tile | Soft and traditional appearance |
| Metal profile | Modern and clean finish |
| Stone edge | Premium appearance |
| Tile miter edge | Custom high-end look |
Corners require even more attention. Sharp corners can become uncomfortable and may create safety concerns. I usually recommend creating a smooth corner solution based on the kitchen design.
The cutting process also affects the final result. Poor tile cutting can create uneven edges, visible chips, or weak areas. Using proper cutting tools helps create cleaner results.
Tips for better edge finishing
- Measure twice before cutting.
- Use quality cutting tools.
- Keep grout lines consistent.
- Check alignment during installation.
- Protect finished edges during curing.
I also consider how the countertop connects with the backsplash. A good transition between these areas creates a more complete kitchen design.
The edge finishing process requires patience. Small details can make a large difference in the final appearance. A carefully finished edge makes the countertop look more professional and improves daily comfort.
A successful tiled countertop is not only about the center surface. The edges and corners complete the design and protect the installation.
Why is sealing important for durability?
Sealing is an important step after installing a tiled kitchen countertop. Kitchen surfaces often contact water, oils, food, and cleaning products, so protection is necessary.
Sealing helps protect tiles and grout from stains, moisture, and daily wear. A properly sealed countertop is easier to clean and can maintain its appearance longer.
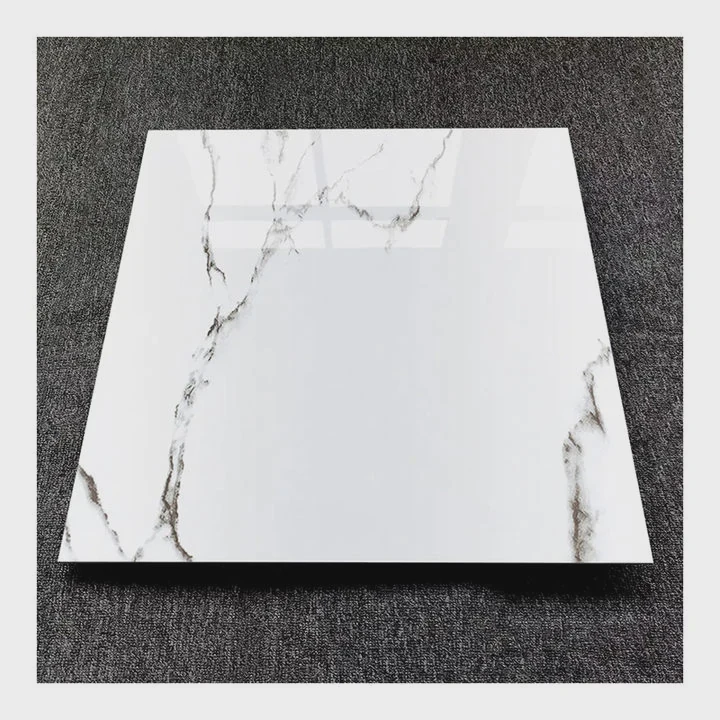
Not all tiles have the same level of protection. Some tiles have low water absorption, while others are more porous. Natural stone tiles especially need careful sealing because they can absorb liquids easily.
Grout lines are another important area. Even when the tile surface is strong, grout can absorb stains and moisture if it is not properly protected.
A sealed countertop creates an additional barrier. It helps prevent liquids from entering small spaces and makes regular cleaning easier.
Benefits of countertop sealing
| Benefit | Explanation |
|---|---|
| Stain protection | Reduces absorption of food and liquids |
| Easier cleaning | Creates a smoother surface |
| Moisture resistance | Protects grout and tile joints |
| Longer lifespan | Helps maintain appearance |
The sealing process needs proper timing. The tile adhesive and grout should have enough time to cure before applying a sealer.
I also need to choose the correct sealer based on the tile material. Different surfaces require different protection methods.
Maintenance after sealing
A sealed countertop still needs regular care:
- Clean spills quickly.
- Avoid harsh chemicals.
- Use suitable cleaning products.
- Check the surface condition regularly.
Many people think sealing means the countertop needs no maintenance. However, sealing is only a protective step. Regular cleaning and proper use are still necessary.
A well-maintained tiled countertop can remain attractive for many years. The combination of quality tiles, correct installation, and proper sealing creates better long-term performance.
Which tiles are best for countertops?
Choosing the right tile is one of the most important decisions for a kitchen countertop project. Countertops require tiles that can handle daily pressure, cleaning, and temperature changes.
The best countertop tiles are durable, easy to clean, low in water absorption, and strong enough for daily kitchen activities. Porcelain tiles are often a popular choice because they provide good performance and design options.
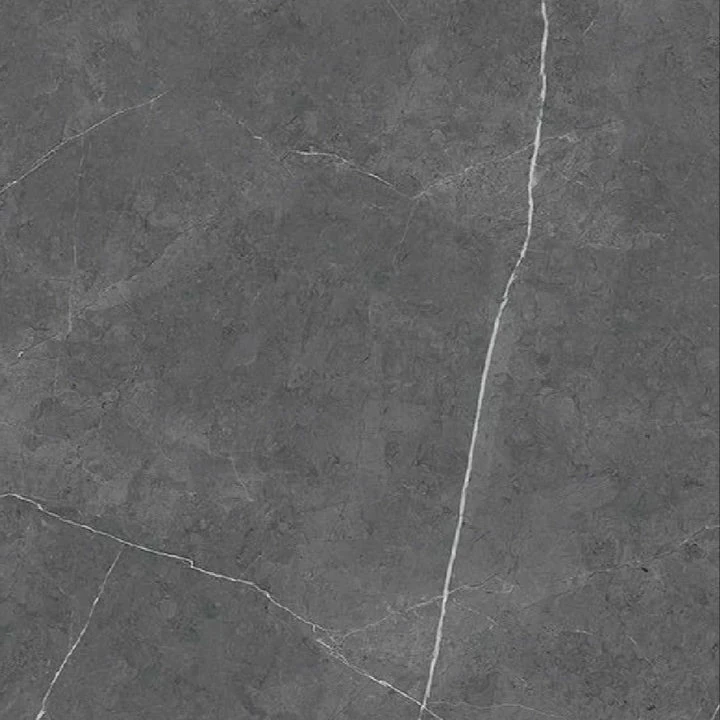
Porcelain tiles are commonly selected for countertops because they are dense, strong, and resistant to moisture. They are available in many designs, including stone, marble, and concrete styles.
Ceramic tiles can also work well in some countertop applications. They provide many design choices and can be a cost-effective option. However, I need to check the strength and durability requirements before choosing them.
Large format tiles are becoming more popular because they create fewer grout lines. Fewer joints can make cleaning easier and create a more modern appearance.
Comparison of countertop tile options
| Tile Type | Advantages | Considerations |
|---|---|---|
| Porcelain tile | Strong and low absorption | Requires proper cutting |
| Ceramic tile | Many designs and affordable | May have lower strength |
| Natural stone tile | Premium appearance | Needs more maintenance |
| Large format tile | Fewer grout lines | Requires skilled installation |
I also consider the surface finish. Extremely rough surfaces may collect dirt more easily, while very smooth surfaces may become slippery when wet.
The size of the tile matters too. Larger tiles can create a cleaner appearance, but they require accurate installation. Smaller tiles provide more flexibility but create more grout lines.
Factors I consider when selecting countertop tiles
- Strength and durability
- Water resistance
- Heat resistance
- Cleaning requirements
- Design style
- Installation difficulty
A kitchen countertop should balance beauty and function. The most attractive tile is not always the best choice if it cannot handle daily use.
I always recommend selecting tiles based on the real environment. A family kitchen with heavy cooking activity may need a different tile solution compared with a decorative countertop with light use.
The right tile choice creates the foundation for a countertop that looks good and performs well.
Conclusion
I can create a durable tiled kitchen countertop by preparing the base, finishing edges carefully, sealing the surface, and selecting the right tiles. Good installation creates both beauty and long-term performance.





