Can Tile Be Installed on Plywood?
- Sinotiles
- 2026-07-15
When plywood is used as a base, tile installation becomes risky if the structure is weak or unstable. Many failures come from movement under the surface.
Yes, tile can be installed on plywood, but only when the plywood is strong, stable, and properly prepared. Extra layers and correct materials are often required for long-term success.
Transition into details helps show what really matters before starting any tiling work on wood-based floors.
What conditions allow tile installation on plywood?
Installing tile on plywood is possible, but only under strict conditions. Many floors fail because these conditions are ignored. The plywood must be strong, dry, and firmly fixed.
Tile needs a very stable base. Any bending or movement will crack grout or tiles over time. So structure is the first thing to check before anything else.
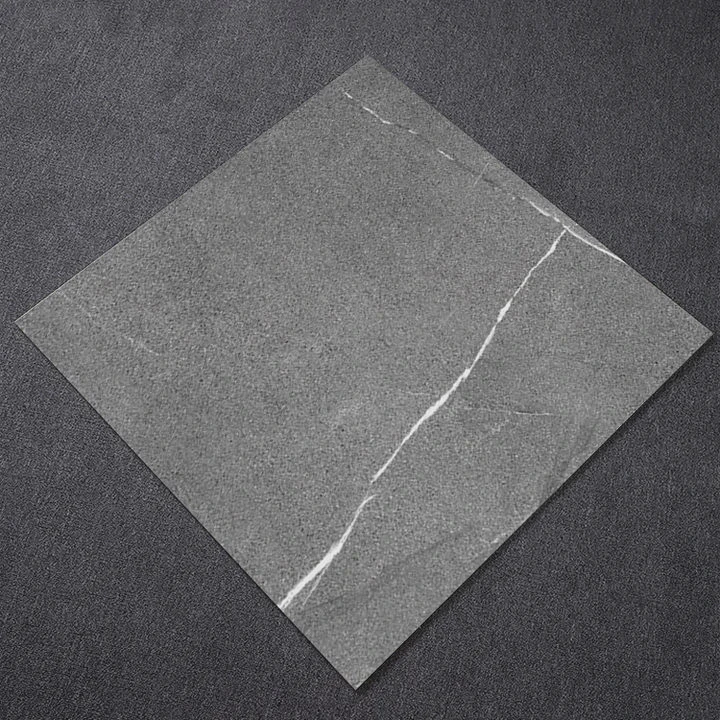
The main conditions include:
- Plywood must be exterior grade or structural grade
- Minimum thickness should usually be 18mm or more
- Subfloor must be firmly screwed into joists
- Deflection must be very low (no bounce when walking)
- Surface must be clean, dry, and free of oil or dust
Key risk factors comparison
| Condition | Safe Level | Risk Level |
|---|---|---|
| Plywood thickness | ≥18mm or double layer | Single thin sheet |
| Floor movement | Almost none | Noticeable bounce |
| Moisture level | Dry and stable | Damp or humid |
| Fixing strength | Screwed to joists | Loose or nailed only |
Dive deeper explanation
Plywood is a wood-based material, so it naturally expands and contracts. This movement is the main problem for tile installation. Ceramic and porcelain tiles do not move. They are rigid. So when the base moves, the tile surface cracks.
A strong installation starts with controlling movement. Double-layer plywood systems are often used in flooring projects. The first layer is structural. The second layer adds stability and reduces flex between joints.
The direction of installation also matters. The top plywood layer should be installed so that seams do not line up with the lower layer. This reduces weak points.
Screws are better than nails because screws hold position under stress. Nails can loosen over time, especially under load changes.
Moisture is another hidden risk. If plywood absorbs water, it swells. When it dries, it shrinks. This cycle creates stress under tiles. That is why sealing and proper room conditions matter.
In real construction practice, professionals also test floor deflection. If the floor moves too much under weight, tile is not recommended until reinforcement is done. This step prevents long-term failure and costly repairs.
How should plywood be prepared before tiling?
Proper preparation is the most important step when tiling on plywood. Without preparation, even strong plywood can fail.
The surface must be cleaned, leveled, and sealed before any adhesive is applied. Any gap or uneven area will affect tile bonding.
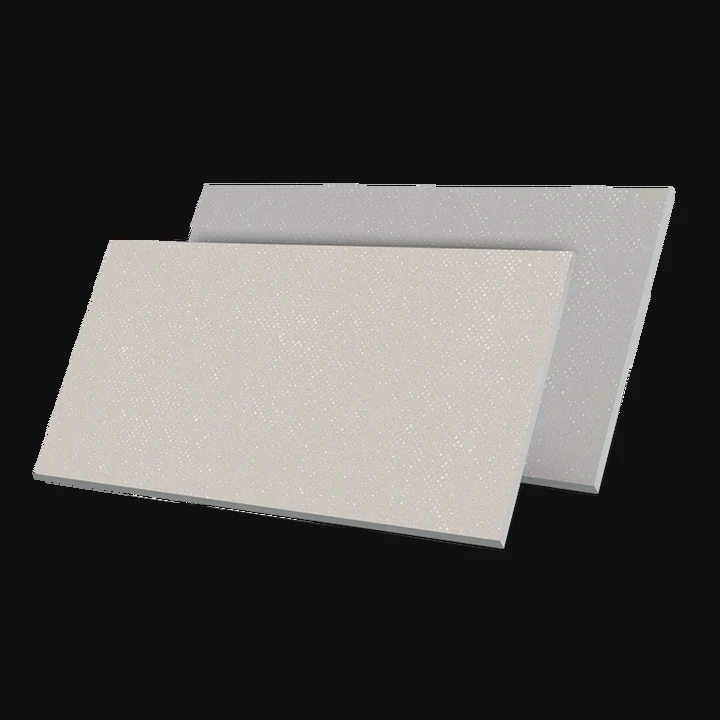
Preparation steps include:
- Tighten all screws into joists
- Fill gaps and joints with wood filler or compound
- Sand the surface to remove rough spots
- Clean dust completely before applying primer
- Apply primer or bonding sealer if required
Preparation checklist
| Step | Purpose | Common mistake |
|---|---|---|
| Screwing down plywood | Reduce movement | Using too few screws |
| Surface sanding | Improve bonding | Leaving rough splinters |
| Gap filling | Avoid weak joints | Ignoring seams |
| Cleaning | Ensure adhesion | Leaving dust behind |
Dive deeper explanation
Surface preparation controls how well tile adhesive bonds to plywood. Wood surfaces are naturally smooth in some areas and rough in others. This inconsistency can create weak bonding zones.
Sanding is often skipped, but it plays a key role. It removes surface gloss, glue residue, and uneven fibers. A uniform surface helps adhesive spread evenly.
Screw placement is also important. Screws should be spaced evenly, especially near edges and joints. Loose boards will move under pressure and cause tile cracks.
Filling joints reduces movement between plywood sheets. Without filling, grout lines above can reflect movement below. This is called “telegraphing,” and it leads to visible cracks in tile lines.
Priming the surface is often required in modern tiling systems. Primer improves grip between wood and cement-based adhesives. Without it, the adhesive may dry too fast or lose strength.
Humidity in the room should also be controlled during preparation. Wet or damp plywood should never be tiled directly. It must be fully dry to prevent future swelling.
A clean surface is the final step. Dust acts like a barrier between glue and wood. Even a thin layer of dust can weaken the bond significantly.
Why use backer boards over plywood surfaces?
Backer boards are often used between plywood and tile because they reduce movement and improve bonding strength.
They create a stable, cement-like surface that is more suitable for tile installation than wood alone.
Common backer board types include:
- Cement backer board
- Fiber cement board
- Uncoupling membranes
Backer board comparison table
| Type | Strength | Flex resistance | Best use |
|---|---|---|---|
| Cement board | High | Medium | Bathrooms, kitchens |
| Fiber cement board | High | High | Heavy traffic floors |
| Uncoupling membrane | Medium | Very high | Large tile installations |
Dive deeper explanation
Backer boards solve the biggest problem in plywood tiling: movement. Wood expands and contracts with temperature and moisture changes. Tile does not. So the interface between them must absorb or block movement.
Cement backer boards provide a rigid surface. They do not flex easily, which helps distribute load evenly across tiles. They also bond well with tile adhesive.
Uncoupling membranes work differently. They allow slight movement in the subfloor while protecting the tile layer above. This reduces cracking risk in large floor areas or buildings with slight structural movement.
Installation method matters. Backer boards must be screwed into the plywood, not just glued. Gaps between boards are usually filled with tape and thin-set mortar to create a continuous surface.
Another benefit is moisture resistance. Plywood can absorb water from tile adhesive or cleaning processes. Backer boards act as a barrier and reduce this risk.
In real projects, using backer boards is often considered standard practice for professional tile work over wood floors. It increases cost slightly but significantly improves long-term durability.
Skipping backer boards is sometimes done in low-cost projects, but it increases the chance of tile cracking over time, especially in high-traffic areas.
Which adhesives work best for plywood tiling?
Not all adhesives work well with plywood. The wrong choice can lead to weak bonding and tile failure.
Flexible adhesives are required because they can handle slight movement in wood-based subfloors.
Common adhesive types:
- Polymer-modified thin-set mortar
- Flexible tile adhesive (latex-based)
- Epoxy-based adhesive (special cases)
Adhesive performance comparison
| Adhesive type | Flexibility | Water resistance | Recommended use |
|---|---|---|---|
| Standard thin-set | Low | Medium | Not recommended alone |
| Modified thin-set | High | High | Most plywood installations |
| Epoxy adhesive | Very high | Very high | Industrial or wet areas |
Dive deeper explanation
Adhesive selection is critical when working with plywood because the base is not stable like concrete. Movement happens at a microscopic level even when the floor feels solid.
Polymer-modified thin-set mortar is the most commonly used option. It contains additives that improve flexibility and bonding strength. These additives allow the adhesive to stretch slightly without breaking the bond.
Flexible latex-based adhesives are also used in some systems. They are designed for wood subfloors and can handle temperature changes better than standard cement-based products.
Epoxy adhesives are rarely used in residential flooring because they are expensive and harder to apply. However, they offer very high strength and are used in industrial or heavy-duty environments.
Application method also matters. Adhesive should be spread evenly using a notched trowel. Uneven spreading creates air pockets under tiles. These pockets weaken support and can lead to cracks.
Working time is another factor. Wood absorbs moisture from adhesives differently than concrete. So installers must work in smaller sections to prevent drying before tile placement.
Temperature and humidity also affect curing. High humidity slows drying, while dry air can make adhesive set too quickly. Both conditions need to be controlled for best results.
Proper adhesive selection, combined with backer boards and good preparation, creates a system that can last many years without failure.
Conclusion
Tile installation on plywood is possible when structure, preparation, backer boards, and flexible adhesives are correctly used together. Each layer reduces movement and improves long-term tile stability.
- Pre: What Is Encaustic Tile?
- Next: What is carpet tile?