
How to Apply Mosaic Tile?
- Sinotiles
- 2026-04-13

Small tiles can look simple, but many people struggle with uneven surfaces, loose pieces, and poor finishing. These problems often come from wrong steps or missing preparation.
To apply mosaic tile well, you need proper surface preparation, correct alignment methods, suitable adhesive, and timely grouting. Each step affects the final result and durability.
Many installers rush the process. That leads to gaps, misalignment, or tiles falling off. This guide explains each step in a clear and practical way so the result looks clean and professional.
What preparation is needed for mosaic tile installation?
Many tile problems start before installation even begins. Poor surface preparation leads to weak bonding, uneven tiles, and long-term damage.
Proper preparation includes cleaning the surface, ensuring it is level and dry, applying primer if needed, and planning the layout before placing tiles.
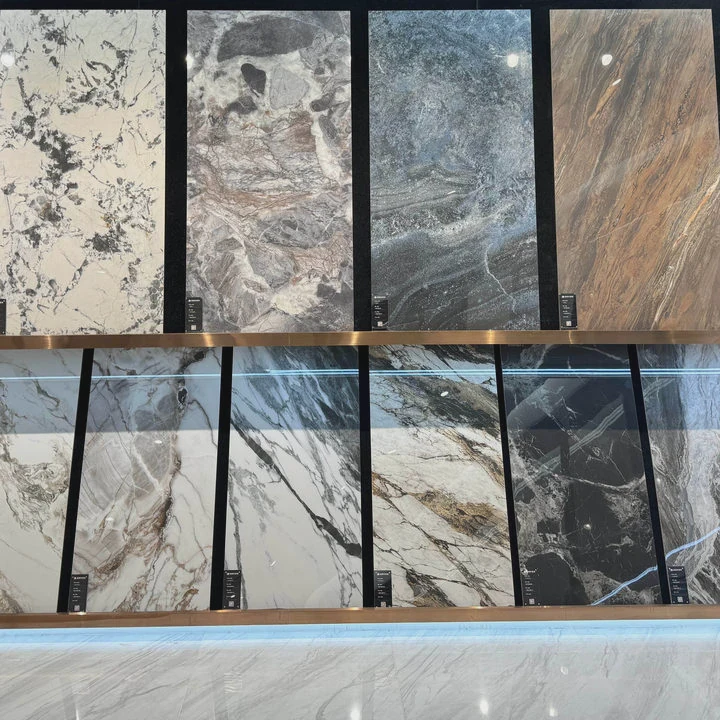
Surface preparation is the base of a successful mosaic tile project. Mosaic tiles are small, and they highlight every imperfection underneath. So the surface must be smooth and stable.
Surface cleaning and inspection
Every installation begins with cleaning. Dust, grease, and loose particles reduce adhesive strength.
- Remove dust with a brush or vacuum
- Clean grease using mild detergent
- Let the surface dry completely
Even small debris can create bumps under mosaic sheets.
Leveling the surface
Mosaic tiles do not hide uneven areas. Instead, they make them more visible.
If the surface is not flat:
- Use leveling compound for floors
- Use skim coat for walls
- Check with a straight edge
A flat surface ensures tiles sit evenly and prevents lippage.
Moisture control
Moisture is a hidden issue. It can weaken adhesive and cause tiles to detach.
- For bathrooms or wet areas, apply waterproofing membrane
- Ensure the surface is fully dry before installation
Planning the layout
Before applying adhesive, dry-lay the mosaic sheets.
This helps to:
- Check alignment
- Avoid awkward cuts
- Plan edge finishing
Tools checklist
| Tool | Purpose |
|---|---|
| Notched trowel | Spread adhesive evenly |
| Level | Check flatness |
| Tile cutter | Cut sheets or individual tiles |
| Sponge | Clean excess grout |
| Rubber float | Apply grout |
Good preparation reduces errors later. It also improves efficiency during installation.
How do you align small tiles evenly on surfaces?
Mosaic tiles are small and flexible. That makes alignment more challenging compared to large tiles.
To align mosaic tiles evenly, use mesh-backed sheets, apply consistent pressure, follow layout lines, and adjust spacing carefully during installation.
Alignment is where many installations fail. Small mistakes repeat across the surface and become very visible.
Use reference lines
Always start with guidelines.
- Draw horizontal and vertical lines
- Use a laser level if possible
- Start from the center or a focal point
These lines help keep rows straight.
Work with mesh-backed sheets
Most mosaic tiles come pre-mounted on mesh.
Benefits:
- Faster installation
- Consistent spacing
- Easier handling
But sheets can still shift. So careful placement is needed.
Apply even pressure
After placing a sheet:
- Use a grout float or flat tool
- Press gently and evenly
- Avoid pushing too hard
Too much pressure causes adhesive to rise between tiles.
Adjust spacing between sheets
Sheet edges are the main problem area.
Check:
- Gaps between sheets match internal spacing
- No visible lines between sheets
You may need to adjust individual tiles slightly.
Common alignment mistakes
| Mistake | Result |
|---|---|
| No layout lines | Crooked installation |
| Uneven pressure | Tiles at different heights |
| Ignoring sheet edges | Visible grid lines |
| Rushing installation | Poor visual finish |
Working on vertical vs horizontal surfaces
Walls:
- Start from bottom support line
- Prevent slipping
Floors:
- Work in small sections
- Avoid stepping on fresh tiles
Alignment takes patience. Small corrections during installation save major repairs later.
Which adhesives are best for mosaic tiles?
Choosing the wrong adhesive can cause tiles to fall, discolor, or shift over time.
The best adhesives for mosaic tiles are thin-set mortar, epoxy adhesive, or ready-mix adhesive, depending on tile material and installation area.
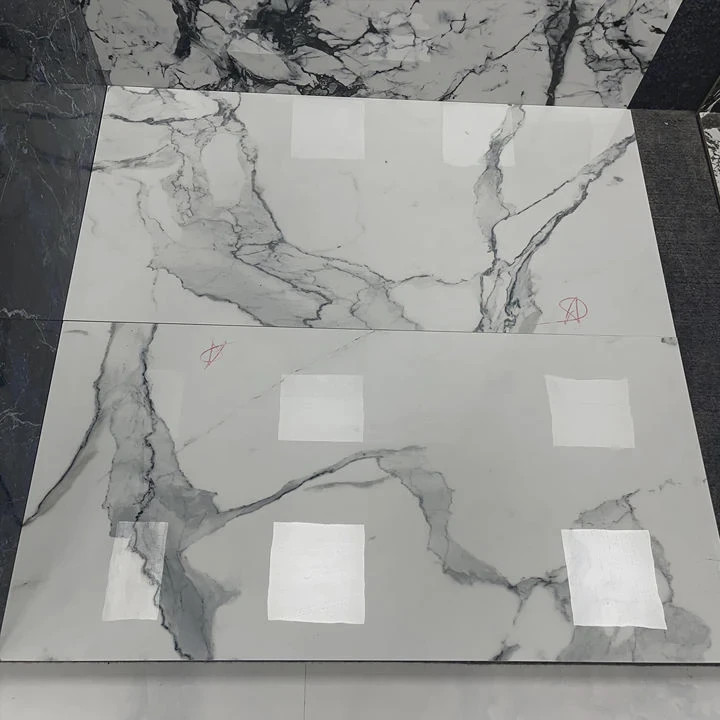
Different mosaic materials require different adhesives. Glass, ceramic, and stone tiles behave differently.
Types of adhesives
Thin-set mortar
This is the most common choice.
- Suitable for ceramic and porcelain
- Strong bonding
- Works for floors and walls
It comes as powder and must be mixed with water.
Epoxy adhesive
This is stronger and more resistant.
- Ideal for glass mosaic tiles
- Waterproof and stain-resistant
- Good for pools and wet areas
It is more expensive and harder to work with.
Ready-mix adhesive
This is pre-mixed and easy to use.
- Suitable for small indoor projects
- Convenient for beginners
But it is not ideal for wet areas or heavy tiles.
Choosing based on application
| Area | Recommended Adhesive |
|---|---|
| Bathroom wall | Thin-set or epoxy |
| Kitchen backsplash | Ready-mix or thin-set |
| Swimming pool | Epoxy |
| Floor installation | Thin-set |
Adhesive color matters
For glass or light-colored mosaic tiles:
- Use white adhesive
- Prevents color distortion
Dark adhesive can affect the final appearance.
Application tips
- Use a small notched trowel
- Spread evenly
- Do not cover large areas at once
Adhesive should not dry before tile placement.
Common adhesive mistakes
- Using the wrong type for wet areas
- Applying too thick layer
- Letting adhesive skin over before placing tiles
The right adhesive ensures long-term durability and visual quality.
When should grout be applied to mosaics?
Many installers rush to grout too early or wait too long. Both can cause problems.
Grout should be applied after the adhesive has fully cured, usually 24 hours after tile installation, depending on conditions and adhesive type.
Grouting is not just a finishing step. It protects tiles and improves overall strength.
Timing is critical
If grout is applied too early:
- Tiles may shift
- Adhesive may weaken
If too late:
- Dust may enter joints
- Cleaning becomes harder
The standard waiting time is about 24 hours.
Types of grout
Cement-based grout
- Most common
- Affordable
- Suitable for most applications
Epoxy grout
- Strong and stain-resistant
- Ideal for kitchens and wet areas
- More difficult to apply
Grouting process
- Mix grout properly
- Use rubber float to apply
- Press into joints fully
- Remove excess grout
- Clean with damp sponge
Cleaning after grouting
Cleaning must be done in stages:
- First wipe: remove excess
- Second wipe: smooth joints
- Final polish: remove haze
Common grouting mistakes
| Mistake | Result |
|---|---|
| Grouting too early | Tile movement |
| Poor cleaning | Haze on tiles |
| Weak grout mix | Cracking |
| Skipping sealing (if needed) | Staining |
Special considerations for mosaic tiles
Because joints are small and many:
- Work in small sections
- Avoid grout drying too fast
- Use fine grout for narrow joints
Grouting completes the installation. It affects both appearance and durability.
Conclusion
Mosaic tile installation needs careful preparation, precise alignment, correct adhesive, and proper grouting timing. Each step matters. When done correctly, mosaic tiles create a durable and visually strong surface for both residential and commercial spaces.


