
How to Do Backsplash Tile in Kitchen?
- Sinotiles
- 2026-04-11
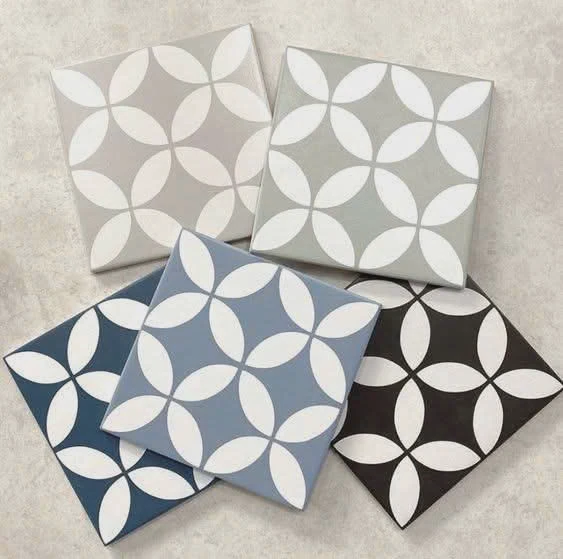
A messy kitchen wall can ruin the whole space. Many people feel confused about where to start and worry about making costly mistakes during tile installation.
Installing a kitchen backsplash tile involves proper surface preparation, accurate cutting, choosing the right adhesive, and applying grout at the correct time to ensure durability and a clean finish.
A backsplash is not only for protection. It also shapes the style of the kitchen. Each step matters, from planning to finishing, and skipping details often leads to poor results.
What preparation is required for kitchen backsplash?
A poor surface leads to tiles falling off or uneven lines. Many beginners rush this step and later face cracks, gaps, or weak bonding.
Proper preparation includes cleaning the wall, repairing damage, ensuring a flat surface, marking layout lines, and gathering all tools before starting installation.
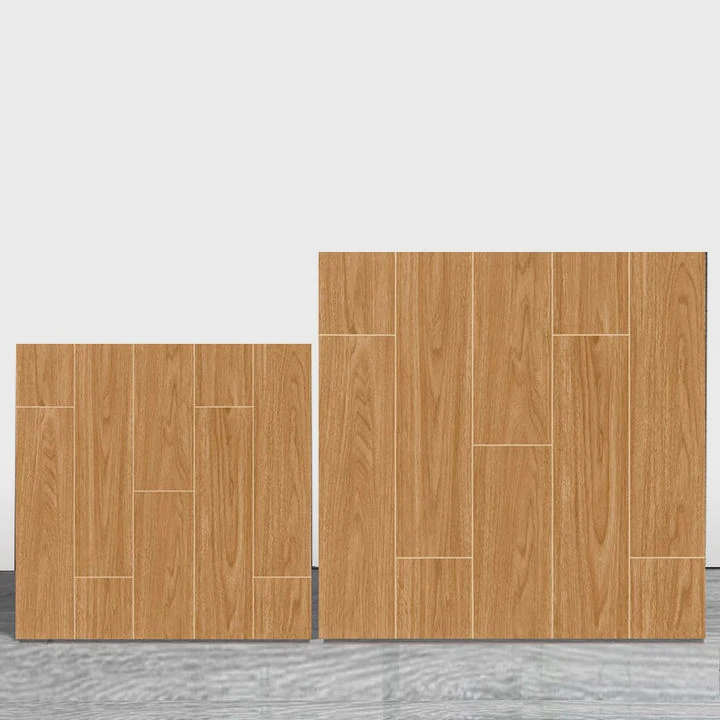
Before placing any tile, the wall must be ready. This step sets the foundation for the entire project. A strong base ensures long-term performance and better visual results.
Surface Cleaning and Inspection
The wall must be free of grease, dust, and moisture. Kitchen walls often collect oil over time. This can weaken adhesive bonding.
- Use a degreaser or mild detergent
- Let the wall dry completely
- Check for cracks or holes
If damage exists, repair it with filler and sand it smooth.
Wall Flatness and Leveling
Tiles need a flat surface. Uneven walls cause lippage, where tiles stick out at different levels.
| Condition | Solution |
|---|---|
| Small bumps | Sand down |
| Holes/cracks | Fill and smooth |
| Uneven surface | Apply leveling compound |
Use a level tool to check straightness both horizontally and vertically.
Layout Planning
Planning avoids awkward tile cuts and misalignment.
- Mark a center line
- Dry lay tiles before installation
- Adjust spacing for symmetry
Start from the most visible area. This improves the final look.
Tool Preparation
Having tools ready saves time and prevents mistakes.
- Tile cutter or wet saw
- Notched trowel
- Tile spacers
- Level
- Measuring tape
Preparation is not complex, but it requires patience. Skipping this step often leads to rework and wasted materials.
How do you cut tiles for outlets and corners?
Many people struggle with cutting tiles. Poor cuts can ruin the appearance and create safety issues around outlets.
Tiles are cut using tools like tile cutters or wet saws, and precise measurements are needed to fit around outlets and corners accurately.
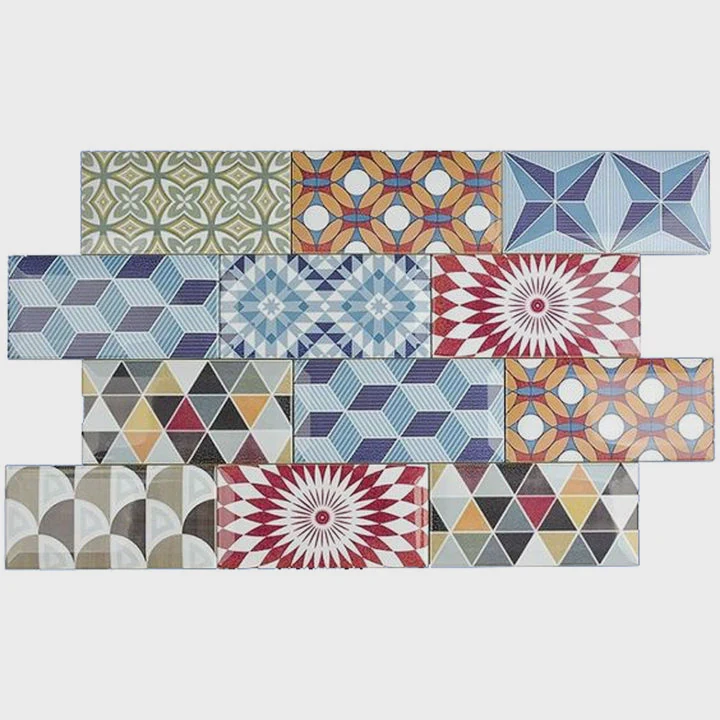
Cutting tiles is one of the most technical parts of backsplash installation. Accuracy is key. Even small errors can become very visible once tiles are installed.
Measuring Before Cutting
Always measure twice before cutting.
- Mark tile using pencil or marker
- Include space for grout lines
- Double-check outlet dimensions
Mistakes often happen when measurements ignore spacing.
Cutting Around Outlets
Outlets require precise cuts. The tile must fit snugly without blocking screws or cover plates.
Steps:
- Place tile against wall and mark outlet edges
- Use a wet saw or angle grinder
- Cut slowly to avoid chipping
For square cuts, a wet saw works best. For small adjustments, tile nippers help.
Cutting for Corners
Corners need clean alignment.
- Inside corners: leave a small gap for expansion
- Outside corners: use trim pieces or miter cuts
Miter cuts create a clean edge at 45 degrees. This improves the visual finish.
Tool Comparison
| Tool Type | Best Use Case |
|---|---|
| Manual cutter | Straight cuts |
| Wet saw | Precise and clean cuts |
| Angle grinder | Curved or detailed cuts |
| Tile nippers | Small adjustments |
Common Mistakes
- Cutting too fast, causing chips
- Ignoring grout spacing
- Not wearing safety gear
Tile cutting takes practice. Starting with extra tiles helps reduce stress and waste.
Which adhesives are best for backsplash tiles?
Using the wrong adhesive can cause tiles to loosen or fall. Many people choose based on price, not performance.
The best adhesives for backsplash tiles are thin-set mortar for durability and mastic adhesive for small, dry areas with lighter tiles.
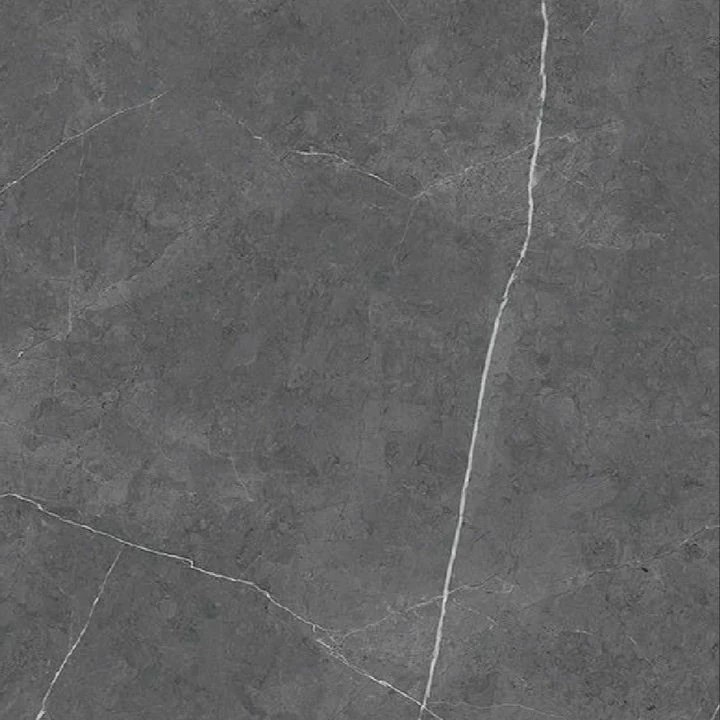
Choosing the right adhesive depends on tile type, wall condition, and kitchen environment. Heat, moisture, and weight all matter.
Types of Adhesives
There are two main options:
Thin-set Mortar
- Cement-based
- Strong bonding
- Suitable for most tiles
- Water-resistant
Mastic Adhesive
- Pre-mixed
- Easy to apply
- Good for small projects
- Not ideal for high moisture
Comparison Table
| Feature | Thin-set Mortar | Mastic Adhesive |
|---|---|---|
| Strength | High | Medium |
| Water Resistance | Excellent | Limited |
| Ease of Use | Moderate | Easy |
| Best For | Large areas | Small backsplash |
Application Tips
- Use a notched trowel for even spread
- Apply in small sections
- Press tiles firmly
Avoid applying too much adhesive. Excess can squeeze into grout lines and create extra cleaning work.
Choosing Based on Tile Type
- Glass tiles: use white thin-set
- Ceramic tiles: both options work
- Large format tiles: thin-set is better
Practical Insight
In many export projects, especially for large kitchens or commercial spaces, thin-set is the safer choice. It ensures long-term stability and reduces maintenance issues.
Adhesive is not just a bonding material. It directly affects durability and customer satisfaction.
When should grout be applied after installation?
Applying grout too early can shift tiles. Waiting too long can make cleaning harder. Timing is critical.
Grout should be applied 24 hours after tile installation, once the adhesive has fully set and tiles are firmly fixed in place.

Grouting is the final step that locks everything together. It also defines the visual style of the backsplash.
Waiting Time
Adhesive needs time to cure.
- Standard wait: 24 hours
- Cold or humid conditions: longer
Rushing this step can weaken the bond.
Grouting Process
- Mix grout to a smooth consistency
- Apply using a rubber float
- Press into joints firmly
- Remove excess with float
Work in small sections to control drying time.
Cleaning After Grouting
After applying grout:
- Wait 15–30 minutes
- Wipe surface with damp sponge
- Rinse sponge frequently
Avoid too much water. It can weaken grout color.
Types of Grout
| Type | Feature |
|---|---|
| Sanded grout | For wider joints |
| Unsanded grout | For narrow joints |
| Epoxy grout | Strong and stain-resistant |
Final Finishing
After grout dries:
- Polish tiles with dry cloth
- Apply sealant if needed
Common Problems
- Cracking: caused by early application
- Discoloration: due to excess water
- Gaps: from poor filling
Grouting completes the installation. It protects edges and improves the final appearance.
Conclusion
A successful backsplash installation depends on preparation, accurate cutting, proper adhesive, and correct grouting timing. Each step builds on the previous one, and attention to detail ensures a durable and professional kitchen finish.


